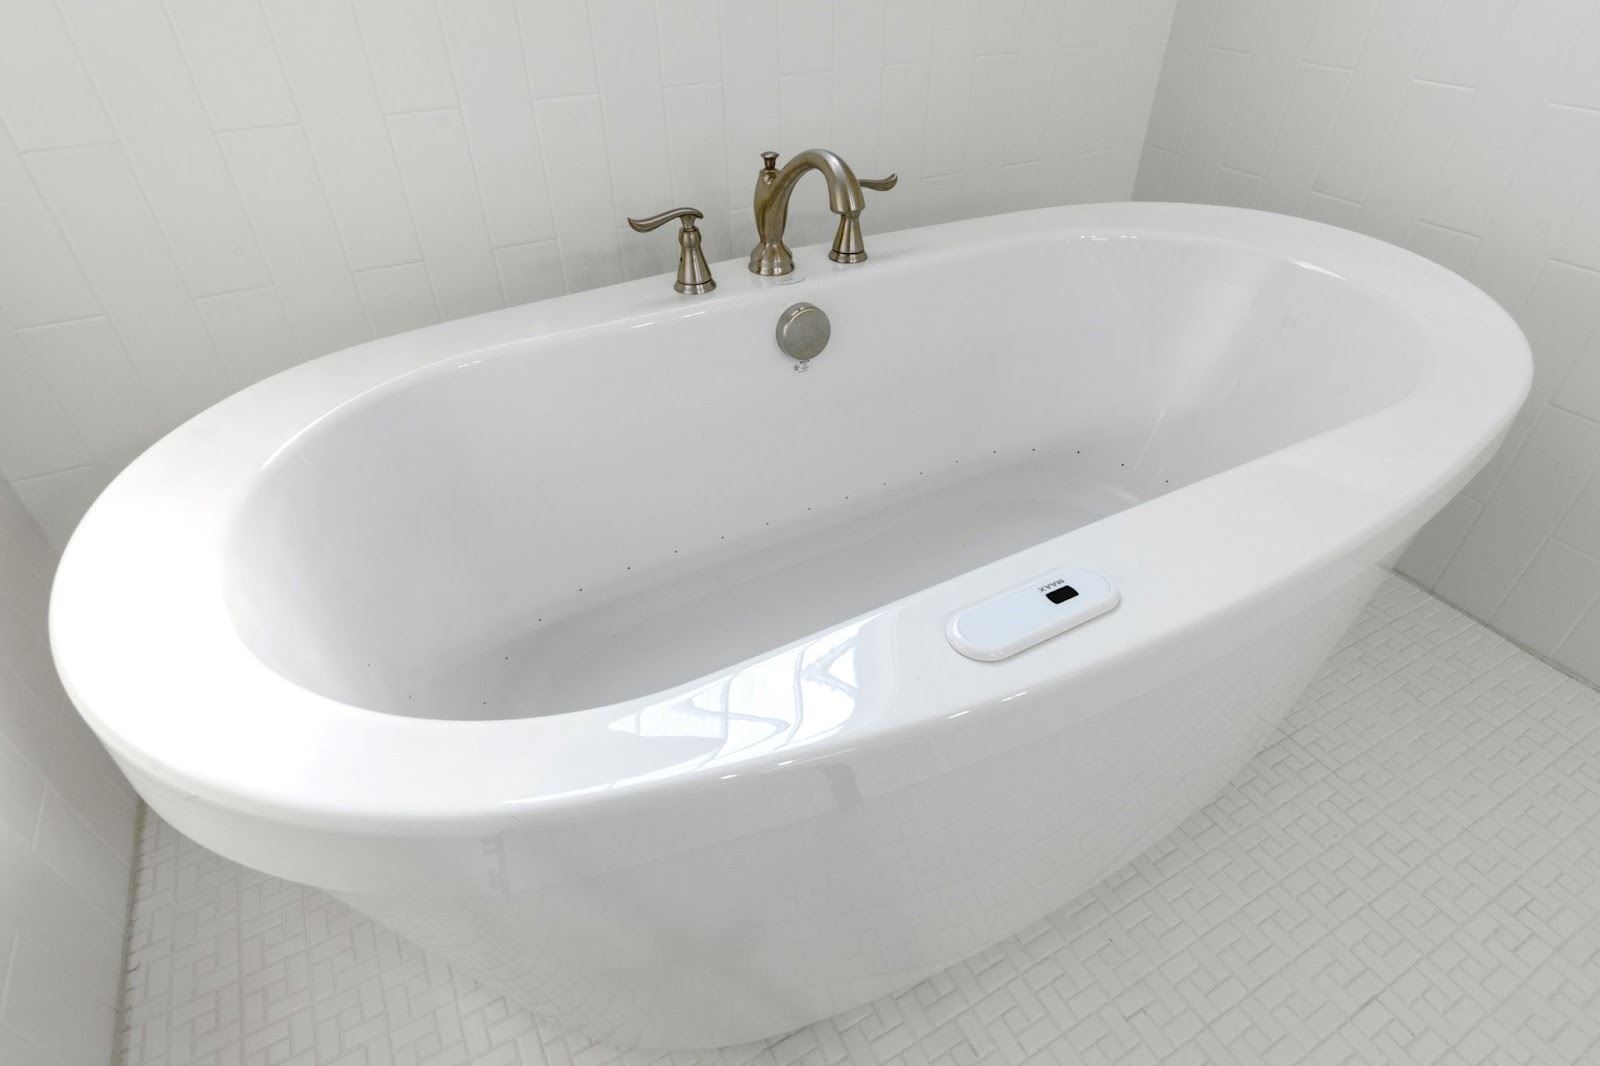
Introduction
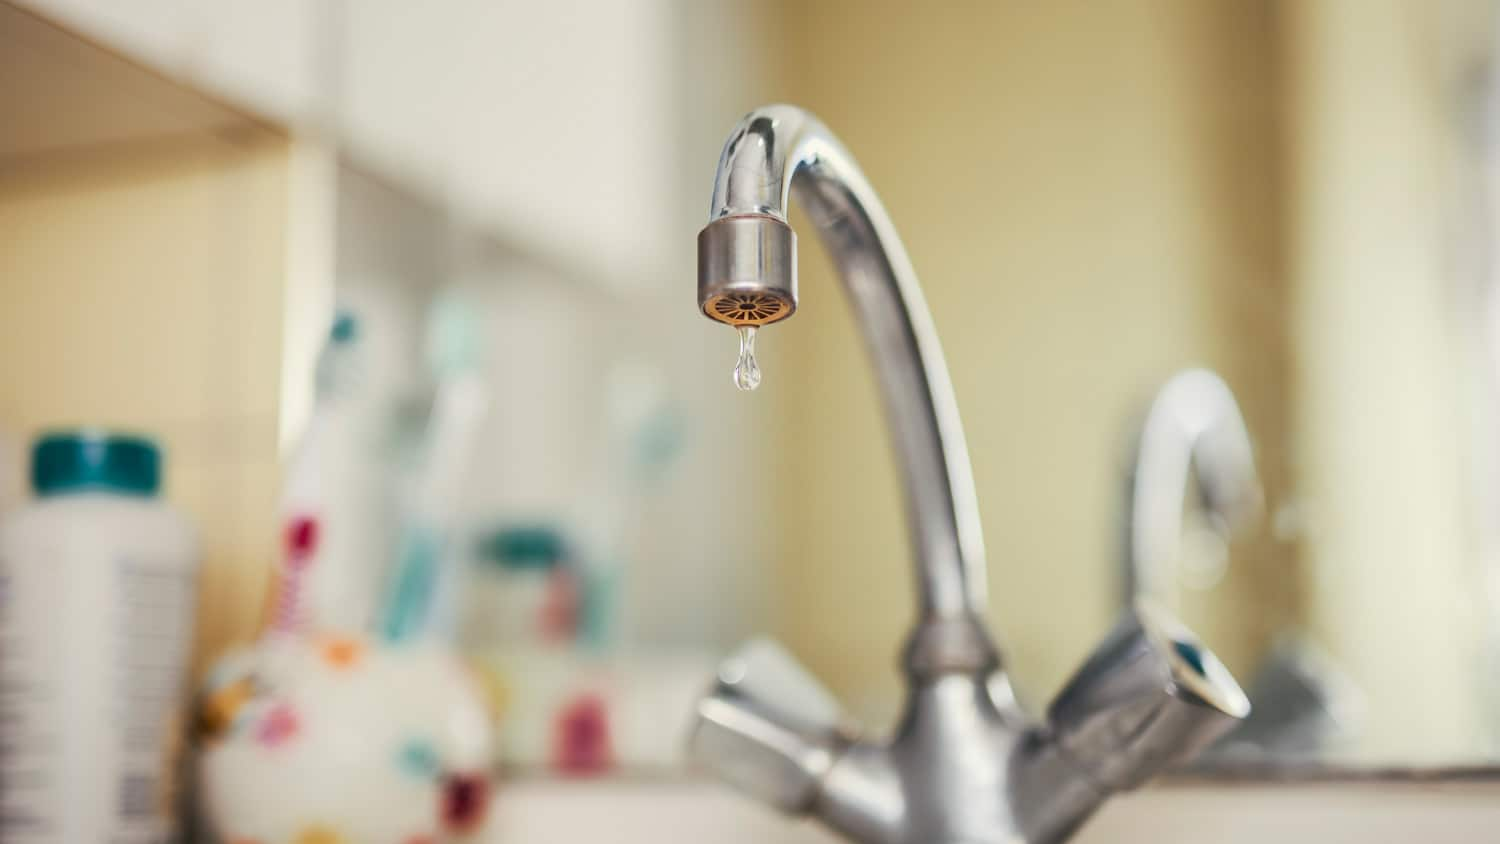
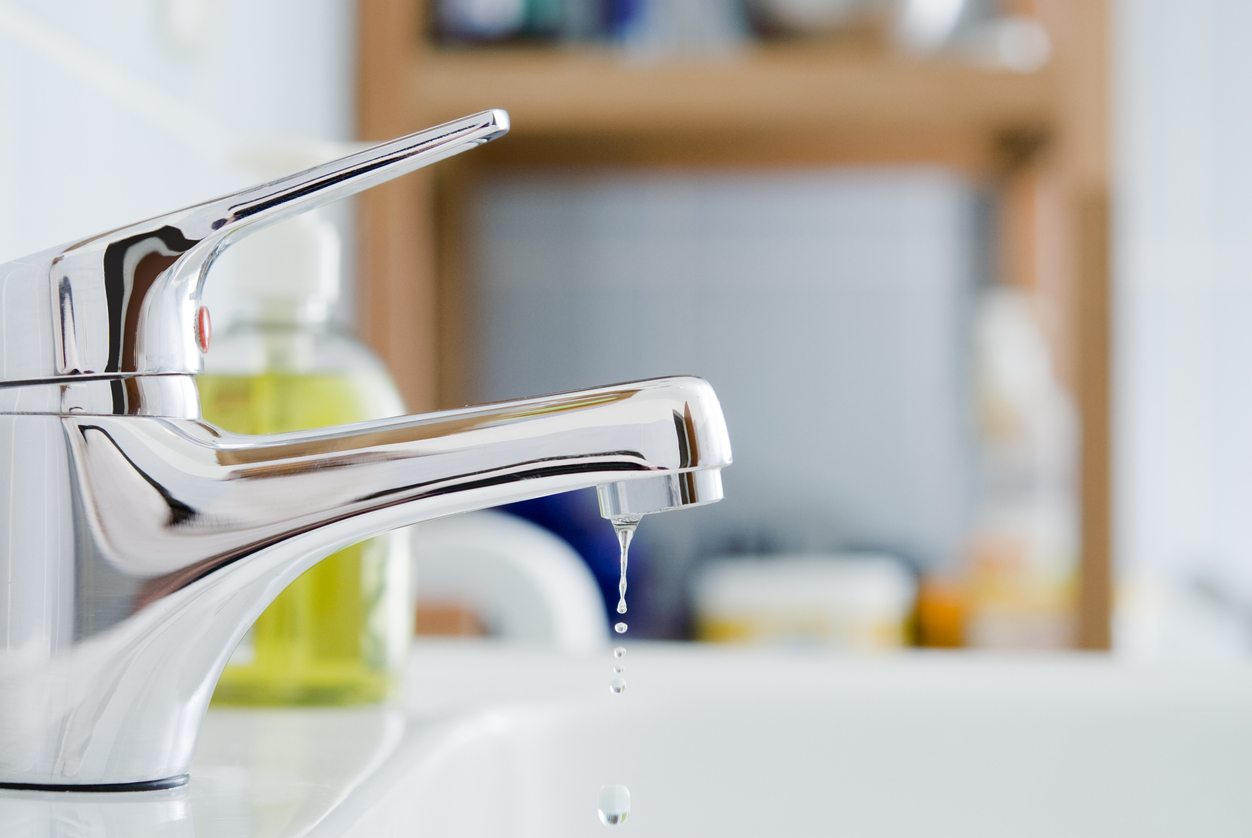
A leaking bathtub faucet can be a frustrating issue that not only wastes water but also leads to increased utility bills and potential water damage. Addressing this problem promptly can save you money and prevent further inconvenience. In this guide, we will walk you through the steps to diagnose and repair a leaking bathtub faucet, whether it’s a minor drip or a more significant leak. By following these DIY methods, you can restore your faucet to proper working condition and enjoy a leak-free bathtub.
Understanding the Types of Faucets
Before starting any repairs, it’s essential to understand the type of faucet you have. The most common types are compression faucets, ball faucets, cartridge faucets, and ceramic disc faucets. Each type has its own mechanism and requires specific methods for repair. Identifying your faucet type will guide you in selecting the correct replacement parts and tools necessary for the repair process.
Tools and Materials You’ll Need
Gather the necessary tools and materials before beginning the repair. These typically include an adjustable wrench, screwdrivers (both flathead and Phillips), replacement washers, O-rings, cartridges, or seals depending on your faucet type, plumber’s grease, and possibly a flashlight for better visibility in tight spaces. Having everything prepared and within reach will streamline the repair process and minimize interruptions.
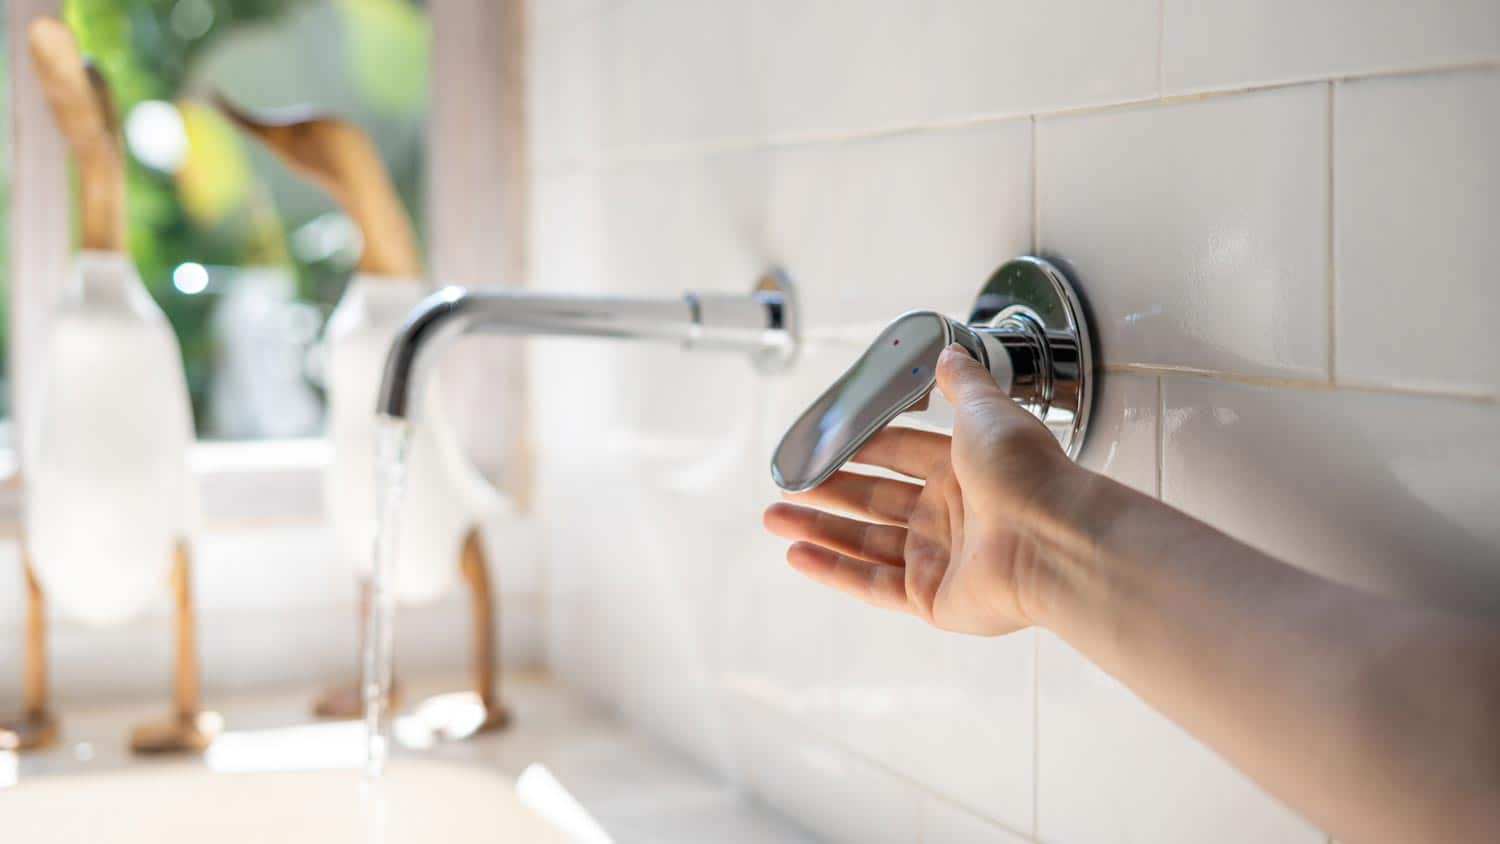
Shutting Off the Water Supply
Before you start disassembling the faucet, it’s crucial to shut off the water supply to prevent any accidental flooding or water wastage. Most bathtubs have shut-off valves located under the sink or behind an access panel. Turn the valve clockwise to close it completely. After shutting off the water, open the bathtub faucet to drain any remaining water in the pipes and relieve pressure within the system.
Disassembling the Faucet
Once the water supply is turned off and the faucet is drained, you can begin disassembling the faucet to access the internal components. Use the appropriate screwdriver to remove any decorative caps, handles, or escutcheon plates covering the faucet assembly. Keep all screws and parts organized to facilitate reassembly later. Take note of the order in which you remove components, as this will be helpful when putting everything back together.
Inspecting and Replacing Washers and O-Rings
Leaks in compression faucets are often caused by worn-out washers or O-rings. Inspect these components for signs of deterioration, such as cracks, tears, or hardening due to mineral deposits. Use your screwdriver to remove the old washers and O-rings and replace them with new ones of the same size and shape. Apply plumber’s grease to the new washers and O-rings before reinstalling them to ensure a proper seal and smooth operation of the faucet handle.
Replacing the Cartridge or Valve Stem
For cartridge, ball, or ceramic disc faucets, leaks may stem from a faulty cartridge, valve stem, or disc assembly. Carefully remove the cartridge or valve stem using pliers or an adjustable wrench, depending on the faucet type. Inspect the cartridge or valve stem for any cracks, damage, or mineral buildup that may be causing the leak. Replace it with a new cartridge or valve stem of the same model or type, ensuring it is aligned correctly and securely seated within the faucet housing.
Cleaning and Reassembling the Faucet
Before reassembling the faucet, clean all components thoroughly to remove any debris, mineral deposits, or old plumber’s tape that could affect the faucet’s performance. Use a soft brush or cloth and vinegar solution for stubborn deposits. Once clean, carefully reassemble the faucet in the reverse order of disassembly, ensuring each component is securely tightened and properly aligned. Avoid over-tightening, as this can damage the faucet or cause future leaks.
Testing the Repaired Faucet
After reassembling the faucet, turn on the water supply gradually and check for leaks. Start with a slow flow to allow any air to escape from the system. Monitor the faucet closely for any signs of dripping or leaking around the handle or spout. If you detect any leaks, turn off the water supply immediately and check the connections for proper seating and tightness. Make any necessary adjustments or replacements to achieve a leak-free faucet.
Additional Tips for Maintenance
To prolong the lifespan of your repaired faucet and prevent future leaks, practice regular maintenance. Periodically inspect the faucet for leaks, drips, or signs of wear. Clean the aerator and showerhead to remove mineral deposits that can affect water flow and pressure. Consider installing a water softener if your home has hard water, as this can reduce mineral buildup inside faucets and plumbing fixtures. Promptly address any leaks or drips to prevent them from worsening over time.
When to Call a Professional
While many bathtub faucet leaks can be repaired using DIY methods, there are situations where professional assistance may be necessary. If you encounter difficulties during the repair process, such as stubborn components, hidden leaks, or unfamiliar faucet types, it’s advisable to seek help from a licensed plumber. Additionally, if your efforts to repair the faucet do not resolve the leak or if the leak worsens after repair, a professional plumber can diagnose the issue accurately and recommend appropriate solutions.
Additional Maintenance Tips
- Lubricate Moving Parts: Occasionally lubricate the moving parts of your faucet with plumber’s grease to ensure smooth operation and prevent wear.
- Check Water Pressure: Ensure that your home’s water pressure is within a safe range (typically between 40-60 psi). High water pressure can cause damage to your plumbing fixtures and contribute to leaks. If you suspect high pressure, consider installing a pressure regulator.
- Replace Washers and O-Rings: Over time, washers and O-rings can wear out, leading to leaks. Keep an eye on these components and replace them as needed.
- Handle with Care: Avoid using excessive force on faucet handles and knobs. Gentle operation can prevent damage to internal components.
- Regular Cleaning: Clean your faucet with mild soap and water, avoiding abrasive cleaners that can scratch or damage the finish. This helps maintain its appearance and functionality.
- Seasonal Checks: Before winter, inspect and insulate any exposed pipes to prevent freezing, which can lead to bursts and leaks.
Conclusion
Repairing a leaking bathtub faucet is a manageable DIY task that can save you time and money. By understanding your faucet type, gathering the right tools and materials, and following a systematic approach to disassembly, inspection, and reassembly, you can effectively stop the leak and restore your faucet’s functionality. Regular maintenance and prompt repairs of faucet leaks are essential for preserving your plumbing system and ensuring efficient water usage in your home. With these steps and tips, you can confidently tackle faucet repairs and enjoy a leak-free bathtub for years to come.