Introduction: The Unwelcome Drip of a Leaky Faucet
A leaky bathtub faucet is more than just an annoyance; it’s a persistent reminder of wasted water and escalating utility bills. Beyond the financial impact, the constant dripping can disrupt peaceful nights and create an environment of unnecessary stress. Addressing this issue promptly not only restores tranquility to your bathroom but also contributes to responsible water conservation efforts. This comprehensive guide will walk you through diagnosing the root cause of a leaky bathtub faucet and provide step-by-step instructions for fixing it, emphasizing the importance of addressing both hot and cold water supplies in the process.
Understanding the Anatomy of a Bathtub Faucet
Before diving into repairs, it’s essential to understand the components at play. Most bathtub faucets consist of handles, a faucet body, a cartridge or valve assembly, and a spout. The cartridge is the heart of the faucet, controlling the flow and temperature of water. Issues with any of these parts can result in leaks. Hot water leaks, in particular, often stem from worn-out cartridges or issues with the hot water supply line.
Diagnosing the Leak: Identifying the Culprit
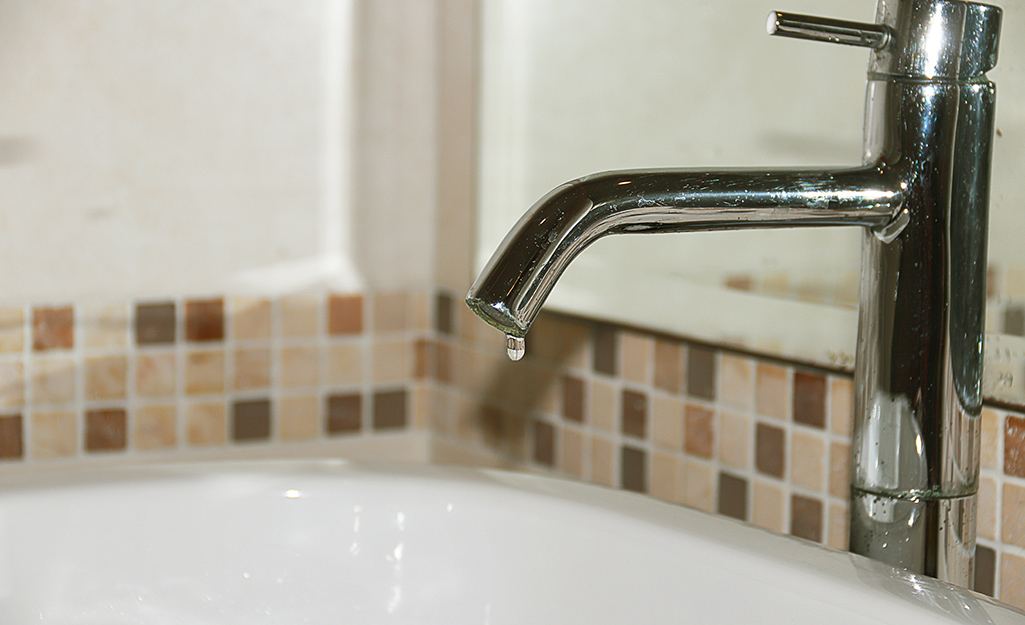
The first step in repairing a leaky faucet is to identify its source. Is the leak occurring from the spout continuously, even when the faucet is turned off? Or does it drip from the handle area? A continuous drip from the spout typically indicates a faulty cartridge or worn seats and springs within the faucet body. Drips around the handle suggest problems with the O-rings or the washer beneath it. Understanding the type of leak helps target the correct repair strategy.
Gathering Tools and Materials
Equipping yourself with the right tools is paramount for a successful repair. You’ll need an adjustable wrench, pliers, a screwdriver set (both flathead and Phillips), a cartridge puller (if your faucet model requires it), plumber’s grease, replacement parts corresponding to your faucet’s make and model, and a flashlight for better visibility within tight spaces.
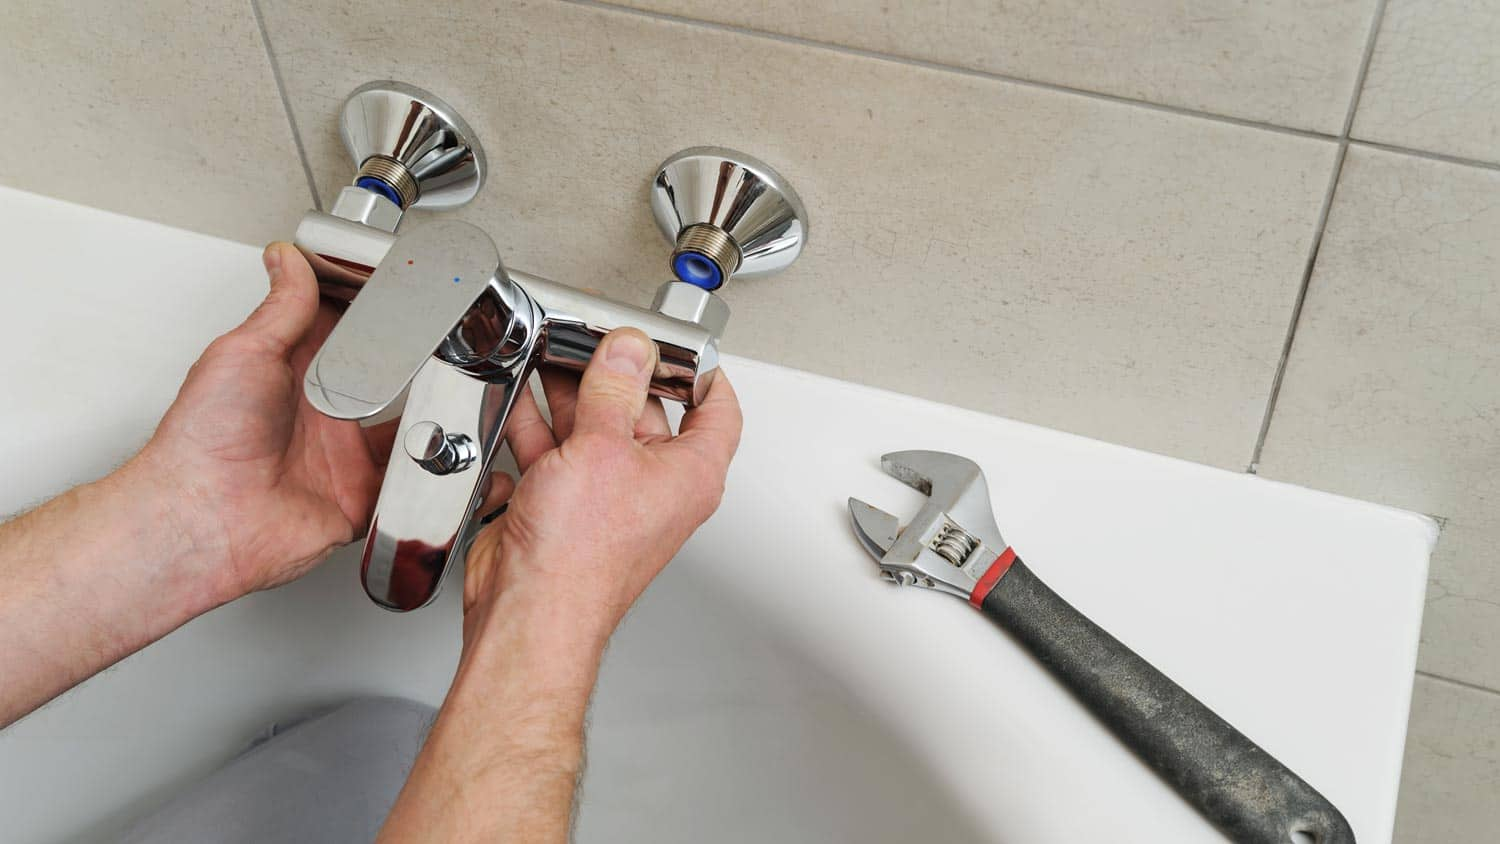
Shutting Off the Water Supply: Safety First
Safety is paramount when dealing with plumbing repairs. Locate the shut-off valves under your sink or nearby and turn them clockwise to cut off the water supply to your bathtub. If separate valves for hot and cold are not available, you may need to shut off the main water supply to your house temporarily. Once done, open the faucet to release any residual water pressure and drain remaining water from the lines.
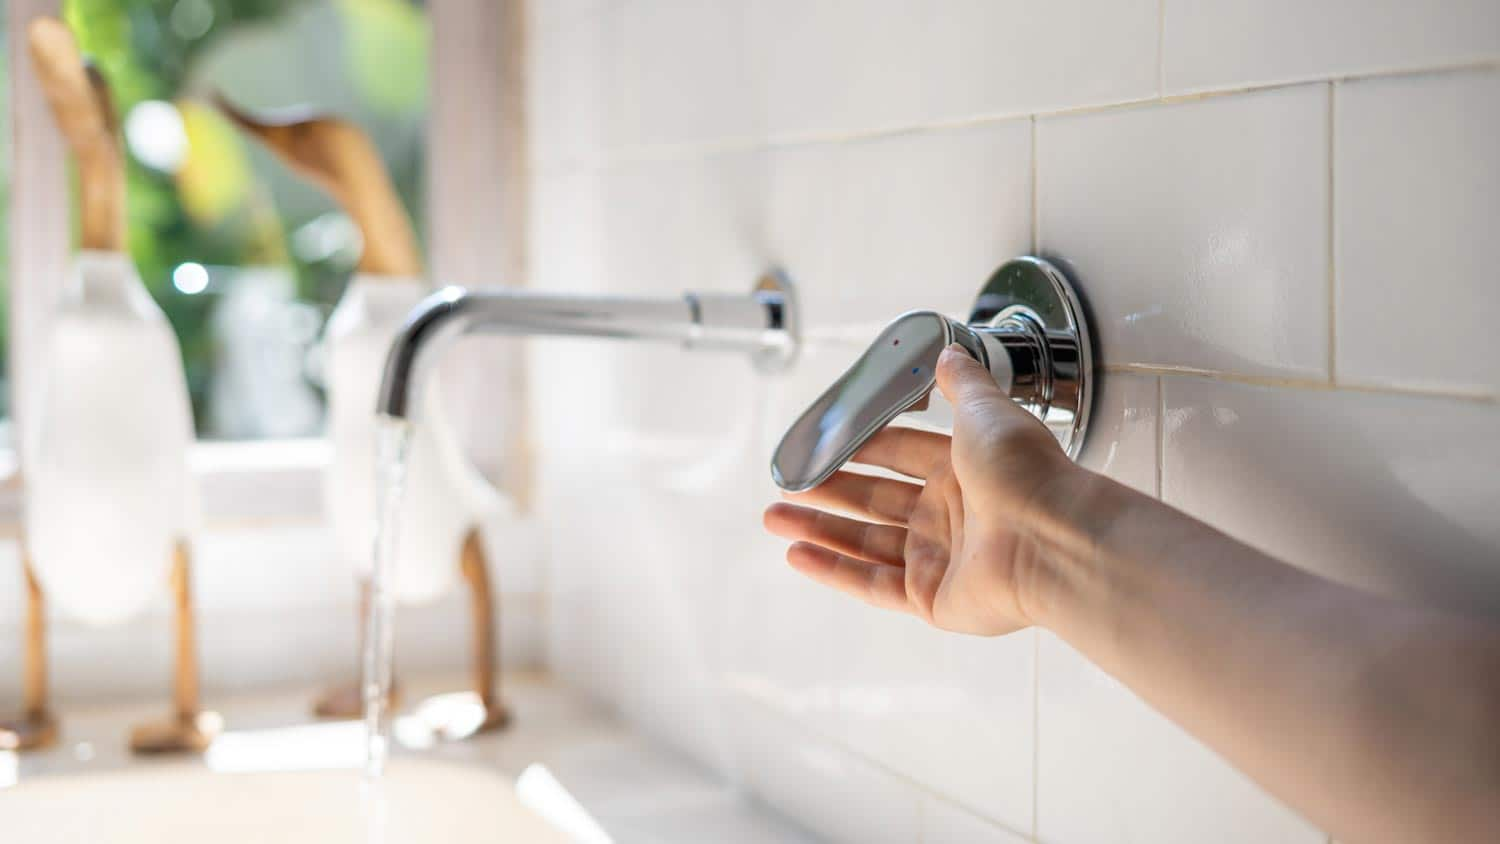
Disassembling the Faucet: Handle Removal and Accessing the Cartridge
Begin by removing the faucet handles. Most handles have a decorative cap that covers a setscrew. Pry off the cap with a flathead screwdriver and unscrew the setscrew. Gently pull the handle straight up to remove it. If the handle is stuck, use pliers wrapped in a cloth to avoid damaging the finish. With the handles removed, you’ll gain access to the faucet body, where the cartridge is housed.
Replacing the Cartridge: The Heart of the Matter
The cartridge is often the culprit behind hot water leaks. Remove the retaining nut holding the cartridge in place using an adjustable wrench. Once the nut is off, carefully lift out the old cartridge. Take note of its orientation for correct reinstallation. Inspect the cartridge for signs of wear, such as mineral buildup or cracks. Replace it with a new, matching cartridge, lubricating it with plumber’s grease before inserting it back into the faucet body. Reassemble the faucet, being careful not to overtighten any screws or nuts.
Addressing Other Potential Leak Sources
If the leak persists after replacing the cartridge, other parts might need attention. Check the seats and springs located at the base of the faucet body. Over time, these can corrode or become pitted, causing leaks. Remove them with pliers, clean the area thoroughly, and install new seats and springs. Also, inspect the O-rings around the faucet handles and spout for wear; these are inexpensive to replace and can often solve lingering leaks.
Testing Your Repair and Preventive Maintenance
Turn the water supply back on slowly and test your faucet for leaks. Run both hot and cold water to ensure everything is functioning correctly. Check for drips around the spout and handles. If you’ve successfully addressed the issue, congratulations! To prolong the life of your faucet, consider implementing a routine maintenance plan. This includes periodically cleaning aerators, checking for leaks, and replacing worn parts proactively.
The Importance of Professional Assistance
While many faucet leaks can be tackled as DIY projects, there are instances when professional help is necessary. If you encounter difficulty identifying the source of the leak, struggle with removing parts without damaging them, or if your faucet model has unique repair requirements, it’s wise to consult a licensed plumber. Attempting complicated repairs without adequate knowledge or tools could exacerbate the problem or even cause additional damage.
Advanced Faucet Repair Techniques and Troubleshooting
In some cases, faucet leaks may stem from more complex issues that require a deeper understanding of plumbing systems and specialized tools. Here are a few advanced scenarios you might encounter and how to approach them:
1. Compression Faucet Repairs
Compression faucets, common in older homes, have separate hot and cold handles that often require more intricate repairs. If the leak persists, it might be due to a faulty valve seat. This component connects the faucet to the spout and can become corroded. Removing and grinding the valve seat smooth or replacing it entirely may be necessary, which typically requires a valve seat wrench and possibly a bench grinder.
2. Cartridge Faucet Issues
For cartridge faucets, if leaks continue despite a replacement, the issue might lie in the faucet body itself. Sometimes, debris or mineral buildup inside the faucet body can interfere with the new cartridge’s proper seating. Disassembling the faucet, cleaning out any debris, and ensuring all surfaces are smooth before reassembling can resolve this.
Conclusion: Restoring Serenity and Saving Resources
Addressing a leaky bathtub faucet not only eliminates an irritating disturbance but also contributes to environmental sustainability by conserving precious water resources. With the right tools, patience, and a bit of know-how, you can transform a bothersome drip into a satisfying sense of accomplishment. Remember, proactive maintenance and timely repairs are key to extending the lifespan of your plumbing fixtures and maintaining a peaceful, efficient home.