
Introduction: Tackling the Task Ahead
Removing a bathtub faucet might seem like a daunting task, but with the right tools and guidance, it can be accomplished smoothly. Whether you’re replacing a faulty faucet or upgrading to a new style, understanding the process is crucial. In this comprehensive guide, we’ll walk you through the steps to remove a bathtub faucet like a professional plumber.
Understanding Your Faucet: Types and Components
Before diving into the removal process, it’s essential to familiarize yourself with the type of faucet you have and its components. Most bathtub faucets fall into two categories: compression and cartridge faucets. Each type has distinct components and removal methods. By identifying these components beforehand, you’ll be better equipped to tackle the task efficiently.
Gathering the Right Tools: A Checklist for Success
Having the appropriate tools on hand can make all the difference when removing a bathtub faucet. From wrenches to screwdrivers, ensuring you have the necessary equipment will streamline the process and minimize frustration. We’ll provide you with a comprehensive checklist of tools required for the job, ensuring you’re fully prepared before you begin.
Preparing the Workspace: Setting the Stage for Success
Creating a conducive workspace is essential for a smooth removal process. Preparing the area around your bathtub and ensuring proper lighting and ventilation will enhance visibility and accessibility. Additionally, taking safety precautions, such as turning off the water supply, will prevent accidents and water damage. We’ll guide you through the steps to prepare your workspace effectively.
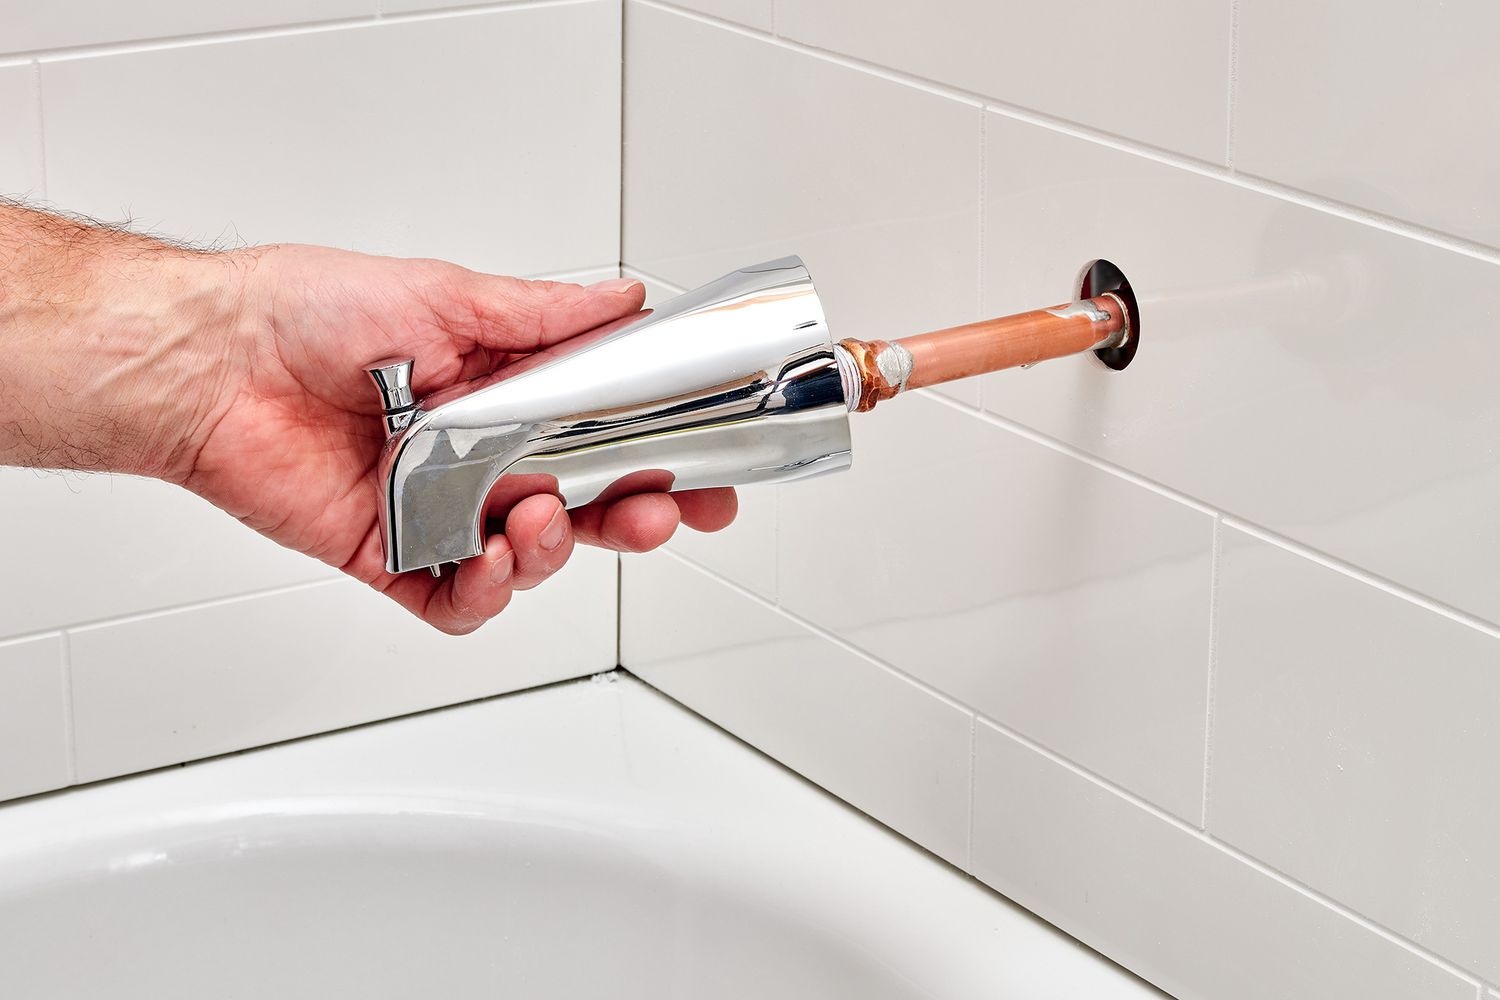
Step-by-Step Removal Guide: A Methodical Approach
With your workspace prepared and tools at the ready, it’s time to dive into the removal process. We’ll provide you with a detailed, step-by-step guide, complete with illustrations and troubleshooting tips. From loosening the faucet handle to disconnecting water supply lines, each stage of the removal process will be outlined comprehensively, allowing you to proceed with confidence.
Dealing with Common Challenges: Troubleshooting Tips and Tricks
During the removal process, you may encounter various challenges, such as stubborn bolts or corroded connections. Fear not – we’ve got you covered with troubleshooting tips and tricks to overcome these obstacles. Whether it’s applying penetrating oil to loosen tight fittings or utilizing a basin wrench for hard-to-reach areas, we’ll equip you with strategies to tackle common challenges like a pro.
Ensuring a Seamless Transition: Proper Disposal and Cleanup
Once you’ve successfully removed the old bathtub faucet, proper disposal and cleanup are essential steps to ensure a seamless transition to the new fixture. From disposing of old components responsibly to thoroughly cleaning the workspace, taking these final steps will leave your bathtub area looking pristine and ready for the installation of your new faucet.
Seeking Professional Assistance: Knowing When to Call a Plumber
While DIY projects can be rewarding, there are instances where seeking professional assistance may be necessary. If you encounter challenges beyond your expertise or feel uncomfortable proceeding with the removal process, don’t hesitate to contact a licensed plumber. Knowing when to call in a professional can save you time, money, and frustration in the long run, ensuring the job is completed safely and efficiently.
Conclusion: Mastering the Art of Faucet Removal
How to remove bathtub faucet-Removing a bathtub faucet may seem like a daunting task, but armed with the right knowledge and tools, you can tackle it like a professional. By understanding your faucet, preparing your workspace, and following a methodical removal process, you’ll be well on your way to ditching the drip and upgrading your bathroom with confidence. So roll up your sleeves, gather your tools, and embark on this DIY journey – you’ve got this!