Introduction
Changing your bathtub drain may seem like a daunting task, but with the right tools and a step-by-step approach, it can be a manageable DIY project. Whether you’re replacing a faulty drain or upgrading to a new style, understanding the process and following a systematic approach will ensure a successful installation. In this article, we will guide you through the easy steps to change your bathtub drain, providing detailed instructions to help you complete the project efficiently.
Gather Your Tools and Materials
Before you begin changing your bathtub drain, it’s essential to gather all the necessary tools and materials. This will help you work smoothly without any interruptions. You will need a screwdriver (either flathead or Phillips, depending on the type of screws used), pliers, plumber’s putty or silicone sealant, a drain wrench, a drain removal tool (if necessary), a bucket, cleaning cloths, and the new bathtub drain assembly. Additionally, it’s always helpful to have a flashlight handy to improve visibility under the tub. Make sure to read the manufacturer’s instructions that come with the new drain assembly, as they may include specific requirements or steps unique to that model.
Prepare the Work Area
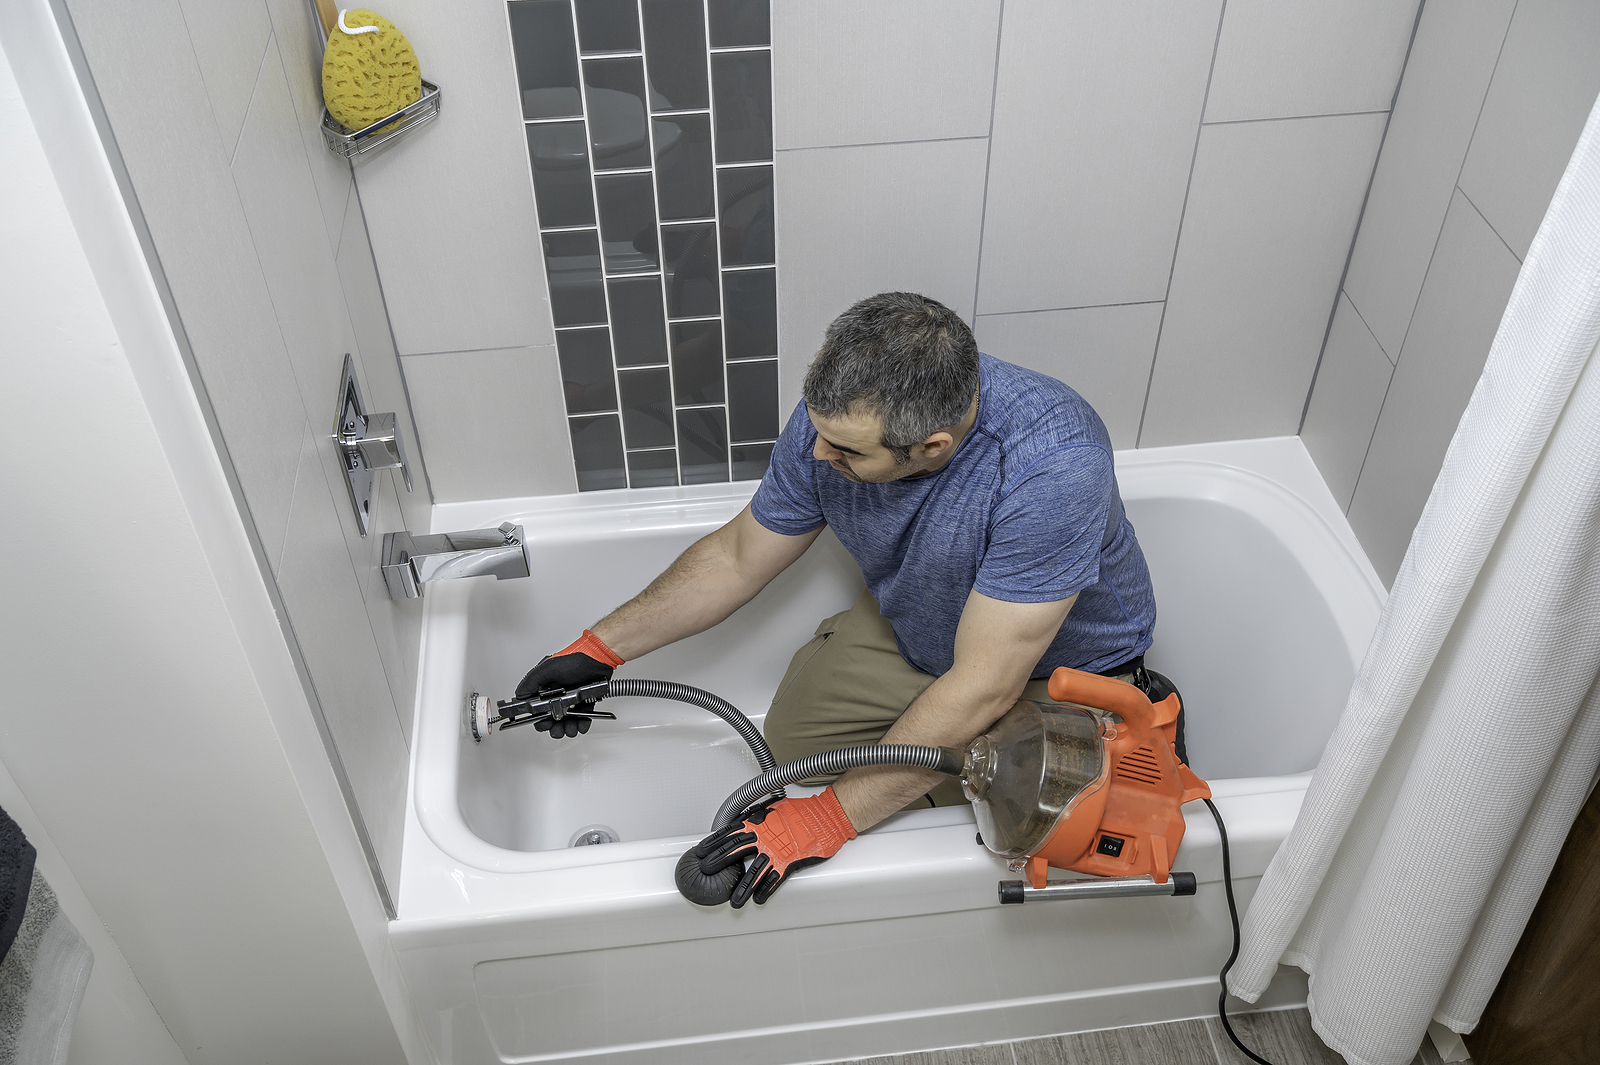
Before you start removing the old drain, it’s important to prepare the work area properly. Begin by removing any items from the bathtub and placing them in a safe location. Clean the tub surface to remove any dirt, grime, or soap residue. This will ensure that no debris falls into the drain during the replacement process. It’s also a good idea to cover the tub surface with a cloth or plastic sheet to protect it from any accidental scratches or damage.
Remove the Old Drain Cover
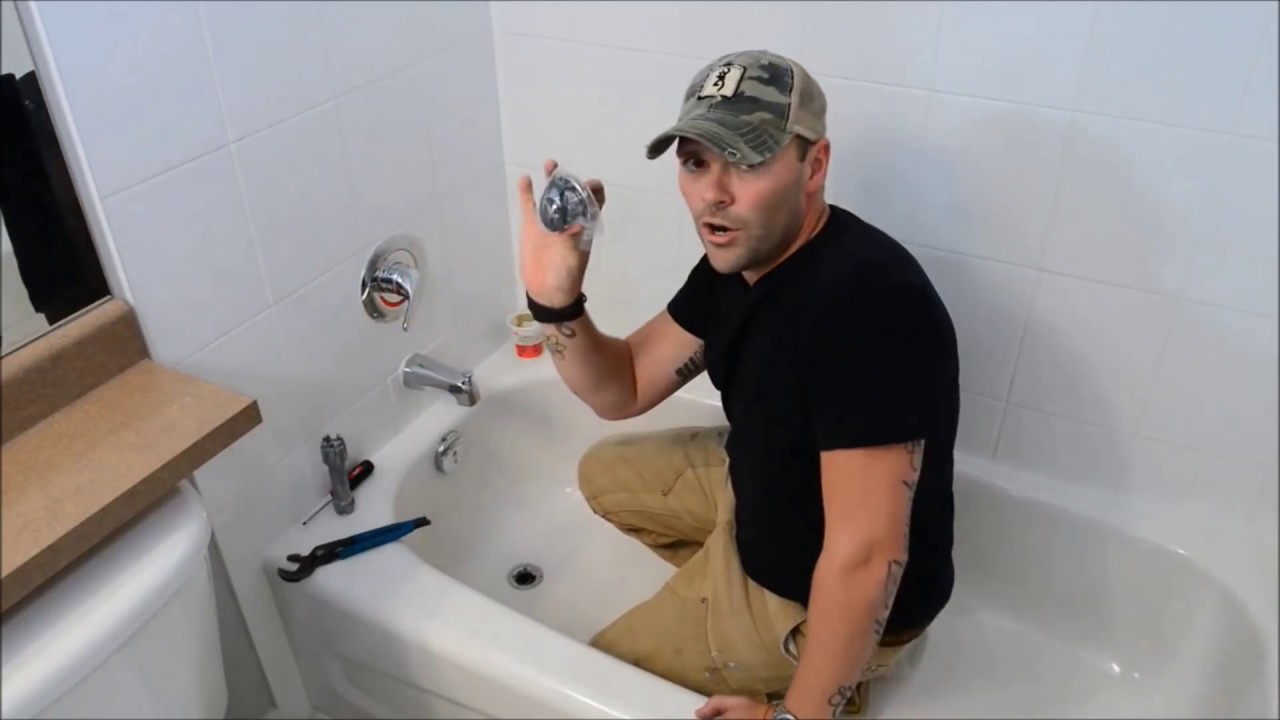
To remove the old drain cover, you’ll need to locate the screws that hold it in place. Depending on the design of your bathtub drain, the screws may be visible on the surface of the drain cover or hidden under a decorative cap. Use the appropriate screwdriver to remove the screws and set them aside in a safe place. Once the screws are removed, carefully lift the drain cover away from the drain opening. If the drain cover is stuck or difficult to remove, you can use pliers to grip and pull it out gently. Be cautious not to apply excessive force, as it could cause damage to the drain or surrounding area.
Disconnect the Drain Stopper
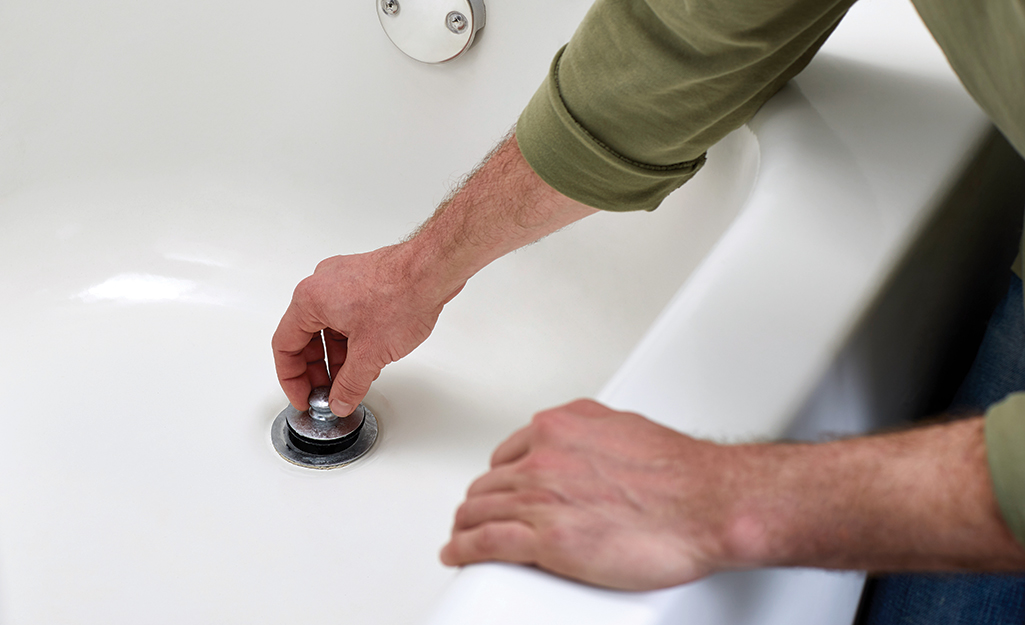
With the drain cover removed, you can now focus on disconnecting the drain stopper mechanism. Different types of drain stoppers require different methods of disconnection. For a push-pull drain stopper, you’ll need to unscrew the knob on the overflow plate and pull the linkage out of the drain. If you have a lift-and-turn or a toe-touch drain stopper, you’ll need to unscrew the stopper from the drain by turning it counterclockwise. Some drain stoppers may have a small setscrew that needs to be loosened before removing the stopper. Follow the manufacturer’s instructions for your specific type of drain stopper to ensure proper disconnection.
Remove the Old Drain Assembly
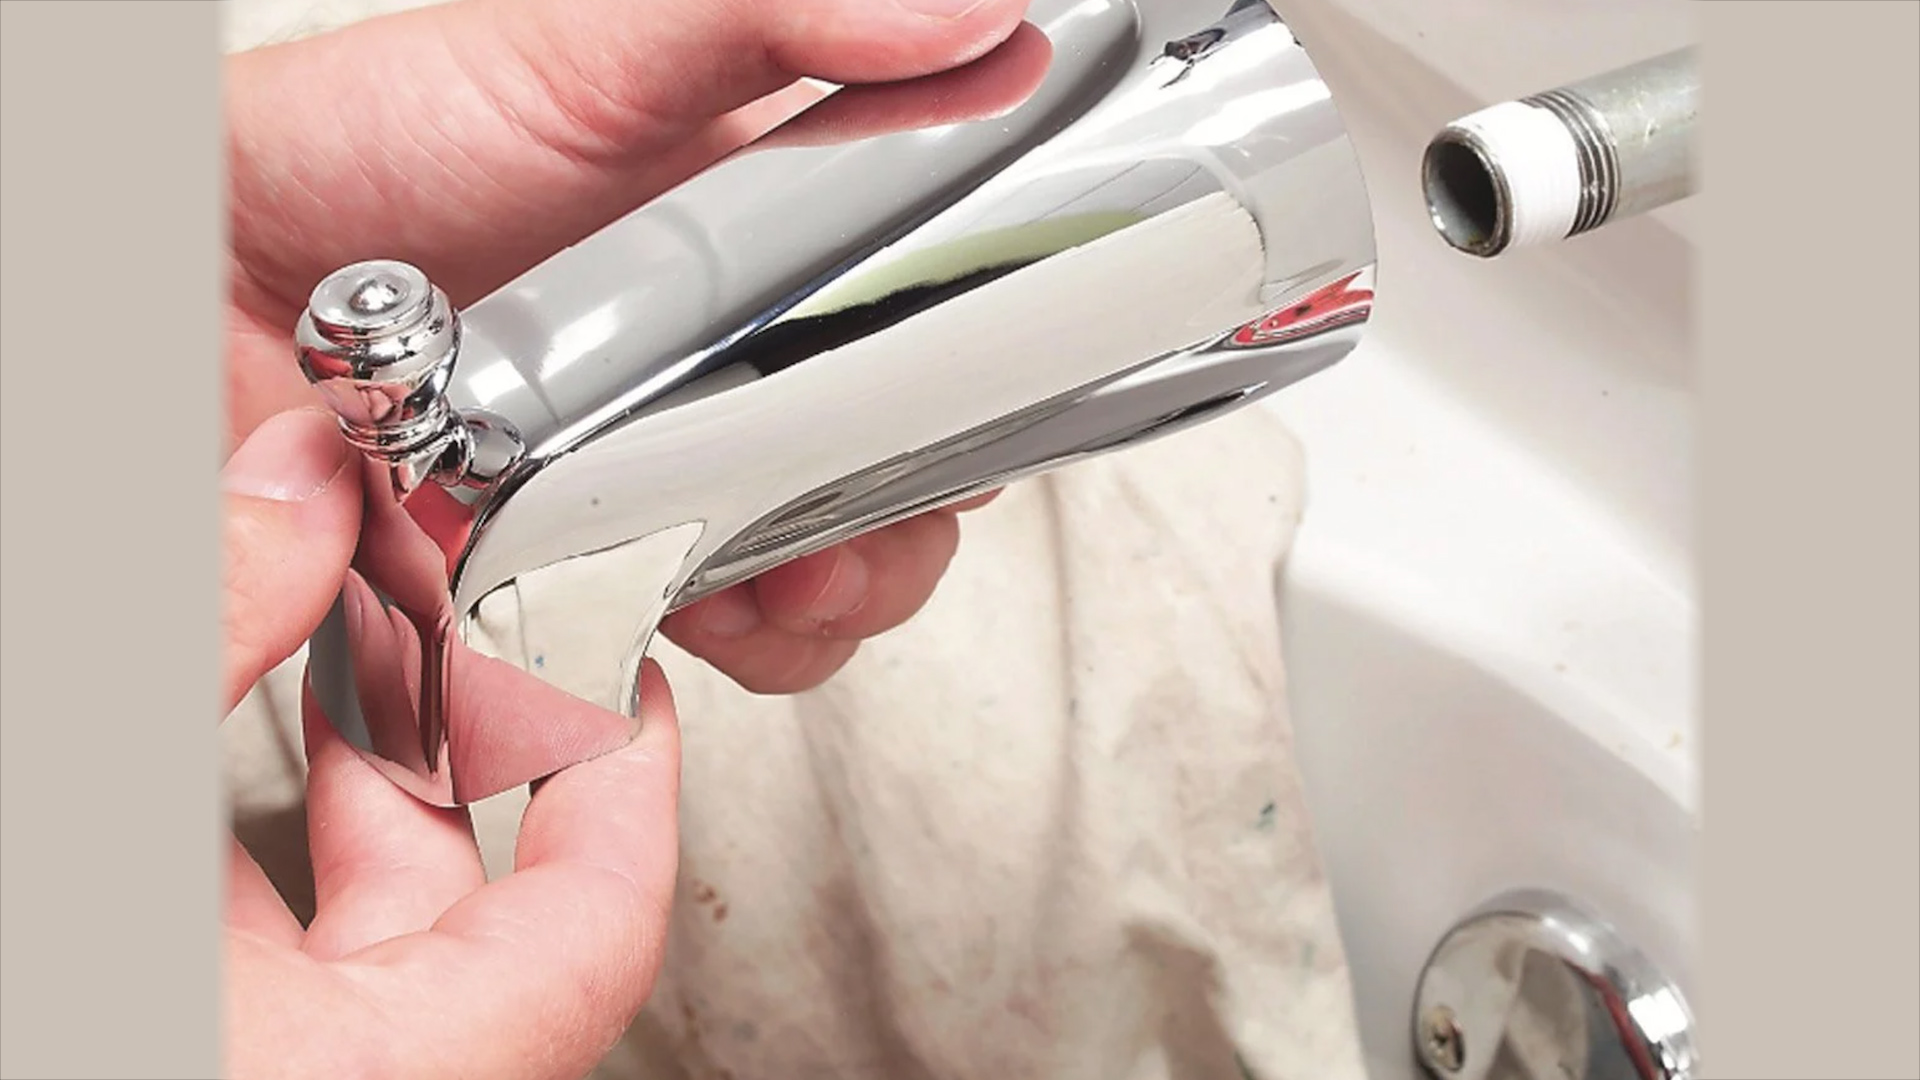
After disconnecting the drain stopper, you can proceed to remove the old drain assembly. The method for removing the old drain assembly depends on whether it’s a threaded drain or a pop-up drain. For a threaded drain, you can use a drain wrench or a pair of pliers to unscrew the drain from the bathtub drain shoe. Turn the drain counterclockwise until it comes loose, and then lift it out of the drain shoe. If your bathtub has a pop-up drain, you’ll need to use a drain removal tool specific to that type of drain. Insert the removal tool into the drain and turn it counterclockwise to unlock the drain assembly. Lift the drain assembly out of the drain shoe once it’s unlocked.
Clean the Drain Opening
With the old drain assembly removed, take the opportunity to clean the drain opening thoroughly. Use a cleaning cloth or brush to remove any debris, hair, or soap scum that may have accumulated in the drain shoe. Cleaning the drain opening ensures a smooth and efficient installation of the new drain assembly. It’s important to have a clear and debris-free drain opening to prevent any clogs or drainage issues in the future.
Apply Plumber’s Putty or Silicone Sealant
Before installing the new drain assembly, it’s crucial to create a watertight seal between the drain and the bathtub surface. This is usually done using plumber’s putty or silicone sealant. Take a small amount of plumber’s putty or silicone sealant and roll it into a rope-like shape. Place the rope around the underside of the new drain flange or the lip that will come into contact with the bathtub surface. Press the drain flange firmly into the drain opening, ensuring that the putty or sealant spreads evenly and creates a tight seal.
Install the New Drain Assembly
Once the plumber’s putty or silicone sealant is applied, you can proceed with installing the new drain assembly. Start by inserting the drain assembly into the drain shoe or opening. For threaded drains, twist the drain clockwise until it tightens securely. If you have a pop-up drain, follow the manufacturer’s instructions to lock the drain assembly into place using the drain removal tool. Make sure the drain is level and aligned properly with the bathtub surface. Avoid overtightening, as it could damage the drain or the bathtub.

Connect the Drain Stopper
After installing the new drain assembly, you’ll need to reconnect the drain stopper mechanism. Refer to the manufacturer’s instructions to determine the correct method for your specific type of drain stopper. For a push-pull drain stopper, insert the linkage back into the drain, ensuring it slides smoothly. Replace and tighten the knob on the overflow plate. If you have a lift-and-turn or a toe-touch drain stopper, insert the stopper back into the drain, and turn it clockwise to secure it in place. Double-check that the drain stopper operates smoothly and effectively.
Test for Proper Functioning
With the new drain assembly in place, it’s time to test its functionality. Slowly fill the bathtub with water while observing the drain. Ensure that there are no leaks around the drain or the drain stopper mechanism. Check the drain stopper to make sure it opens and closes smoothly. Allow the water to drain completely, ensuring that the drainage is efficient and without any backup. If you notice any issues or leaks, double-check the connections and make any necessary adjustments.
Clean Up and Final Touches
Once you’re satisfied with the installation and the functionality of the new drain, it’s time to clean up the work area and add final touches. Remove any tools and materials from the bathtub and wipe down the surface to remove any residue or debris. Dispose of the old drain assembly properly. Return any items you moved during the process, such as bath products or shower curtains, back to their original places. Take a moment to appreciate your work and enjoy the upgraded appearance and functionality of your bathtub drain.
Conclusion
Changing your bathtub drain is a straightforward task that can be accomplished with the right tools and a systematic approach. By following the steps outlined in this article, you can successfully replace your old drain with a new one, improving both the aesthetics and functionality of your bathtub. Remember to gather all the necessary tools and materials, prepare the work area, and take your time with each step. With proper installation and regular maintenance, your new bathtub drain will provide efficient drainage for many years to come.