
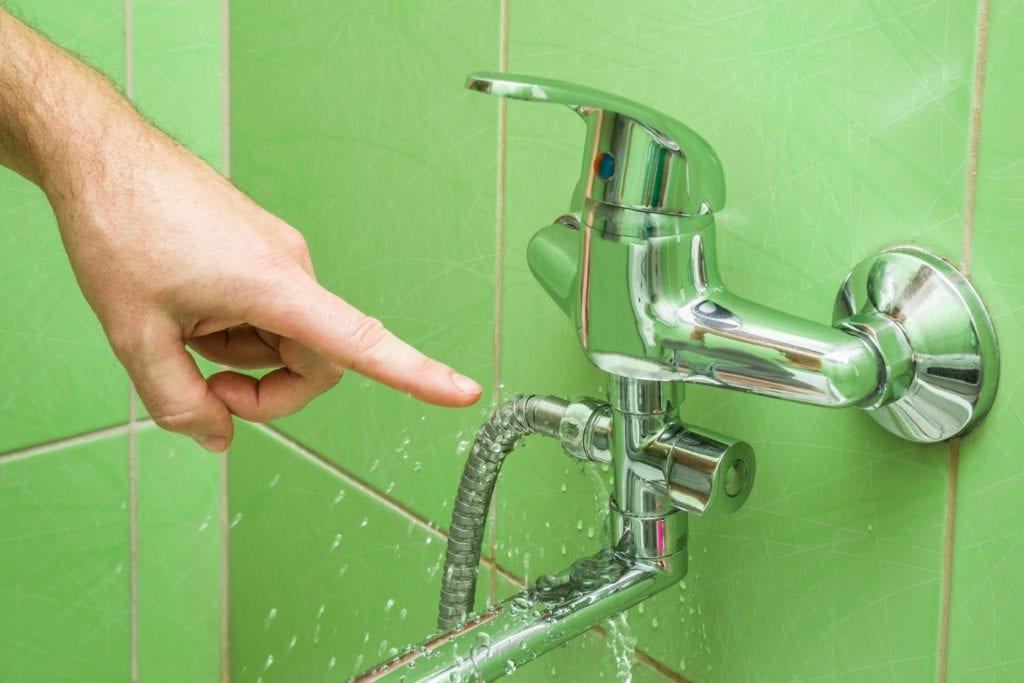
Understanding the Problem
A leaky bathtub faucet is more than just an annoying sound that disrupts the peace of your home. The continuous dripping can lead to significant water waste, increased utility bills, and even potential damage to your bathroom fixtures and walls over time. The importance of addressing this seemingly minor issue cannot be overstated. When water leaks, it can seep into cracks and crevices, causing mold and mildew growth, which are hazardous to health. Furthermore, the constant dripping signifies that something within the faucet mechanism has worn out or broken, necessitating repair or replacement. Understanding the underlying problem is the first step in effectively fixing it. Identifying whether the leak is due to a worn-out washer, a corroded valve seat, or another component requires a bit of investigative work, but it pays off by ensuring you address the root cause and not just the symptom.

Gathering Your Tools
Before embarking on the repair journey, it’s crucial to gather all necessary tools and materials. This preparation saves time and ensures that you won’t have to make multiple trips to the hardware store. Essential tools for fixing a leaky bathtub faucet typically include a screwdriver set, an adjustable wrench, pliers, a faucet wrench, and plumber’s tape. Additionally, depending on the type of faucet, you may need specific replacement parts such as washers, O-rings, or even a new cartridge. Having a bucket and some rags handy will help manage any water that might spill during the process. With everything laid out, you’re equipped to tackle the repair efficiently. This proactive approach helps prevent any mid-repair interruptions, making the task smoother and less frustrating.
Turning Off the Water Supply
An essential step before starting any plumbing repair is to turn off the water supply to prevent flooding and water damage. Locate the shut-off valves for your bathtub. These are usually found beneath the sink or behind an access panel near the tub. If you cannot find individual shut-off valves, you may need to turn off the main water supply for your home. Once the water is off, open the faucet to drain any remaining water in the pipes. This step is crucial because it ensures that you won’t be dealing with unexpected water flow while disassembling the faucet. Properly shutting off the water not only makes the repair safer but also allows you to focus entirely on fixing the leak without worrying about water damage.
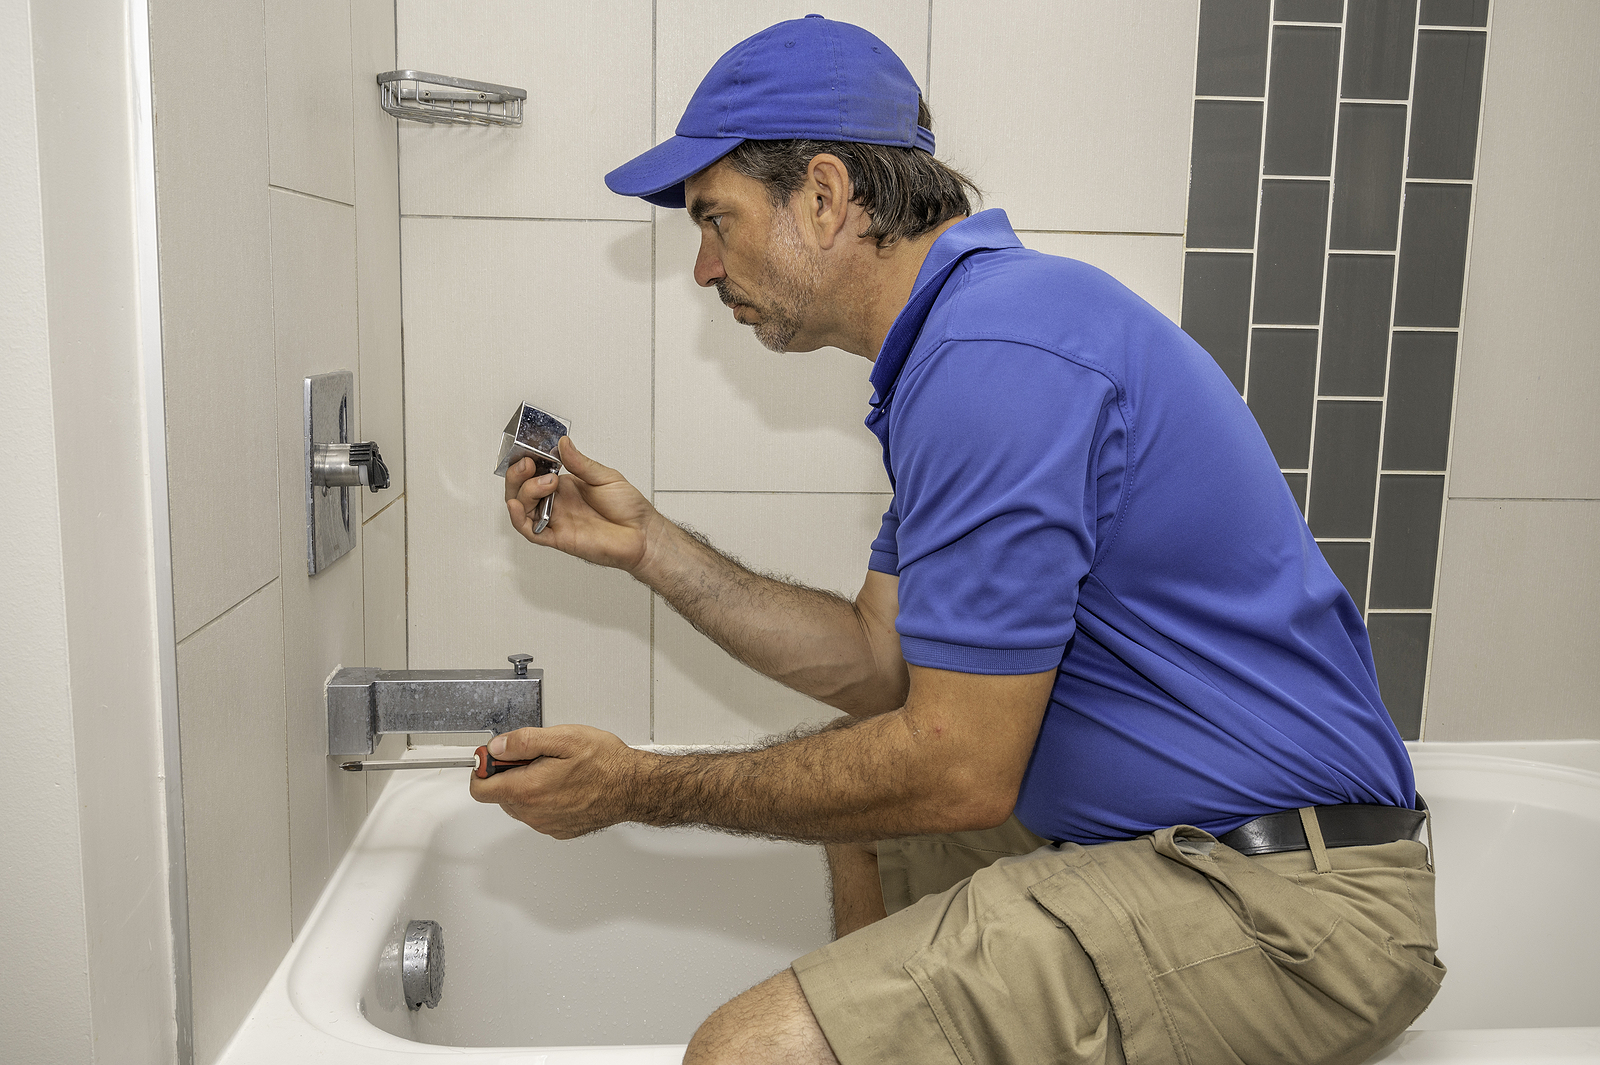
Removing the Faucet Handle
With the water supply securely turned off, the next step is to remove the faucet handle. This process varies slightly depending on the type and brand of your faucet, but generally involves locating and removing the screws that hold the handle in place. These screws are often hidden beneath decorative caps or covers, which can be pried off with a flathead screwdriver. Once exposed, use a screwdriver to remove the screws, then gently pull the handle off the stem. Sometimes, mineral buildup can cause the handle to stick; if this happens, apply a bit of penetrating oil and let it sit for a few minutes before trying again. Removing the handle reveals the internal components of the faucet, such as the stem and cartridge, allowing you to inspect them for wear and damage.
Inspecting and Replacing the Washer
After removing the handle, the next component to examine is the washer. In many cases, a worn-out washer is the culprit behind a leaky faucet. To access the washer, you’ll need to remove the valve stem. This part is typically secured with a retaining nut, which can be unscrewed using an adjustable wrench. Once removed, you can pull the stem out, exposing the washer attached at the end. Over time, washers can become brittle, cracked, or flattened, compromising their ability to create a watertight seal. If the washer appears damaged, replace it with a new one of the same size and type. Ensure the new washer fits snugly and securely before reassembling the valve stem and handle. Properly replacing the washer is a critical step in stopping the leak and restoring the faucet’s functionality.
Checking the Valve Seat
If replacing the washer doesn’t resolve the leak, the next component to check is the valve seat. The valve seat is the part where the washer creates a seal to stop the flow of water. Over time, this component can become corroded or develop grooves, preventing a proper seal and causing leaks. To inspect the valve seat, you’ll need to remove the valve stem completely. Use a flashlight to look inside the opening and check for any signs of damage or wear. If the valve seat appears damaged, it will need to be resurfaced or replaced. Special tools called valve seat dressers can be used to smooth out minor imperfections, but for more severe damage, replacing the entire valve seat might be necessary. Ensuring the valve seat is in good condition is essential for a lasting repair.
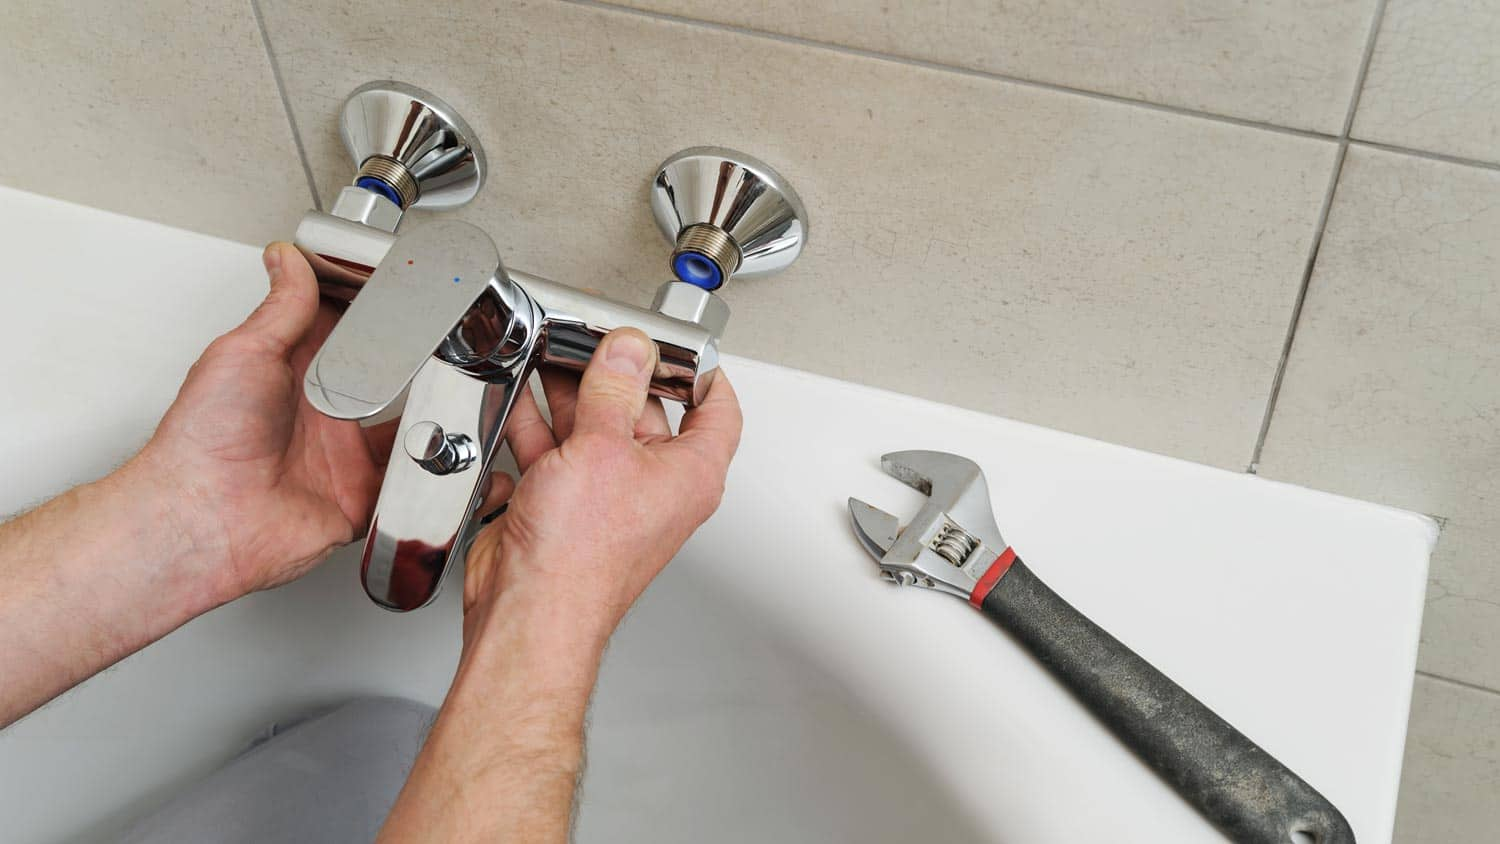
Reassembling the Faucet
Once you’ve inspected and repaired or replaced the necessary components, it’s time to reassemble the faucet. Begin by reinserting the valve stem into its housing, ensuring it is properly aligned and seated. Secure it with the retaining nut, tightening it with an adjustable wrench. Next, reattach the handle, securing it with the screws you removed earlier. If there were any decorative caps or covers, snap them back into place. Before turning the water supply back on, double-check that all components are properly assembled and tightened. This step is crucial to prevent any further leaks. Proper reassembly ensures that the faucet operates smoothly and that the repair is effective. Taking the time to carefully reassemble the faucet helps avoid additional issues down the line.

Testing the Repair
With the faucet reassembled, the final step is to test your repair. Turn the water supply back on slowly, watching for any signs of leaks around the handle or spout. Open the faucet to allow water to flow through, then close it and observe if any dripping occurs. It’s important to give it a few moments to see if the leak persists. If you’ve followed all the steps correctly and addressed the underlying issues, the faucet should no longer drip. However, if the leak continues, it may indicate a more complex problem that requires professional assistance. Successfully testing the repair confirms that you’ve effectively resolved the issue, bringing peace of mind and a quiet, drip-free bathroom environment.
Preventative Maintenance Tips
To extend the life of your repaired faucet and prevent future leaks, consider implementing some preventative maintenance practices. Regularly check for signs of wear and tear on the faucet components and replace them before they become problematic. Clean the aerator periodically to ensure a smooth water flow and prevent mineral buildup. Applying a thin layer of plumber’s grease to the O-rings and washers during reassembly can also help maintain a tight seal and reduce friction, extending their lifespan. Additionally, avoid overtightening the faucet handles, as this can cause excessive wear on the internal components. Implementing these simple maintenance tips can help keep your faucet in good working condition and prevent leaks from recurring.
Knowing When to Call a Professional
While fixing a leaky bathtub faucet can often be done as a DIY project, there are times when it’s best to call in a professional plumber. If you’ve attempted the repair and the leak persists, or if you encounter complications such as stripped screws, broken components, or inaccessible valve seats, a professional can provide the expertise and tools needed to resolve the issue. Additionally, if your home has older plumbing with outdated fixtures, a professional assessment may reveal underlying problems that require more extensive repairs or replacements. Knowing when to seek professional help can save you time, frustration, and potential damage to your plumbing system. A skilled plumber can ensure that the repair is done correctly and safely, giving you confidence that the leak has been properly addressed.
Conclusion
Fixing a leaky bathtub faucet is a manageable task that can save you money on water bills and prevent potential damage to your home. By understanding the problem, gathering the necessary tools, turning off the water supply, removing the faucet handle, inspecting and replacing the washer, checking the valve seat, reassembling the faucet, testing the repair, and implementing preventative maintenance, you can effectively stop the drip and enjoy a quiet, leak-free bathroom. However, knowing when to call a professional is equally important to ensure a thorough and reliable repair. With these guidelines, you’ll be well-equipped to handle a leaky faucet and maintain a well-functioning bathroom.