DIY Fix: Repairing Cracks in Plastic Bathtubs
Plastic bathtubs, commonly made of materials like acrylic or fiberglass, offer a sleek, lightweight, and affordable alternative to traditional ceramic or cast iron tubs. However, their vulnerability to cracks and scratches can be a cause for concern. Fear not, as most minor to moderate damages can be easily repaired with a few DIY tricks, saving you the cost and hassle of a full replacement. In this comprehensive guide, we’ll walk you through the process of identifying, preparing, and repairing cracks in your plastic bathtub, ensuring your bathroom remains both functional and aesthetically pleasing.
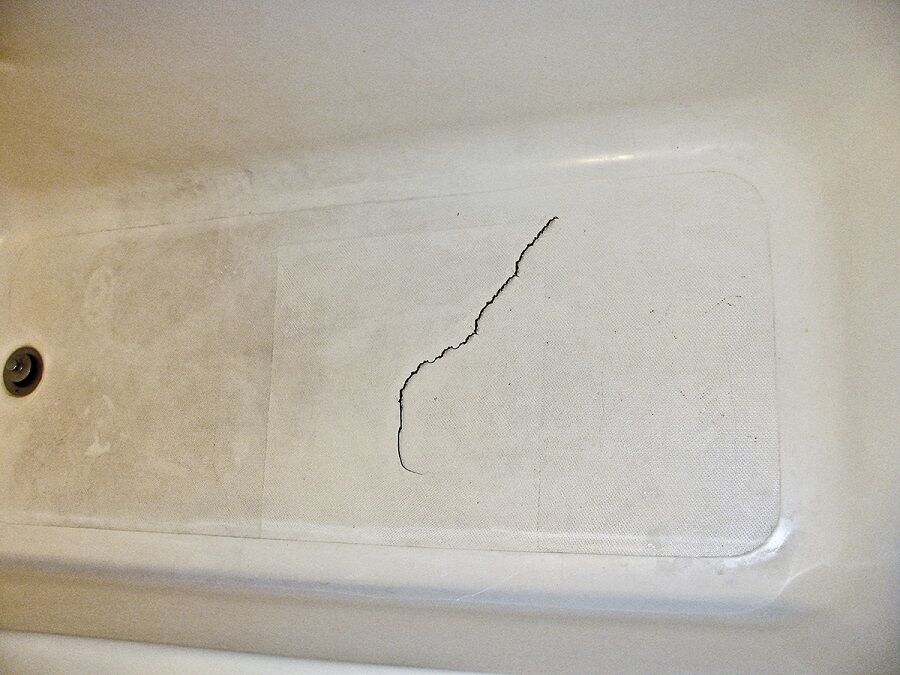
Identifying the Damage
Before diving into repairs, it’s crucial to thoroughly assess the damage. Cracks can range from hairline fractures to more substantial splits. Start by cleaning the tub to remove any dirt, soap scum, or other residues that might obscure the true extent of the crack. Use a mild detergent and a soft cloth or sponge for this step. Once clean and dry, inspect the tub under good lighting, taking note of the length, depth, and location of each crack. If the damage is severe, such as a large section being completely broken off, professional help might be necessary. But for smaller issues, a DIY fix is entirely feasible.
Gathering Materials
For a successful repair, gather the following items:
- Epoxy or polyester resin specifically designed for plastics, often marketed as bathtub repair kits.
- A mixing tray or disposable container.
- Mixing sticks for the resin.
- Sandpaper (fine grit, around 400-600).
- Clean cloths or rags.
- Isopropyl alcohol for cleaning and preparing the surface.
- Painter’s tape to protect surrounding areas.
- A utility knife or scraper to remove loose debris from the crack.
- Gloves and safety goggles for personal protection.
Preparing the Area
To prevent any accidental damage to the tub’s finish or surrounding tiles, use painter’s tape to mask off the area around the crack. This step is especially important if you’re working near decorative elements or different colored surfaces. Next, using isopropyl alcohol, clean the crack and a small area around it. This removes any oils, dirt, or soap residue that could interfere with the bonding process. Allow the area to dry completely before proceeding.
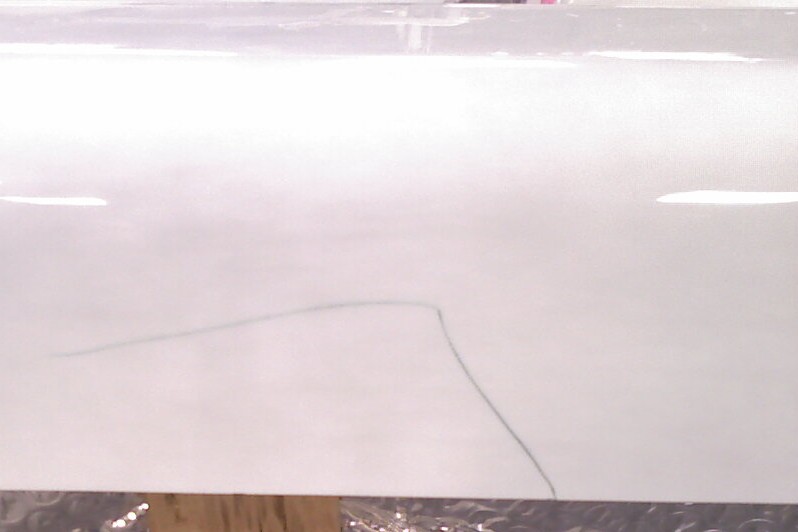
Widening the Crack (If Necessary)
Hairline cracks might require widening to ensure a proper bond. Using a utility knife or a scraper, gently enlarge the opening slightly, being careful not to create unnecessary damage. This step isn’t always necessary, particularly for larger cracks that are already wide enough for the repair material to penetrate deeply.

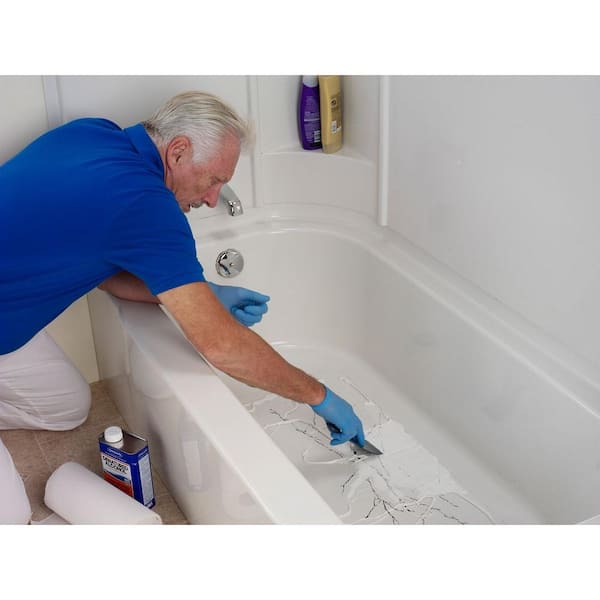
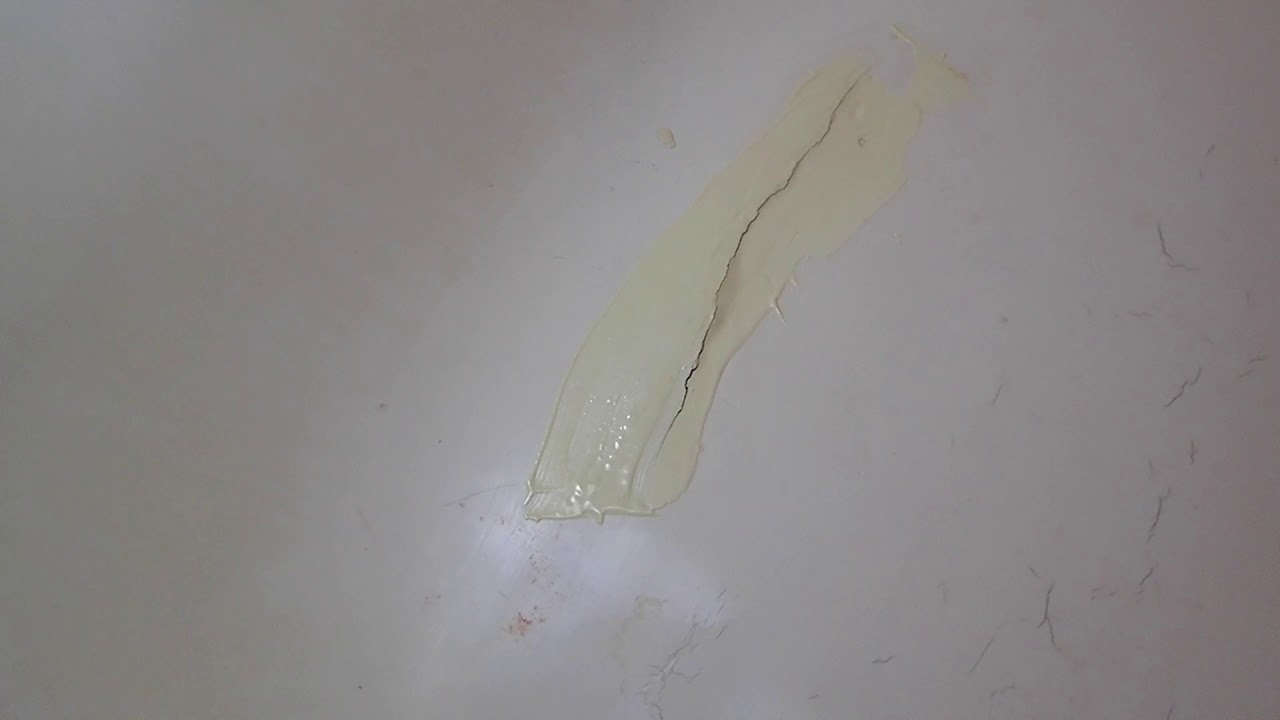
Mixing and Applying the Resin
Following the manufacturer’s instructions, mix the epoxy or polyester resin in the provided tray or a disposable container. Be precise with measurements and mixing times, as improper mixing can affect the strength and appearance of the repair. Once mixed, apply the resin into the crack using a gloved finger or a small spatula, ensuring it fills the entire depth of the crack. Smooth the surface, removing any excess resin to create a flush finish with the tub’s surface.
Curing and Sanding
Allow the resin to cure according to the product’s guidelines, which can range from a few hours to overnight. During this time, avoid using the bathtub or exposing it to any pressure that could disturb the repair. Once fully cured, use fine-grit sandpaper to smooth out any raised areas or imperfections, blending the repair site seamlessly into the tub’s surface. Wipe away dust with a clean, damp cloth.
Touch-Up and Finishing
For an invisible repair, you may need to apply a touch-up coating that matches the tub’s color. Some repair kits include a color-matching guide or putty. Follow the instructions for mixing the correct color and apply it carefully over the sanded area. After it dries, give it a final light sanding with extra-fine grit sandpaper for a smooth finish. Lastly, clean the area thoroughly and remove all masking tape.
Preventing Future Damage
To prolong the life of your repaired bathtub and prevent future cracks, take preventive measures. Use a non-abrasive cleaner to maintain the tub’s surface, avoiding harsh chemicals that can weaken the material. Install a bath mat to provide traction and prevent slips, which can cause accidental impact damage. Regularly check for signs of wear and address minor issues promptly to prevent them from escalating.
Sealing and Protection
Consider applying a clear coat sealer specifically designed for bathtubs over the repaired area. This additional layer can enhance the durability of the repair and protect against water penetration and stains. Be sure to choose a sealer that is compatible with your tub’s material and the resin used for the repair. Apply the sealer following the manufacturer’s instructions, allowing it to dry completely before using the bathtub.
Temperature Control
Extreme temperature changes can stress the bathtub material and lead to cracks. To minimize such risks, avoid filling the tub with extremely hot water and regulate the room’s temperature to prevent drastic fluctuations. If you live in an area with freezing temperatures, ensure that the pipes and the tub itself are well-insulated to prevent freezing and subsequent expansion that can cause cracks.
Proper Usage and Maintenance
Educate all users about proper care to avoid actions that could damage the bathtub. For example, discourage standing in the tub when using it as a shower, as the added weight concentration can put stress on certain areas. Similarly, avoid dropping heavy objects into the tub, and if you must place something heavy (like a bath tray), distribute the weight evenly.
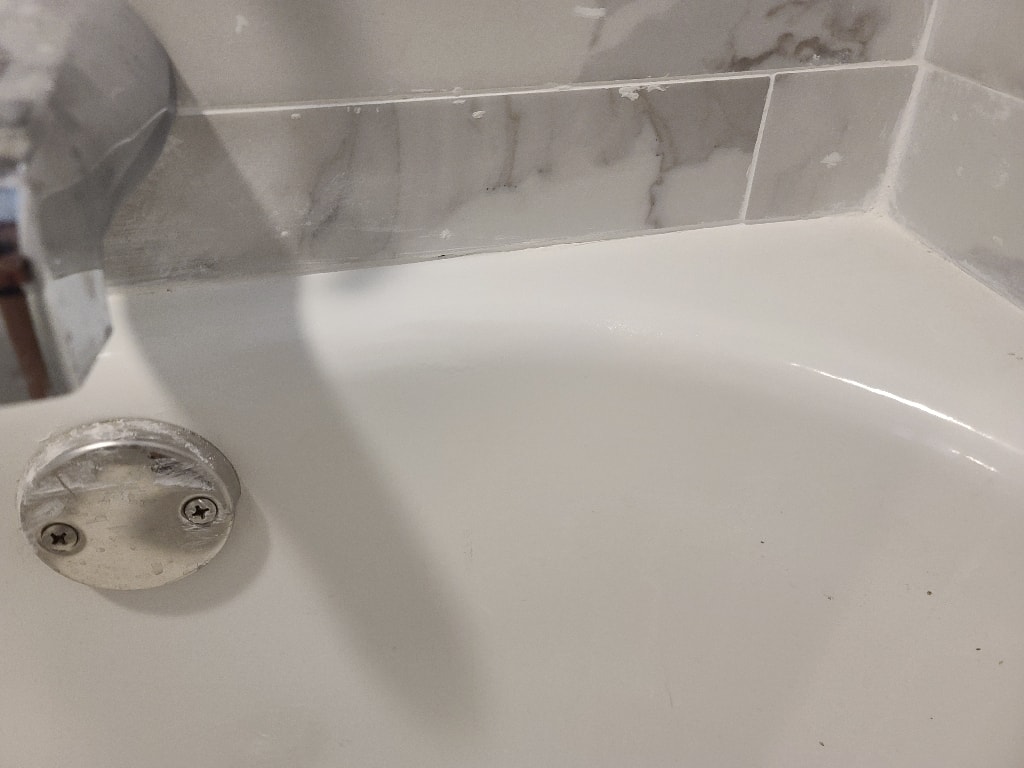
Regular Inspections
Conduct routine checks of your bathtub, paying close attention to areas around drains, faucets, and the edges where cracks are more likely to occur. Early detection of hairline cracks or other signs of wear can allow for timely repairs, preventing more significant damage that might require a full replacement.
Conclusion
Repairing cracks in plastic bathtubs is not only cost-effective but also a satisfying DIY project that can restore your bathroom’s appeal. With the right tools, materials, and a bit of patience, even novices can achieve professional-looking results. Remember, careful preparation and following instructions meticulously are key to a successful repair. Should you encounter more extensive damage or feel unsure about any step, consult a professional to ensure the safety and longevity of your bathtub.