
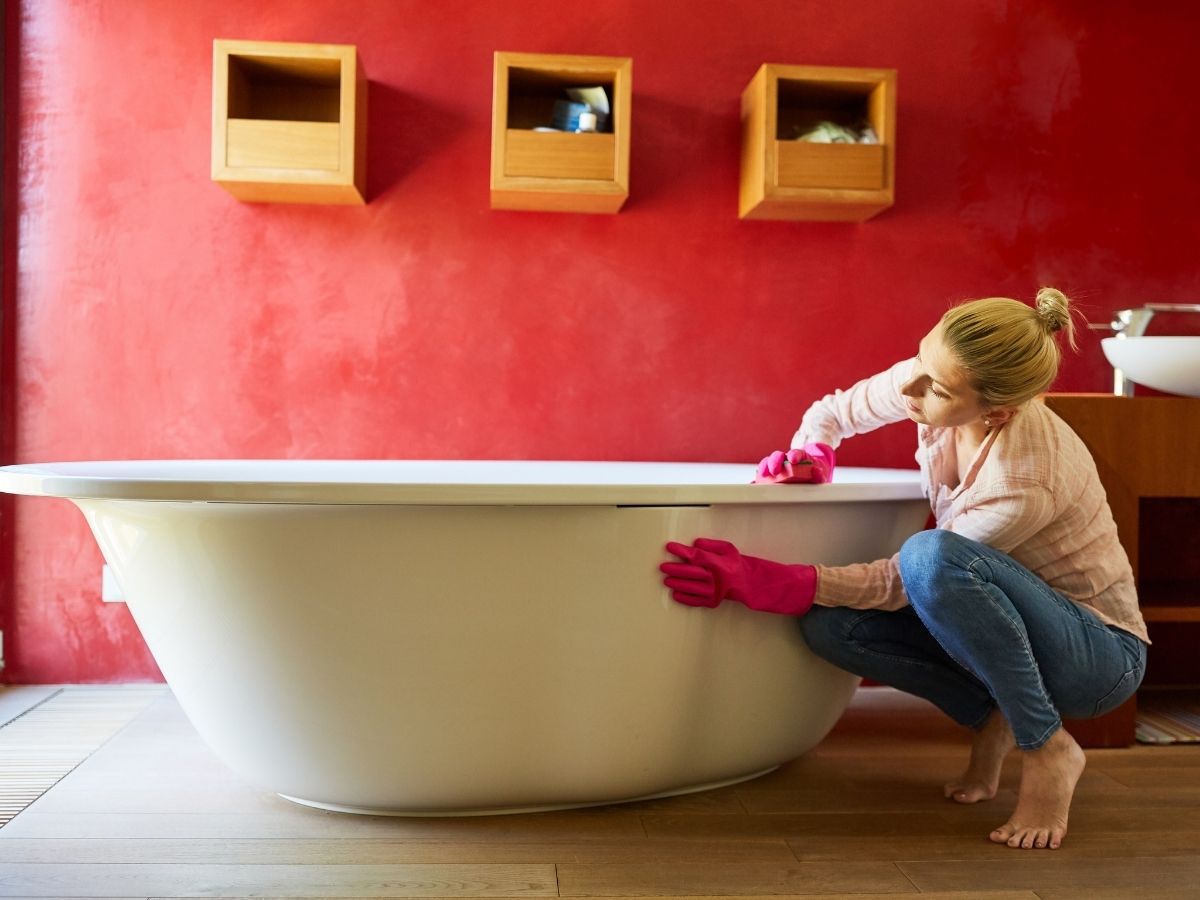
Introduction: The Bathtub Removal Challenge
Bathtub replacement can breathe new life into a bathroom, enhancing both aesthetics and functionality. However, the process of safely removing an old bathtub without damaging the surrounding walls or floors can seem daunting. This comprehensive guide aims to equip you with the knowledge and steps necessary to undertake this task with confidence, ensuring a smooth renovation journey while preserving the integrity of your bathroom structure.

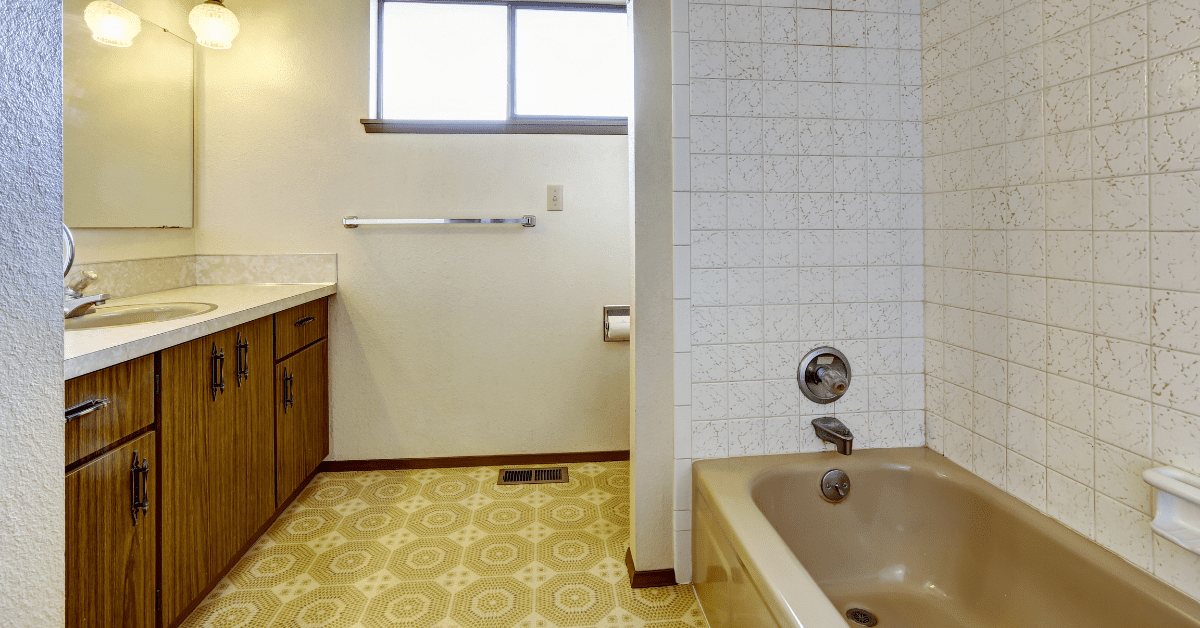
Assessing the Tub Type and Surrounding Area
Before diving into removal, it’s crucial to identify the type of bathtub you’re dealing with—whether it’s acrylic, fiberglass, cast iron, or steel—and understand its installation method. Acrylic and fiberglass tubs are lighter and easier to handle compared to their cast iron or steel counterparts, which are heavier and may require additional manpower. Additionally, inspect the surrounding walls, tiles, and flooring for any signs of weakness or damage that could complicate the removal process. Knowing what you’re working with sets the foundation for a safe and efficient removal strategy.
Gathering Essential Tools and Materials
To execute the removal safely, gather the following tools and materials: a pry bar, a reciprocating saw or jigsaw with a metal-cutting blade, a utility knife, a drill with various bits, adjustable wrenches, screwdrivers, safety goggles, work gloves, dust masks, tarps or plastic sheets, and furniture sliders or moving straps. Having the right tools ensures that you can tackle unexpected obstacles without causing unnecessary harm to the bathtub or the bathroom infrastructure.
Preparing the Workspace
Safety and cleanliness are paramount. Start by turning off the water supply to the bathtub and disconnecting any plumbing fixtures such as faucets and drains. Then, cover the floor and any nearby fixtures with tarps or plastic sheets to protect against scratches, dust, and potential water spills. Ensure adequate ventilation by opening windows or using a fan to minimize dust inhalation. Lastly, put on your safety gear, including goggles, gloves, and a dust mask.
Disconnecting Plumbing and Drainage
With the water supply off, proceed to disconnect the drain and overflow assembly. Typically, this involves removing screws or nuts securing the drain and overflow cover, followed by using a wrench to loosen the drain flange from the drainpipe. If access is limited, a reciprocating saw may be used to cut through the drainpipe beneath the tub. Be cautious not to damage the pipes beyond the cut point and prepare to repair or replace them later as needed.
Removing Caulk and Sealants
Old caulking and sealants around the tub must be removed to free it from the wall and floor. Utilize a utility knife or a specialized caulk remover tool to carefully cut and peel away the material without scratching the surfaces. For stubborn residue, apply a caulk softener, let it sit for the recommended time, then scrape it away gently. This step is crucial for preventing wall damage during tub extraction.
Detaching the Bathtub
Depending on the bathtub’s installation, it may be screwed or glued to the studs or the surround. Inspect for any visible fasteners and remove them using a drill or screwdriver. If the tub seems firmly attached without visible screws, it might be adhered with construction adhesive. In this case, carefully use a pry bar to loosen the bond, working gradually along the edges to minimize wall damage. For heavy tubs like cast iron, having extra help to lift and maneuver is essential to avoid accidents and structural compromise.
Extracting the Bathtub
With all connections severed and the tub freed from its anchoring, it’s time for the most physically demanding part: removing the bathtub. Slide furniture sliders under the tub if possible, or use moving straps to lift and carry it out carefully. For tight spaces, consider partially disassembling the tub through the removal of its sides or cutting it into manageable sections, especially if it’s an oversized unit. This approach requires caution and precision to avoid damaging surrounding walls and floors.
Post-Removal Cleanup and Inspection
After the bathtub is successfully extracted, clean up any debris, dust, and residual caulk or adhesive from the workspace. Inspect the walls, floor, and studs for any damage incurred during the removal process. Address any issues promptly, such as repairing minor wall damage with spackle or reinforcing compromised studs. This ensures a solid foundation for the new bathtub installation.
Preparing for the New Bathtub Installation
Before installing the new bathtub, take the opportunity to assess and upgrade the plumbing and electrical systems, if necessary. Check for any signs of corrosion, leaks, or outdated fixtures, and replace them with new ones that comply with current building codes. If you’re upgrading to a whirlpool or air-jetted tub, ensure your electrical supply is adequate and install a dedicated circuit if required.
Measuring and Fitting the New Tub
Carefully measure the space where the old bathtub was located, ensuring the dimensions match those of the new tub. Account for any variations in the space, such as uneven walls or floors, which may require adjustments or additional leveling materials. It’s crucial to confirm that the new bathtub can be maneuvered into place without causing further damage to your bathroom.
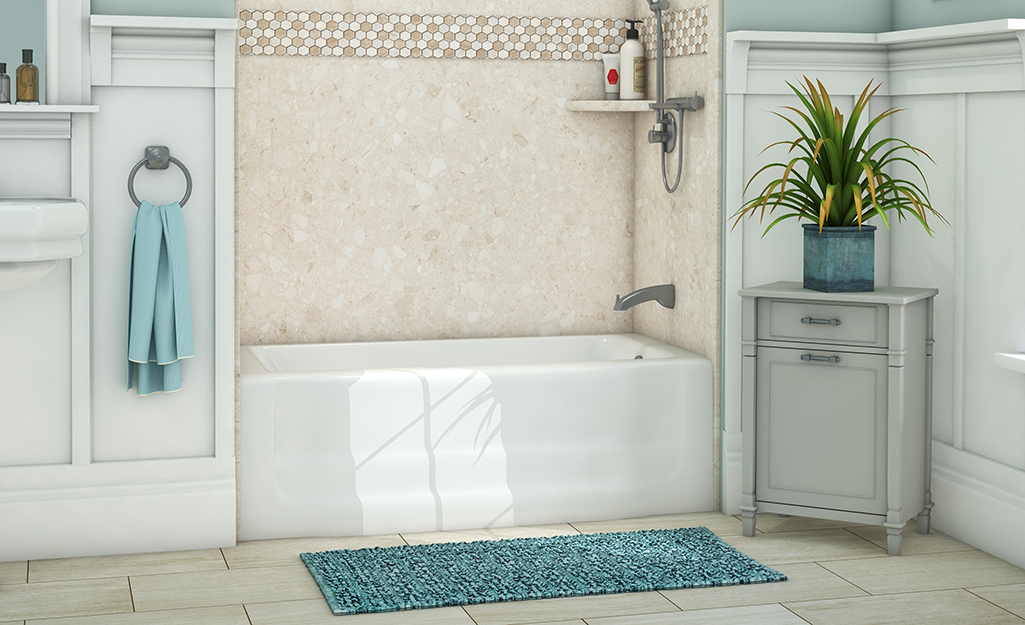
Installing the New Bathtub
Follow the manufacturer’s instructions closely when installing the new bathtub. This typically involves setting the tub in place, securing it to the wall studs or floor with appropriate fasteners (ensuring not to overtighten and crack the tub), and reestablishing connections for the drain, overflow, and faucet. Apply a new bead of caulk or specialized tub sealant around the edges to create a watertight seal.
Waterproofing and Finishing Touches
To prevent water damage and mold growth, apply a waterproof membrane or paint to the areas around the tub, especially if you have installed a tile surround. This is an important step that enhances the longevity of your bathroom renovation.
Conclusion: Planning Ahead for Success
Removing a bathtub without damaging the walls is achievable with careful planning, the right tools, and a methodical approach. By understanding your bathtub’s specifics, preparing the workspace, and executing each step meticulously, you can transform your bathroom safely and effectively. Remember, patience and caution are key throughout the process. Should you encounter complexities beyond your expertise, consulting or hiring a professional is always advisable. With the right strategy in place, your bathroom renovation journey can begin on a strong and undamaged note.