
Refresh Your Bathroom: DIY Bathtub Replacement Made Simple
Is your bathroom in desperate need of a makeover? Perhaps the worn-out bathtub has seen better days, and you’re considering a replacement. While the idea of tackling such a project may seem daunting, fear not! With the right tools, preparation, and guidance, replacing your bathtub can be a manageable and rewarding DIY endeavor. In this comprehensive guide, we’ll walk you through the step-by-step process of refreshing your bathroom by replacing your bathtub, making the task simple and achievable.
Introduction: Breathing New Life into Your Bathroom
Your bathroom is more than just a functional space—it’s a sanctuary where you begin and end each day. A worn-out or outdated bathtub can detract from the overall aesthetic and comfort of your bathroom. By embarking on a DIY bathtub replacement project, you have the opportunity to breathe new life into this essential room, enhancing its functionality and style. With careful planning and attention to detail, you can transform your bathroom into a revitalized oasis that reflects your personal taste and meets your practical needs.
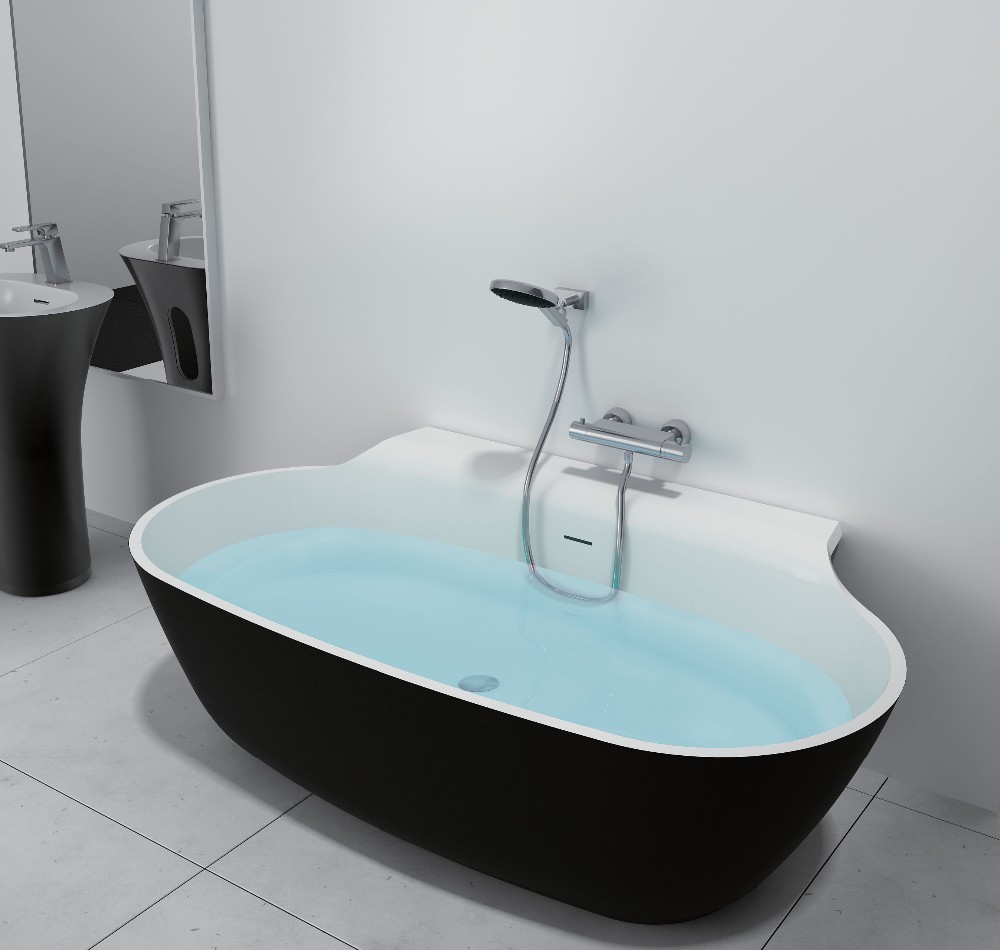
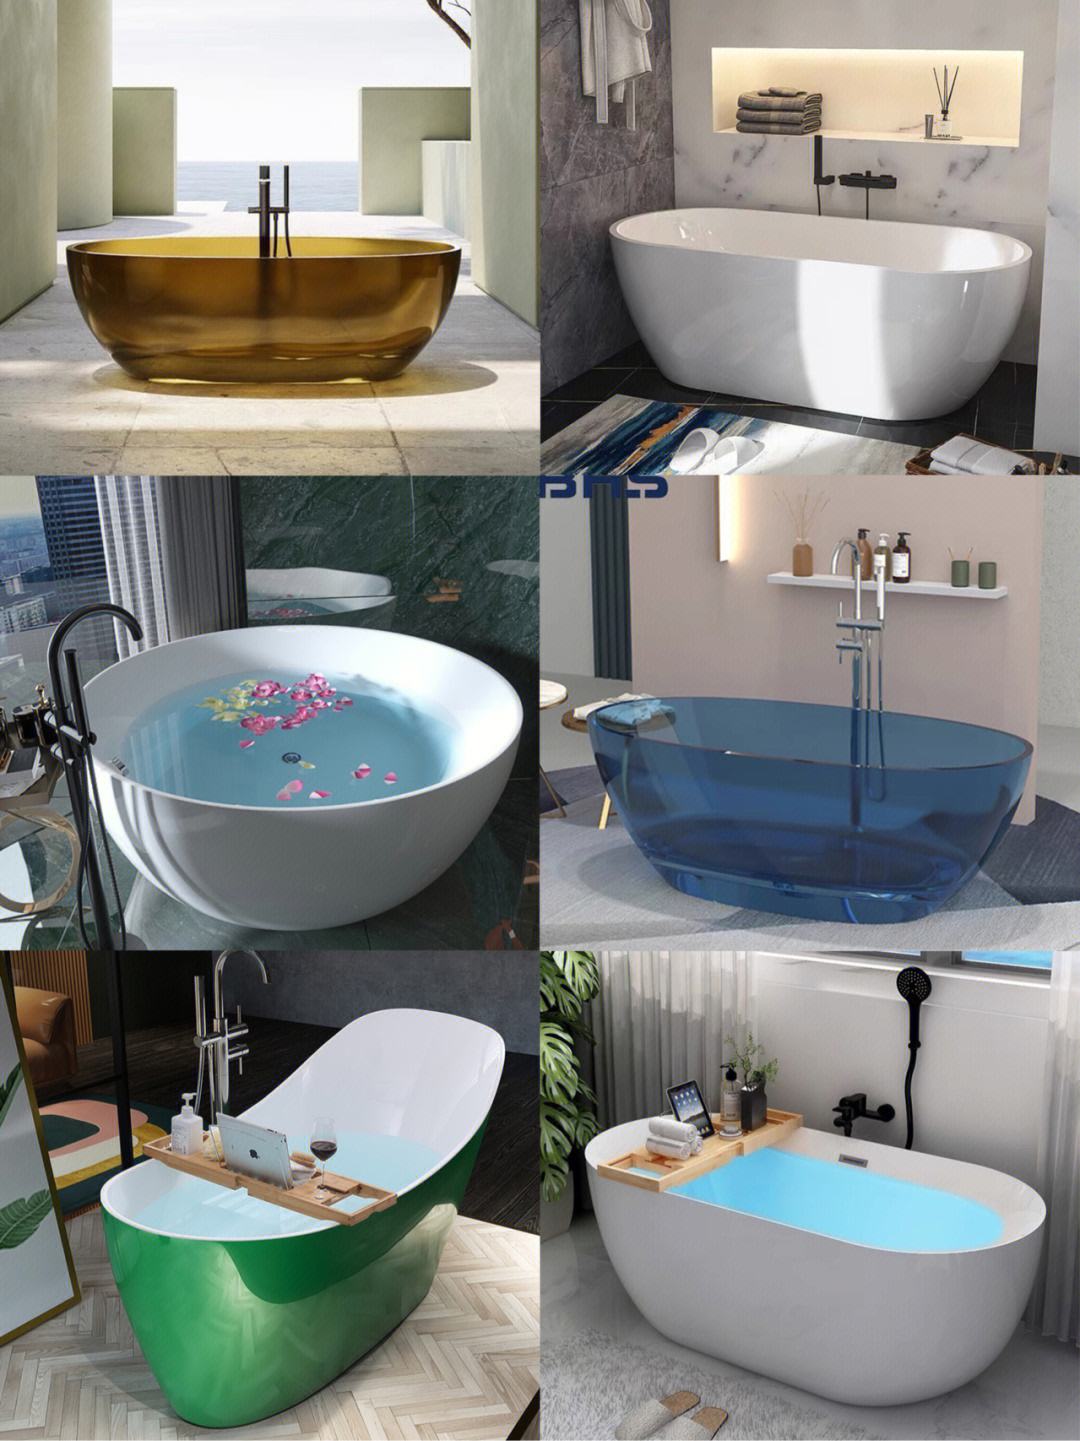
Assessing Your Needs: Choosing the Right Bathtub
Before diving into the bathtub replacement process, take some time to assess your needs and preferences. Consider factors such as the size of your bathroom, your budget, and any specific features or amenities you desire in a new bathtub. Whether you prefer a sleek and modern acrylic tub or a classic cast iron model, there are options available to suit every style and budget. Take measurements of your existing bathtub space to ensure that your new tub will fit seamlessly into the allotted area.

Gathering Your Tools and Materials: The Key to Success
To ensure a smooth and successful bathtub replacement project, it’s essential to gather all the necessary tools and materials beforehand. Here’s a list of items you’ll likely need:
- New bathtub
- Adjustable wrench
- Screwdriver (both flathead and Phillips)
- Utility knife
- Pry bar
- Silicone caulk
- Tub drain removal tool
- Plumber’s putty
- Level
- Safety goggles and gloves
- Waterproofing membrane (if installing a tile surround)
By having these tools and materials on hand, you’ll be well-equipped to tackle each step of the bathtub replacement process with confidence and efficiency.
Preparing the Workspace: Clearing the Path for Success
Before removing your old bathtub, it’s important to prepare the workspace to minimize mess and ensure safety. Start by removing any items from the surrounding area, such as toiletries, bath mats, and towels. Next, lay down protective covering, such as drop cloths or cardboard, to shield the floor from scratches and debris. If possible, open windows or use fans to ventilate the area and prevent the buildup of dust and fumes.
Removing the Old Bathtub: Breaking Free from the Past
With your workspace prepared and tools at the ready, it’s time to bid farewell to your old bathtub. Begin by shutting off the water supply to the bathroom and disconnecting the water lines leading to the tub. Use an adjustable wrench to loosen and remove the nuts securing the faucet and handles, then detach them from the wall.
Next, locate the access panel for the bathtub drain and remove it to expose the drain assembly. Use a tub drain removal tool to loosen and remove the drain flange, allowing you to disconnect the drain pipe from the tub. Depending on your bathtub’s configuration, you may also need to disconnect the overflow assembly.
Once all connections have been disconnected, carefully lift and maneuver the old bathtub out of its alcove or platform, taking care not to damage surrounding walls or flooring. Enlist the help of a friend or family member to assist with this step, as bathtubs can be heavy and awkward to maneuver on your own.

Preparing the Alcove or Platform: A Clean Slate for the Future
With the old bathtub removed, take some time to inspect the alcove or platform for any damage or debris. Remove any remnants of caulking or adhesive using a utility knife or scraper, ensuring that the surface is smooth and clean. If necessary, make any repairs or reinforcements to the framing or subflooring to support the weight of the new bathtub.
Installing the New Bathtub: Building a Foundation for Relaxation
With the alcove or platform prepared, it’s time to install your new bathtub. Carefully maneuver the tub into position, ensuring that it fits snugly against the walls and aligns with the drain opening. Use a level to confirm that the tub is sitting evenly and adjust as needed.
Once the tub is properly positioned, secure it in place using the appropriate mounting hardware. Follow the manufacturer’s instructions for your specific bathtub model, ensuring that all fasteners are tightened securely to prevent movement or shifting.
Connecting the Plumbing: Bringing Your Bathtub to Life
With the bathtub securely in place, it’s time to reconnect the plumbing fixtures. Begin by installing the drain assembly, applying plumber’s putty to the underside of the drain flange to create a watertight seal. Insert the drain flange into the drain opening and tighten the retaining nut from below to secure it in place. Reattach the overflow assembly if necessary, ensuring a secure connection.
Next, reconnect the water lines to the faucet and handles, ensuring that all connections are tight and leak-free. Turn on the water supply to the bathroom and check for any leaks or drips, tightening connections as needed to achieve a watertight seal.
Finishing Touches: Sealing the Deal
With the plumbing connections secure, it’s time to add the finishing touches to your new bathtub installation. Apply a bead of silicone caulk along the seams where the tub meets the walls and floor, smoothing it with a damp cloth or finger to create a clean, waterproof seal. Allow the caulk to cure according to the manufacturer’s instructions before using the bathtub.

Maintaining Your New Bathtub: Preserving Its Beauty for Years to Come
Now that your new bathtub is installed and ready for use, it’s essential to implement a maintenance routine to preserve its beauty and functionality for years to come. By incorporating simple cleaning and care practices into your regular household routine, you can extend the lifespan of your bathtub and keep it looking like new.
1. Regular Cleaning: Make it a habit to clean your bathtub regularly to prevent the buildup of soap scum, grime, and mildew. Use a non-abrasive cleaner specifically formulated for your bathtub material, such as acrylic or porcelain. Avoid harsh chemicals and abrasive scrubbing pads, as they can damage the surface of your tub.
2. Preventing Stains: To prevent stubborn stains from forming, rinse your bathtub thoroughly after each use to remove any soap residue or bath products. Consider using a squeegee or microfiber cloth to dry the surface and minimize water spots. Additionally, avoid leaving shampoo bottles or other bath accessories sitting directly on the tub surface for extended periods, as they can cause discoloration over time.
Enjoying the Fruits of Your Labor: Relaxation Awaits
Congratulations! You’ve successfully completed your DIY bathtub replacement project and transformed your bathroom into a rejuvenated retreat. Take a moment to admire your handiwork and revel in the satisfaction of a job well done. Now, it’s time to fill up the tub, add some bubbles, and treat yourself to a well-deserved soak. Sit back, relax, and enjoy the newfound comfort and luxury of your refreshed bathroom oasis.