
Introduction: Challenges of Installing a Bathtub without Underneath Access
Installing a bathtub in a bathroom where there is no access underneath presents unique challenges that require careful planning and execution. Unlike traditional installations where you can easily reach plumbing connections and support structures from below, these situations demand alternative methods that ensure the tub is securely in place and fully functional. This type of installation is common in homes with concrete slab foundations or upper-level bathrooms where accessing the floor from underneath is not feasible. Understanding these challenges is crucial for achieving a successful installation that will stand the test of time.
Pre-Installation Planning and Preparation
Effective planning and preparation are essential when installing a bathtub without access underneath. Start by thoroughly measuring the bathroom space to ensure the new tub fits correctly and aligns with existing plumbing. It’s important to choose a bathtub that suits the layout and dimensions of your bathroom while considering the weight and material of the tub, as certain materials may require additional support. Additionally, gather all necessary tools and materials before beginning the project. This includes the bathtub itself, plumbing fixtures, silicone sealant, mortar or a suitable adhesive for securing the tub base, and appropriate safety gear. Planning also involves inspecting the current plumbing setup to determine if any modifications are needed to accommodate the new bathtub without requiring access from below.
Selecting the Right Bathtub
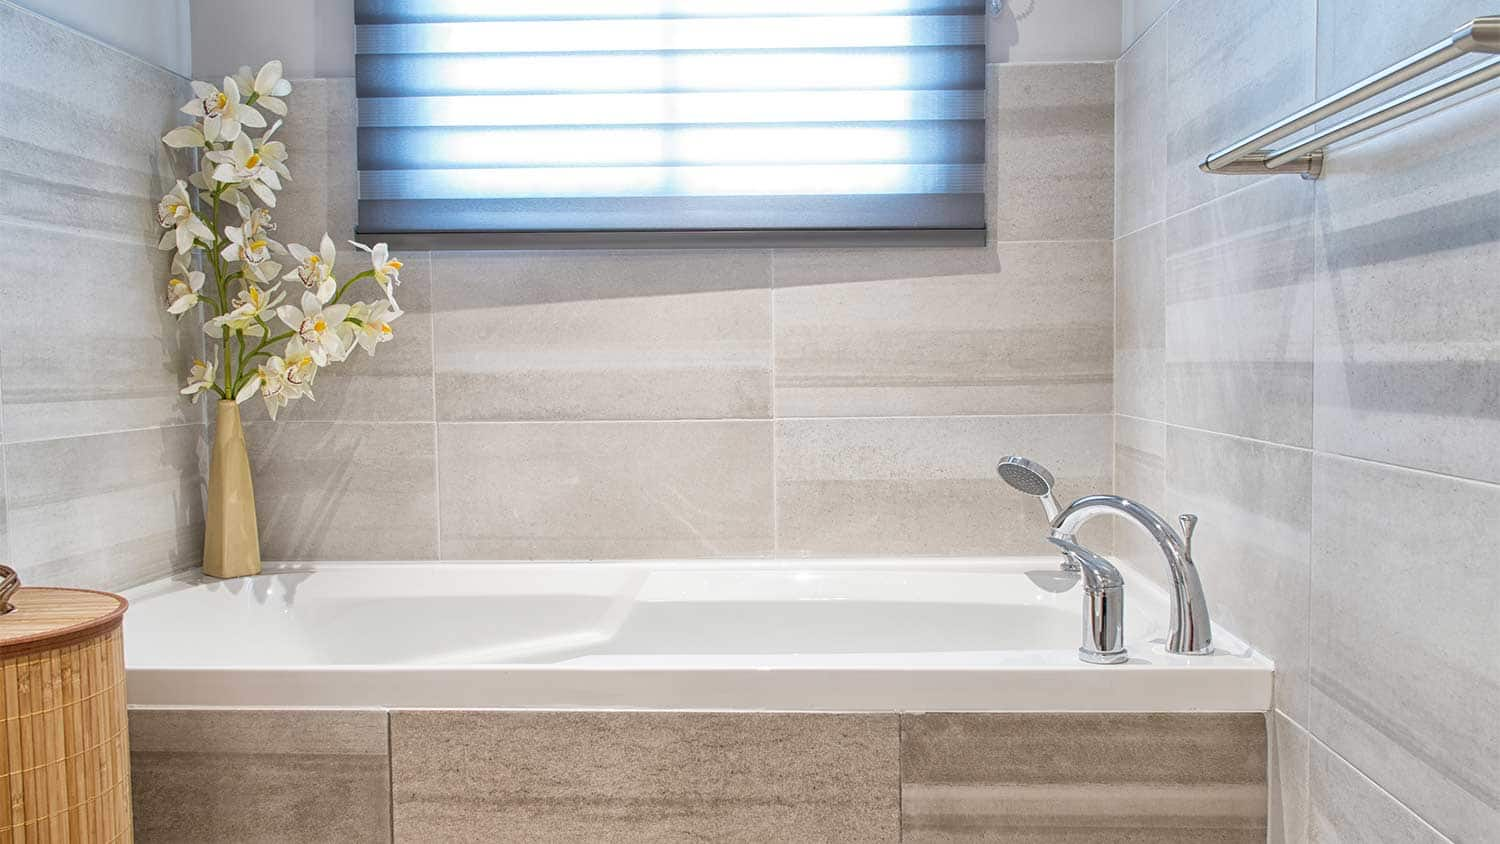
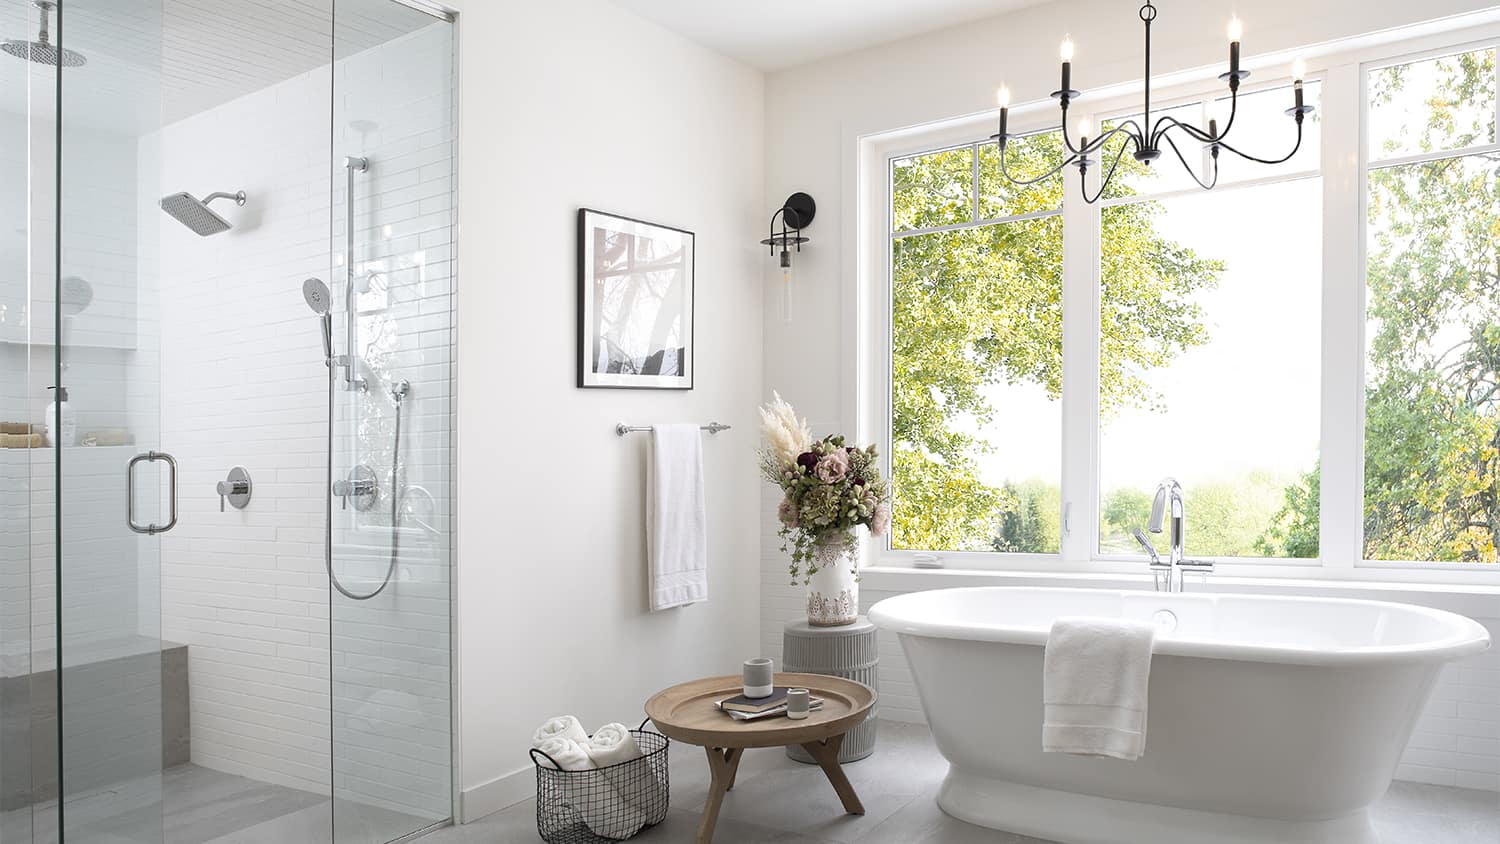
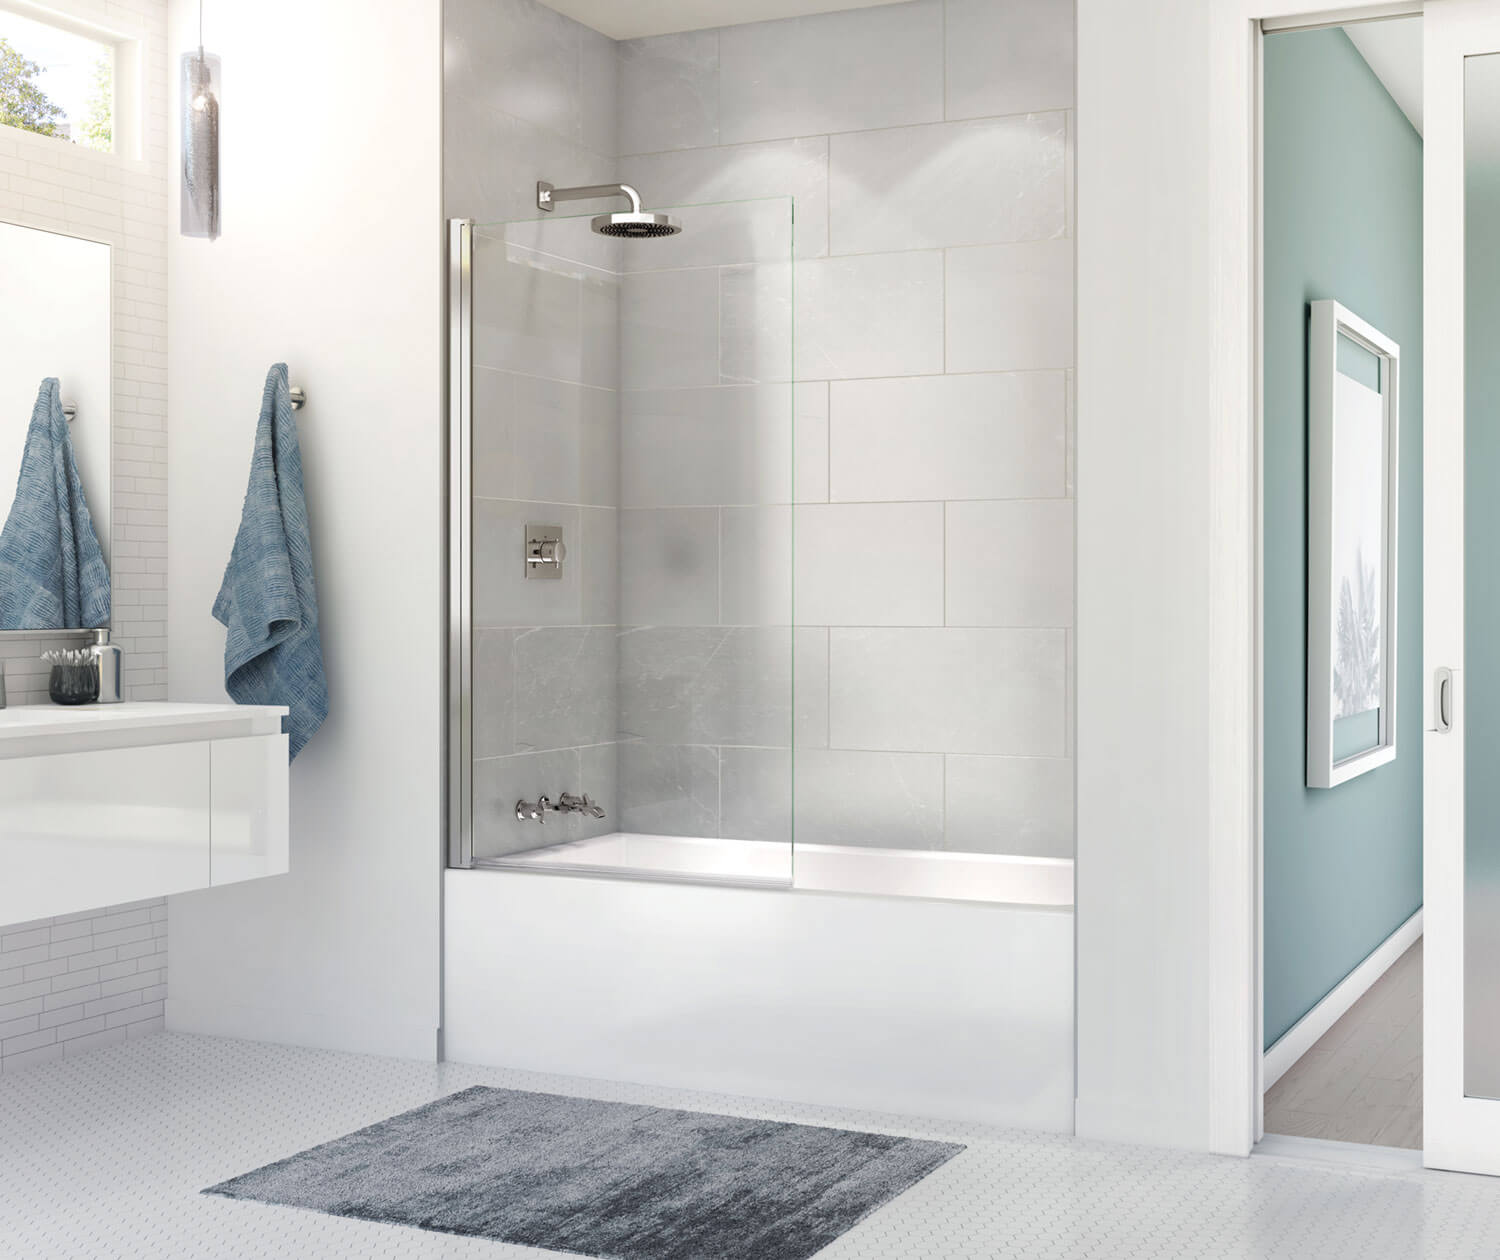
Choosing the right bathtub is a critical step in ensuring a smooth installation process. When selecting a bathtub for a location without underneath access, consider options like alcove tubs or drop-in tubs that can be installed with minimal disruption to existing structures. Alcove bathtubs, which are designed to fit into three-walled enclosures, are particularly suitable for installations where space is limited. These tubs typically have a front apron and can be anchored securely to the walls on three sides. Drop-in bathtubs, on the other hand, require a platform or deck to be built around them, providing flexibility in design but necessitating precise measurements and construction. In either case, opting for a lightweight yet durable material, such as fiberglass or acrylic, can ease the installation process while ensuring longevity.
Preparing the Bathroom Space
Before installing the new bathtub, thorough preparation of the bathroom space is essential. Begin by removing the old bathtub if present, taking care to disconnect plumbing fixtures and safely dispose of the unit. Ensure that the subfloor is clean, dry, and level, as any unevenness can affect the stability and alignment of the new bathtub. If necessary, reinforce the subfloor to provide adequate support for the new tub, especially if it is heavier than the previous one. Additionally, inspect the surrounding walls and repair any damage to create a solid foundation for securing the bathtub. It is also advisable to install moisture-resistant drywall or cement board around the bathtub area to prevent water damage and mold growth in the future.
Setting Up Plumbing Connections
One of the most challenging aspects of installing a bathtub without access underneath is properly setting up the plumbing connections. Begin by positioning the bathtub in its designated location and marking the positions of the drain and overflow outlets on the floor. Carefully cut holes in the subfloor to accommodate these connections. Use flexible plumbing connectors, such as P-traps and extension tubes, to connect the bathtub drain to the existing plumbing system. These flexible connectors allow for adjustments and alignment without needing direct access from below. Ensure that all connections are securely tightened and sealed with plumber’s tape or sealant to prevent leaks. Test the plumbing by running water through the system to check for any leaks before permanently securing the bathtub in place.
Securing the Bathtub in Place
After ensuring that the plumbing connections are secure and leak-free, the next step is to secure the bathtub in place. Apply a generous amount of mortar or a high-quality adhesive to the subfloor where the bathtub will sit. This provides a stable base and prevents movement once the tub is installed. Gently lower the bathtub onto the adhesive, making sure it is level and properly aligned with the plumbing connections. Press down firmly to ensure the tub adheres to the subfloor. For added stability, attach the bathtub to the surrounding walls using the manufacturer’s recommended mounting brackets or screws. Double-check that the bathtub is level in all directions before allowing the adhesive to cure.
Waterproofing and Sealing
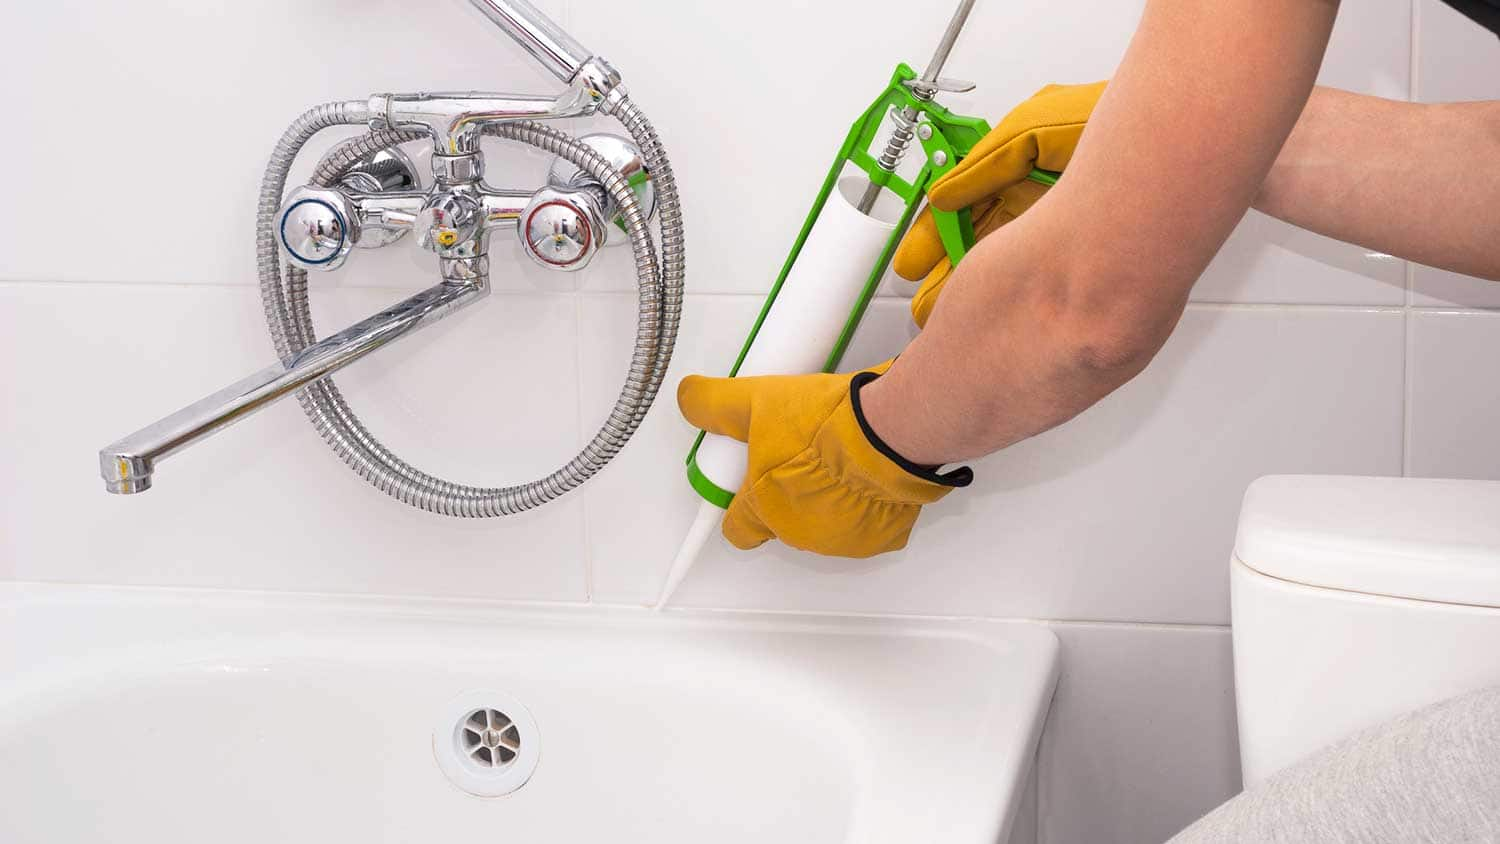
Waterproofing and sealing are crucial steps in preventing water damage and ensuring the longevity of the bathtub installation. Once the bathtub is securely in place, apply a bead of silicone sealant around the edges where the tub meets the walls. This creates a watertight seal that prevents moisture from seeping behind the tub and causing damage. Pay special attention to the areas around the plumbing fixtures and the junctions between the bathtub and the tiled walls. Additionally, consider applying a waterproof membrane or sealant to the walls surrounding the bathtub to further protect against water intrusion. Allow the sealant to cure fully according to the manufacturer’s instructions before using the bathtub.
Finishing Touches and Clean-Up
With the bathtub installed, plumbing connected, and waterproofing complete, it’s time to focus on the finishing touches. Install the remaining plumbing fixtures, such as the faucet, showerhead, and handles, ensuring they are securely fastened and properly aligned. Test all fixtures for proper operation and check for any leaks. Clean any excess adhesive or sealant from the bathtub and surrounding surfaces using a suitable cleaner. If you’ve installed tile or other wall coverings, grout and seal the joints to complete the waterproof barrier. Finally, give the entire bathroom a thorough cleaning to remove any dust or debris generated during the installation process. This final step ensures that your new bathtub is not only functional but also visually appealing.
Post-Installation Inspection and Maintenance
After completing the bathtub installation, conduct a thorough inspection to ensure everything is in proper working order. Check that the bathtub is level, the plumbing connections are leak-free, and the sealant has cured properly. Regularly maintain your new bathtub by cleaning it with non-abrasive cleaners and inspecting the caulking and sealant periodically for signs of wear or damage. Address any issues promptly to prevent water damage and extend the lifespan of your bathtub. Additionally, consider applying a protective wax or coating to the tub surface to preserve its finish and make cleaning easier. Proper maintenance ensures that your new bathtub remains in excellent condition and continues to provide a comfortable and enjoyable bathing experience.
Conclusion: Achieving a Successful Installation
Installing a bathtub without access underneath requires meticulous planning, careful execution, and a keen attention to detail. By following the outlined methods and considerations, you can successfully navigate the challenges associated with this type of installation. From choosing the right bathtub and preparing the bathroom space to securing plumbing connections and ensuring proper waterproofing, each step plays a vital role in achieving a successful outcome. With the right approach and adherence to best practices, you can enjoy the benefits of a beautifully installed bathtub that enhances the functionality and aesthetic of your bathroom. Whether you’re undertaking a renovation or simply upgrading your bathtub, this guide provides the comprehensive information needed to tackle the project with confidence and skill.