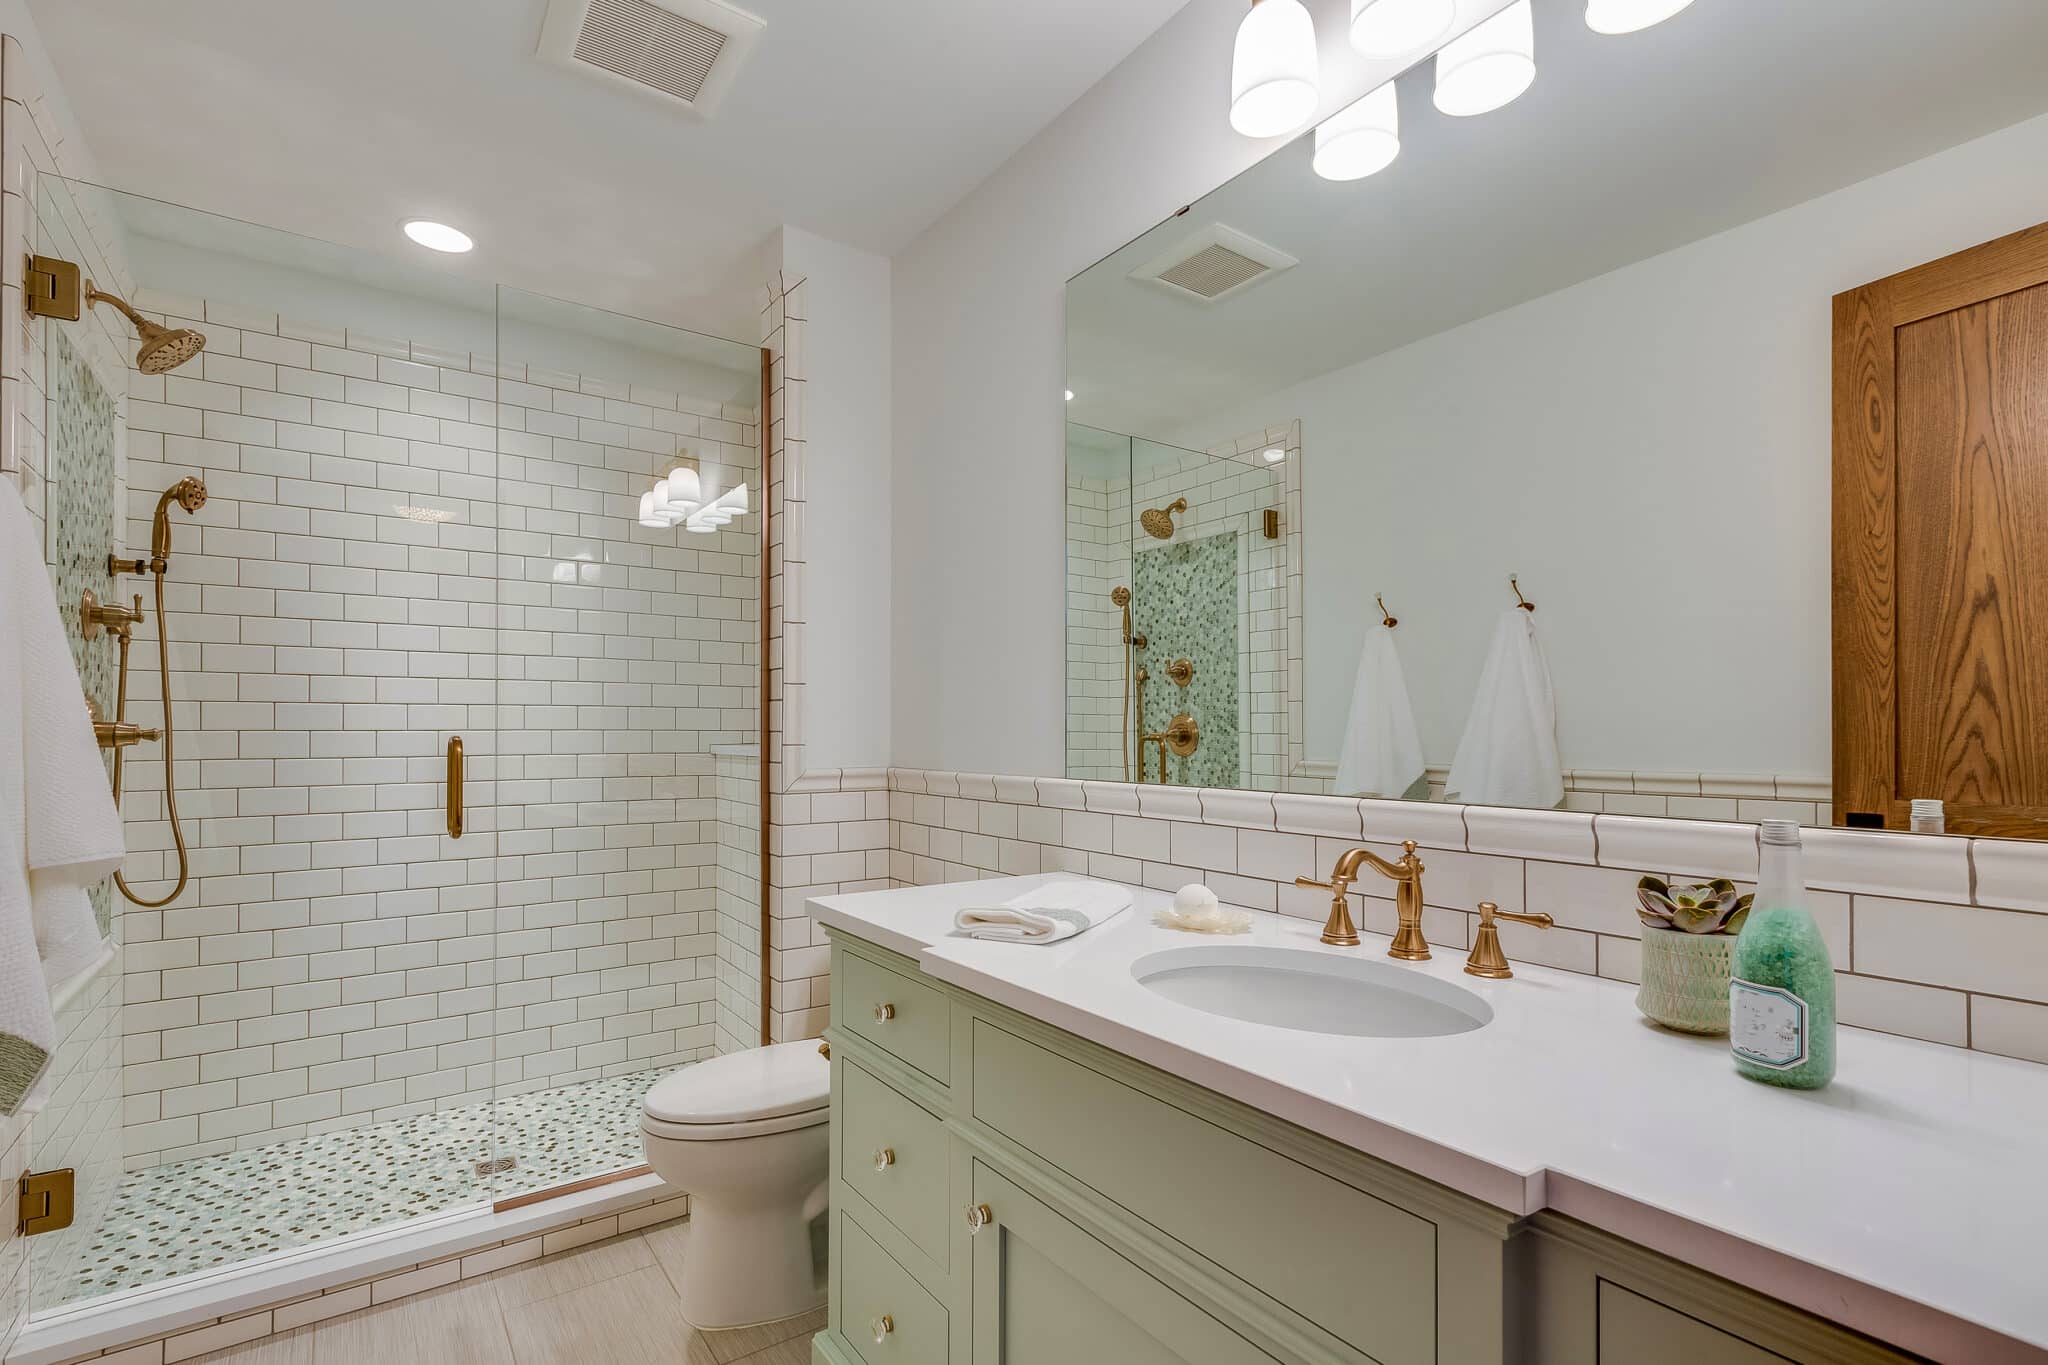
Introduction
Revitalizing your bathroom doesn’t always require a complete renovation. Sometimes, a simple refinishing of your bathtub can breathe new life into the space, making it look fresh and inviting once again. In this comprehensive guide, we’ll walk you through the step-by-step process of refinishing your bathtub, from preparation to final touches.
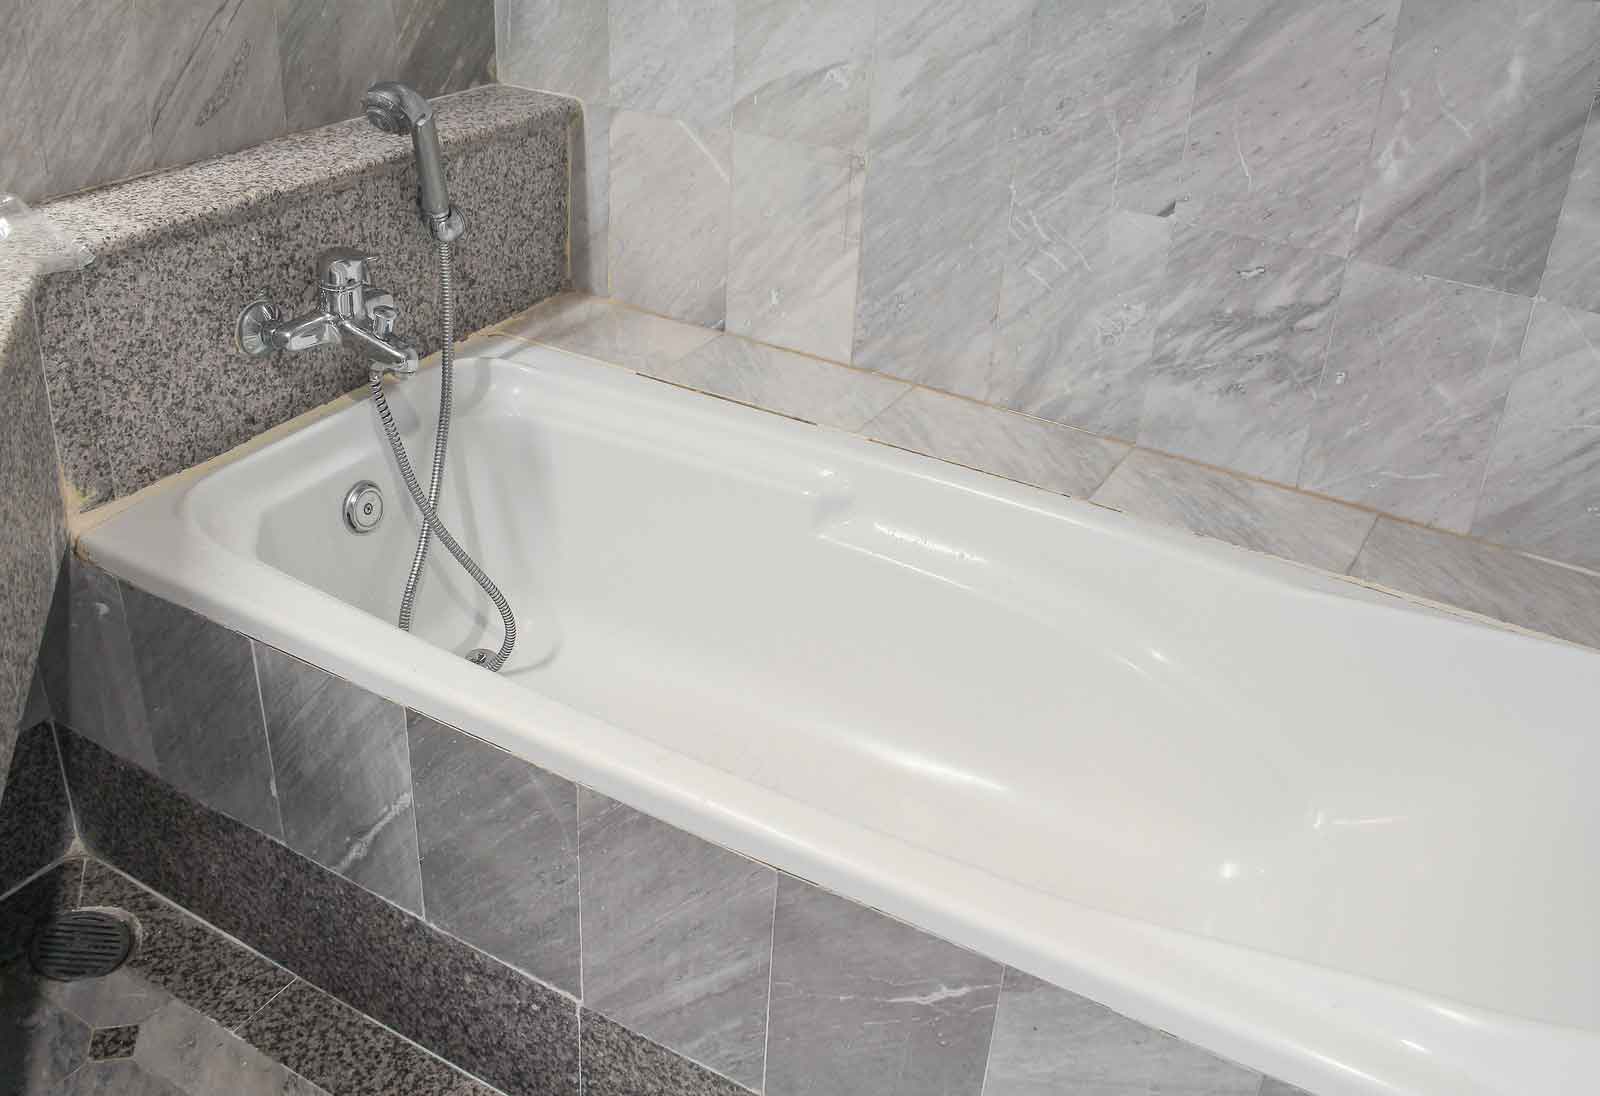
Preparing the Bathtub Surface
Cleaning the Bathtub Surface Before you begin the refinishing process, it’s essential to thoroughly clean the bathtub surface to remove any dirt, grime, or soap scum buildup. Use a mild abrasive cleaner and a scrubbing sponge to scrub the entire surface of the bathtub, paying special attention to any stubborn stains or residue.
Rinsing and Drying Once you’ve finished cleaning the bathtub surface, rinse it thoroughly with clean water to remove any remaining cleaner residue. Then, dry the bathtub completely with a clean, lint-free cloth to ensure that the surface is free of moisture before proceeding with the refinishing process.
Repairing Chips and Cracks
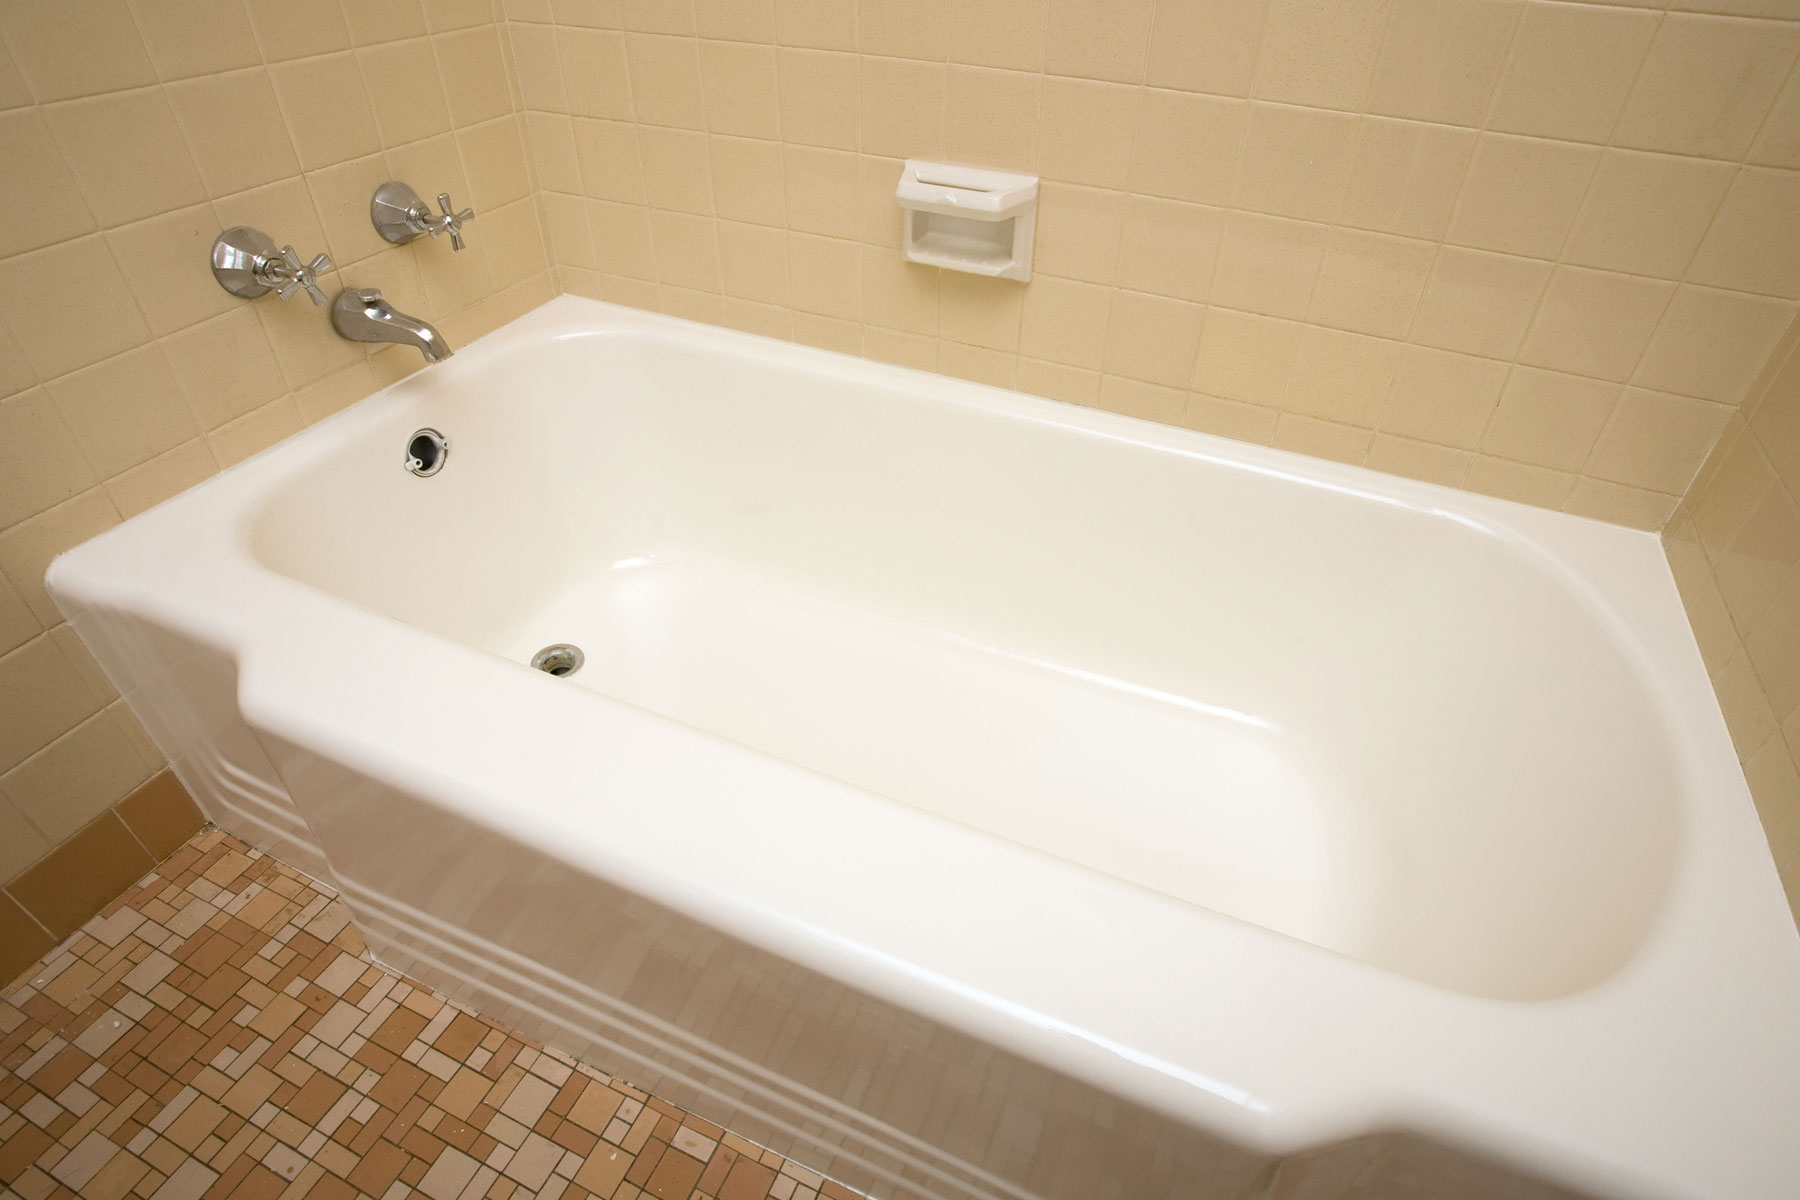
Inspecting for Damage Carefully inspect the bathtub surface for any chips, cracks, or other damage that may need to be repaired before refinishing. Even minor imperfections can affect the final result, so it’s essential to address them before moving forward.
Filling Chips and Cracks If you find any chips or cracks in the bathtub surface, use a bathtub repair kit to fill them in. Follow the manufacturer’s instructions for mixing and applying the repair compound, and allow it to dry completely before sanding it smooth.
Sanding the Surface
Preparing for Sanding Before you can begin refinishing the bathtub surface, you’ll need to sand it to create a smooth, even base for the new finish. Start by taping off any areas around the bathtub that you don’t want to be sanded, such as the walls or fixtures, using painter’s tape.
Sanding the Surface Using a fine-grit sandpaper or sanding block, gently sand the entire surface of the bathtub in a circular motion. Be sure to sand evenly and thoroughly to remove any glossy finishes or rough spots. Once you’ve finished sanding, wipe away any dust with a tack cloth.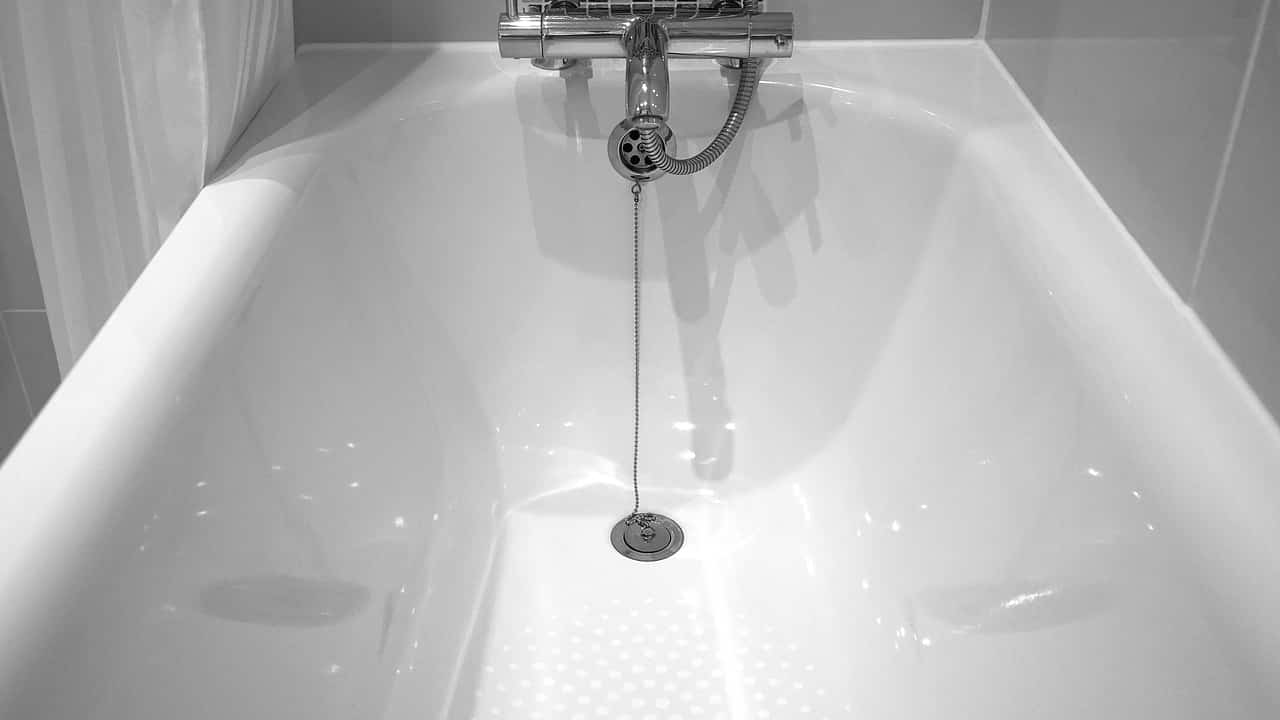
Applying the Primer
Choosing the Right Primer Select a high-quality primer that is specifically designed for use on bathtubs and other porcelain or enamel surfaces. This will help ensure adhesion and provide a durable base for the new finish.
Applying the Primer Using a paintbrush or foam roller, apply a thin, even coat of primer to the entire surface of the bathtub. Be sure to work quickly and carefully to avoid drips or streaks. Allow the primer to dry completely according to the manufacturer’s instructions before proceeding.
Applying the Finish Coat
Choosing the Right Finish Select a bathtub refinishing kit that includes a finish coat in the color and finish of your choice. Make sure to read and follow the manufacturer’s instructions carefully to achieve the best results.
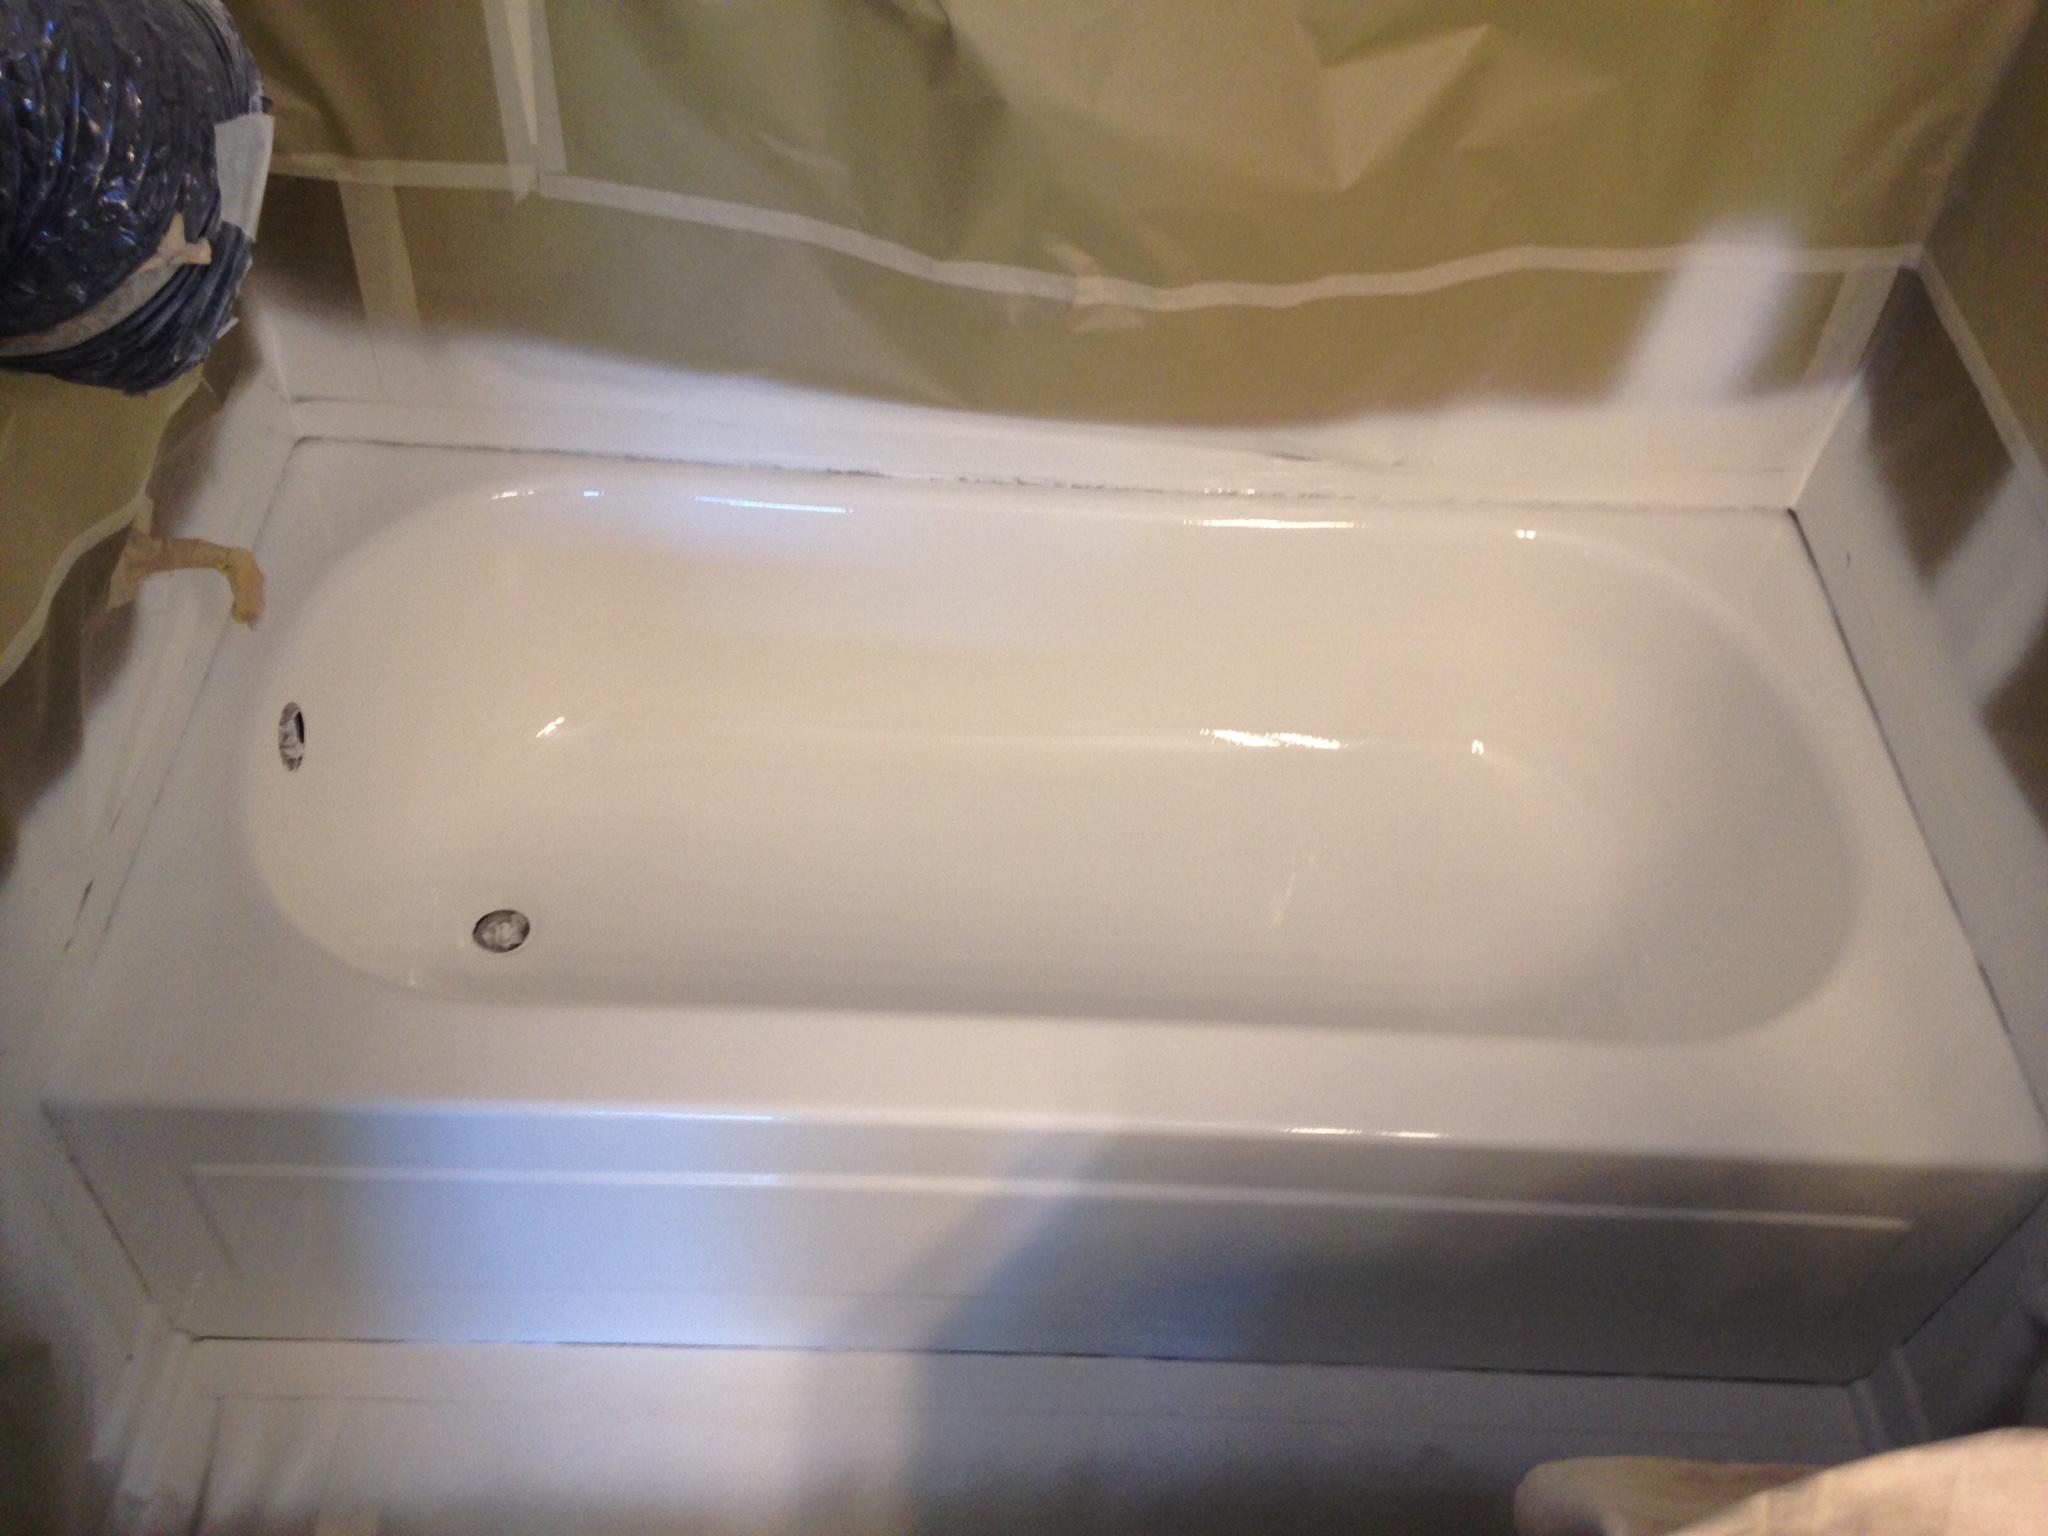
Applying the Finish Coat Using a clean paintbrush or foam roller, apply the finish coat to the bathtub surface in long, even strokes. Work quickly and carefully to ensure a smooth, streak-free finish. Allow the finish coat to dry completely according to the manufacturer’s instructions before using the bathtub.
Final Touches
Removing Tape and Protecting the Finish Once the finish coat has dried completely, carefully remove any painter’s tape from around the bathtub. Then, apply a clear bathtub sealer or wax to protect the new finish and keep it looking its best for years to come.
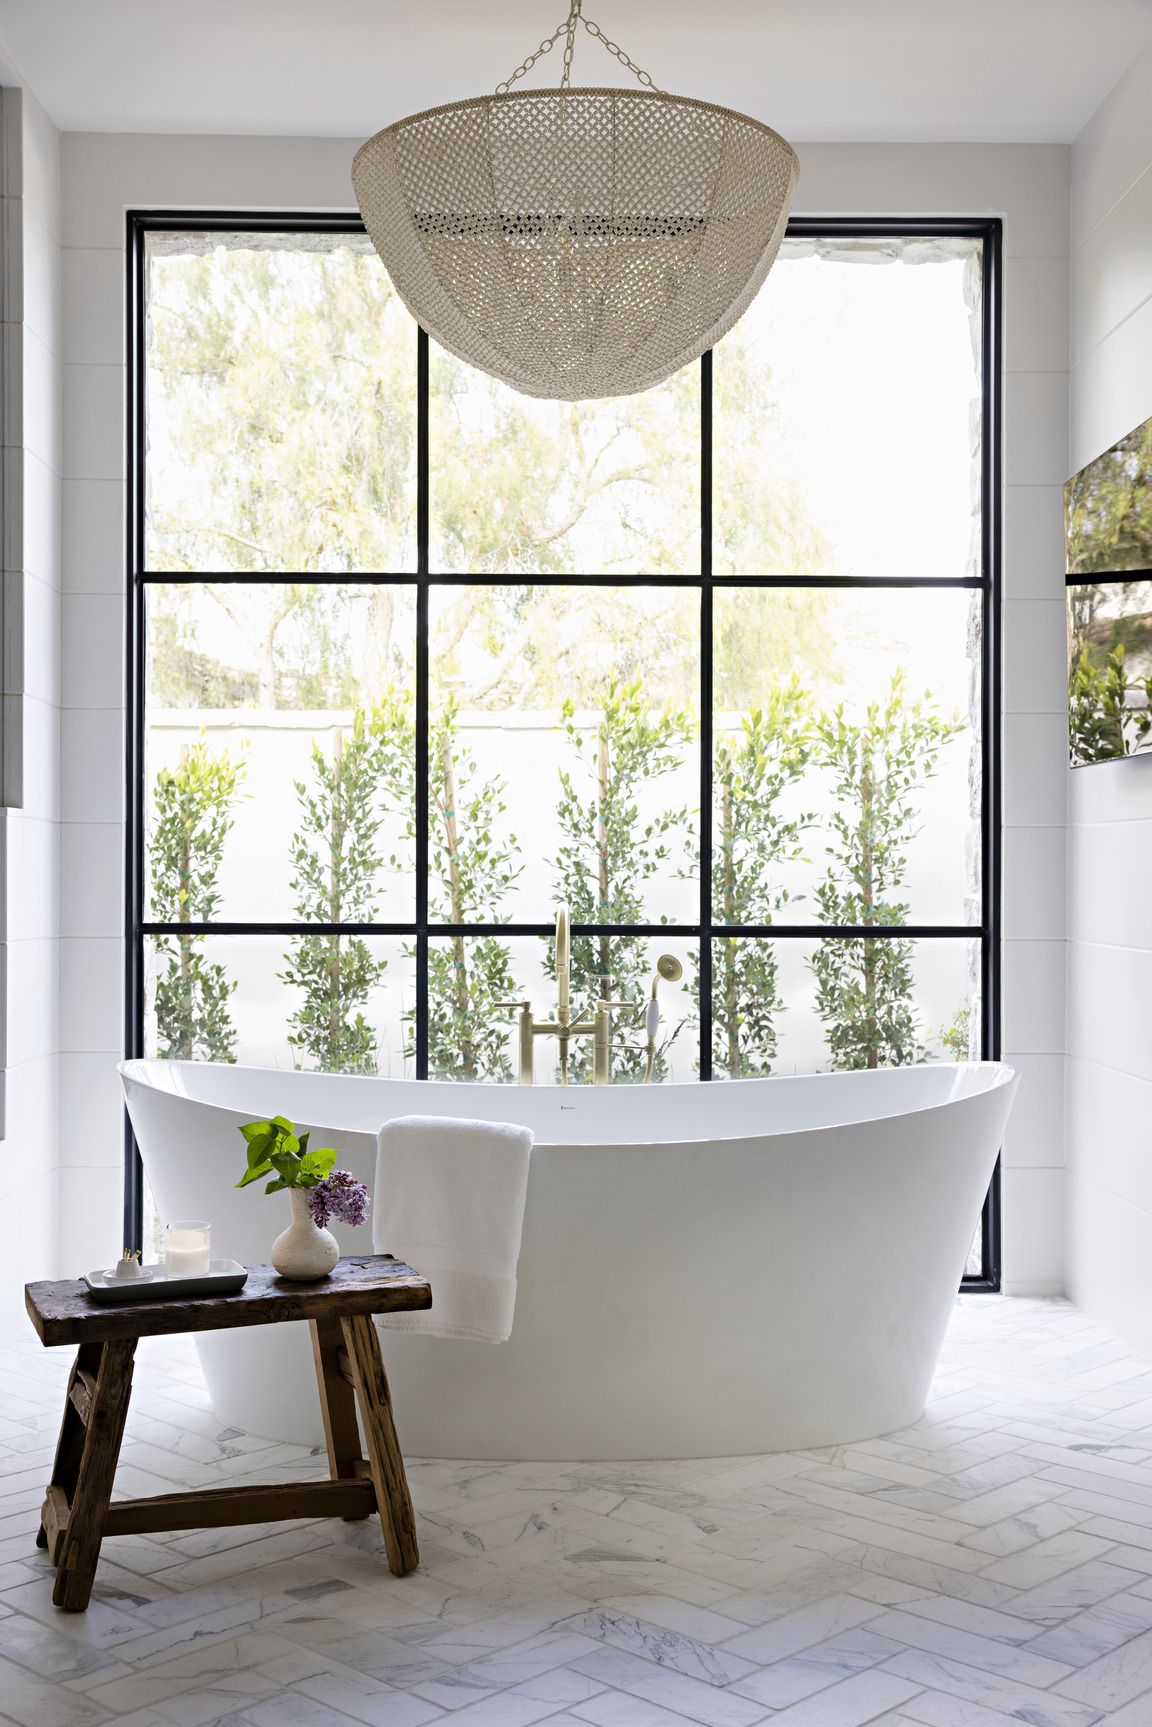
Enjoying Your Newly Refinished Bathtub With proper care and maintenance, your newly refinished bathtub can provide years of enjoyment and beauty in your bathroom. Take the time to clean it regularly with mild, non-abrasive cleaners, and avoid using harsh chemicals or abrasive scrubbers that could damage the finish.
Maintenance Tips for Longevity
To ensure the longevity of your newly refinished bathtub, it’s essential to follow some maintenance tips:
- Regular Cleaning: Clean your bathtub regularly with mild, non-abrasive cleaners to remove soap scum, dirt, and grime. Avoid using harsh chemicals or abrasive scrubbers, as they can damage the finish.
- Avoid Abrasive Cleaners: Stay away from abrasive cleaners, scouring pads, or harsh chemicals that can scratch or dull the surface of your bathtub. Opt for gentle cleaners and soft sponges or cloths instead.
- Use Caution with Bath Products: Be mindful of the bath products you use in your refinished bathtub. Avoid products containing harsh chemicals, dyes, or abrasives that could potentially harm the finish. Opt for gentle, pH-balanced products to keep your bathtub looking its best.
- Promptly Address Damage: If you notice any chips, scratches, or other damage to the finish of your bathtub, address them promptly to prevent further deterioration. Use a bathtub repair kit to fill in minor imperfections and maintain the integrity of the finish.
- Avoid Impact: Be cautious when using heavy or sharp objects in and around your bathtub to prevent accidental damage to the finish. Avoid dropping heavy items or hitting the bathtub with hard objects that could cause chips or cracks.
By following these maintenance tips, you can extend the life of your refinished bathtub and keep it looking beautiful for years to come.
Maintaining the Refinished Surface
To ensure the longevity of your newly refinished bathtub, it’s important to follow some maintenance guidelines. Avoid using abrasive cleaners or harsh chemicals, as they can damage the finish. Instead, opt for mild, non-abrasive cleaners specifically formulated for bathtubs. Regularly clean the surface with a soft sponge or cloth to remove any dirt or residue.
It’s also crucial to be mindful of what you place in the bathtub. Avoid placing heavy objects or sharp items that could potentially scratch the finish. Additionally, be cautious with bath toys or accessories that have suction cups, as they can create suction marks on the surface if left for an extended period.
If you notice any chips or scratches on the refinished surface over time, address them promptly. Small touch-ups can be done using a porcelain or enamel repair kit. By being proactive in fixing any minor imperfections, you can maintain the overall appearance and prolong the life of your refinished bathtub.
Conclusion
Refinishing your bathtub is a cost-effective way to revitalize your bathroom and give it a fresh new look. By following the step-by-step guide outlined above, you can achieve professional-quality results without the expense and hassle of a full renovation. So why wait? Roll up your sleeves and get ready to enjoy your newly refinished bathtub!