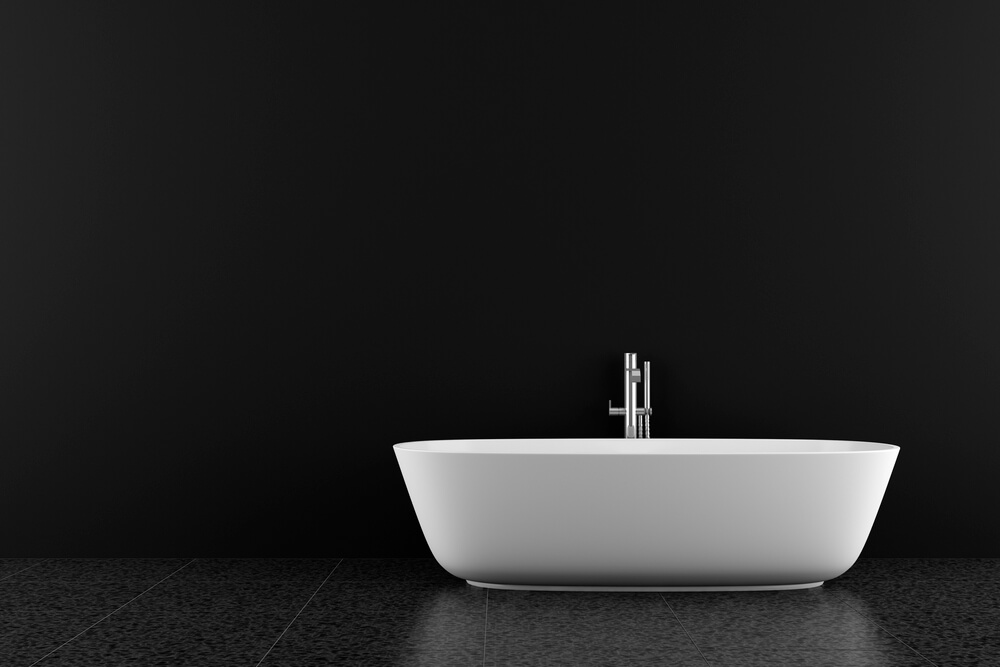
Introduction: The Unwelcome Surprise
A cracked bathtub can be an unexpected and unwelcome sight, often discovered during a leisurely soak or routine cleaning. It’s a problem that not only mars the aesthetic appeal of your bathroom but also poses risks of leaks and structural weakening. The good news is that with the right tools, materials, and guidance, you can undertake this DIY project and restore your bathtub to its former glory. This comprehensive guide will walk you through the process of identifying the type of crack, preparing the area, selecting the appropriate repair method, and executing the fix with precision.
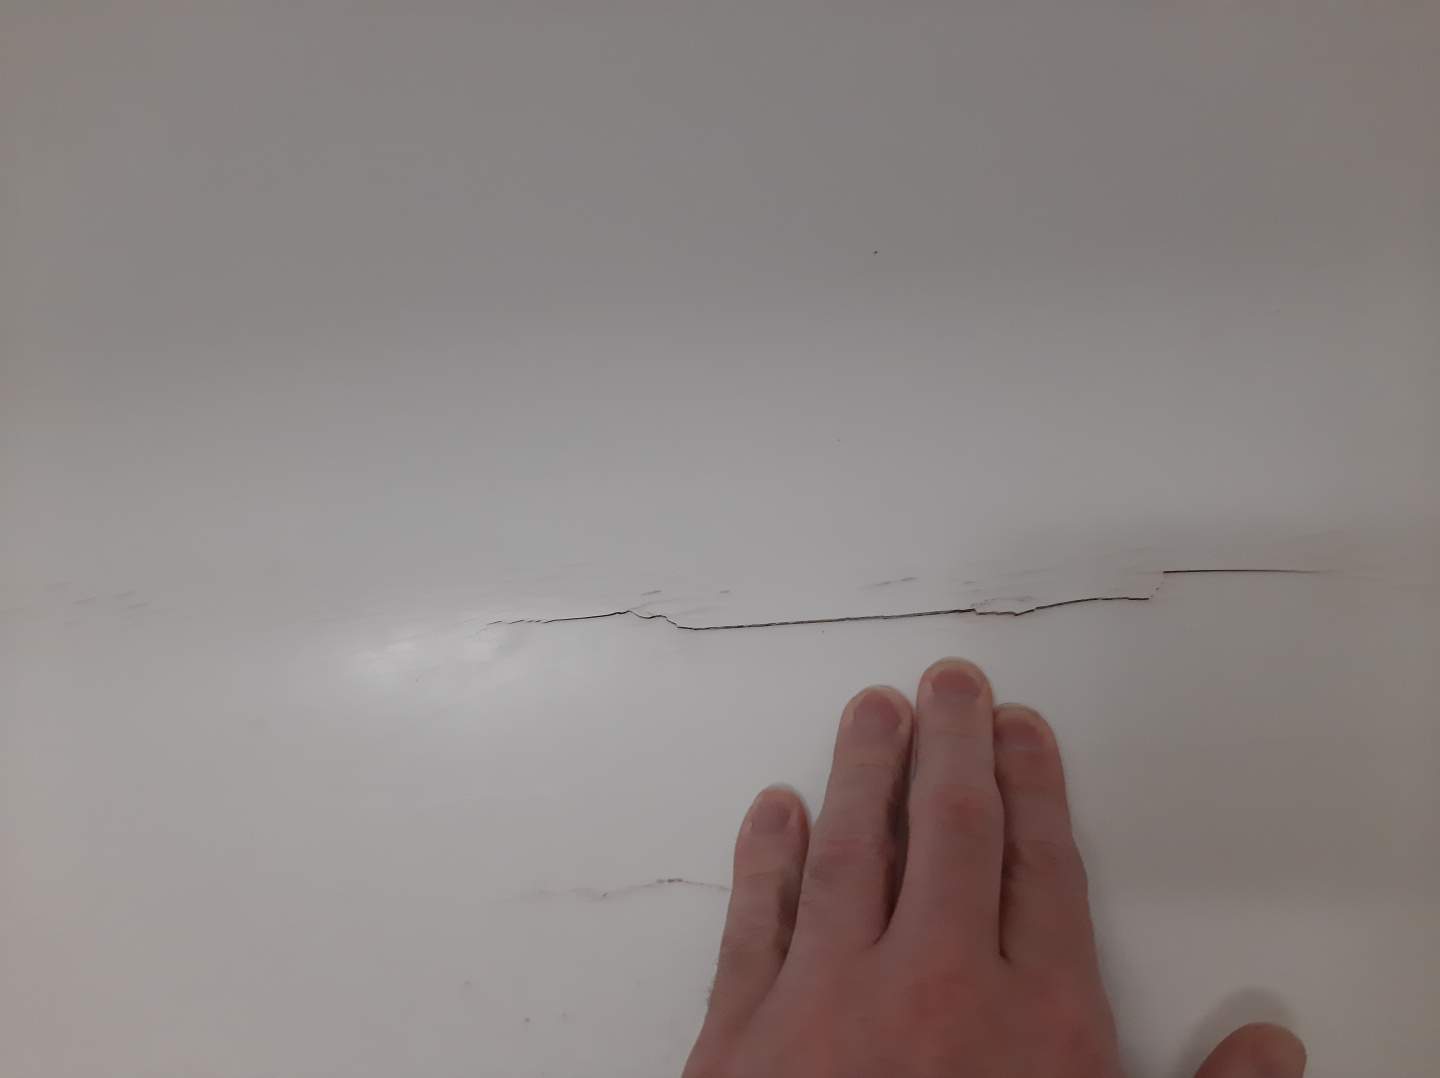
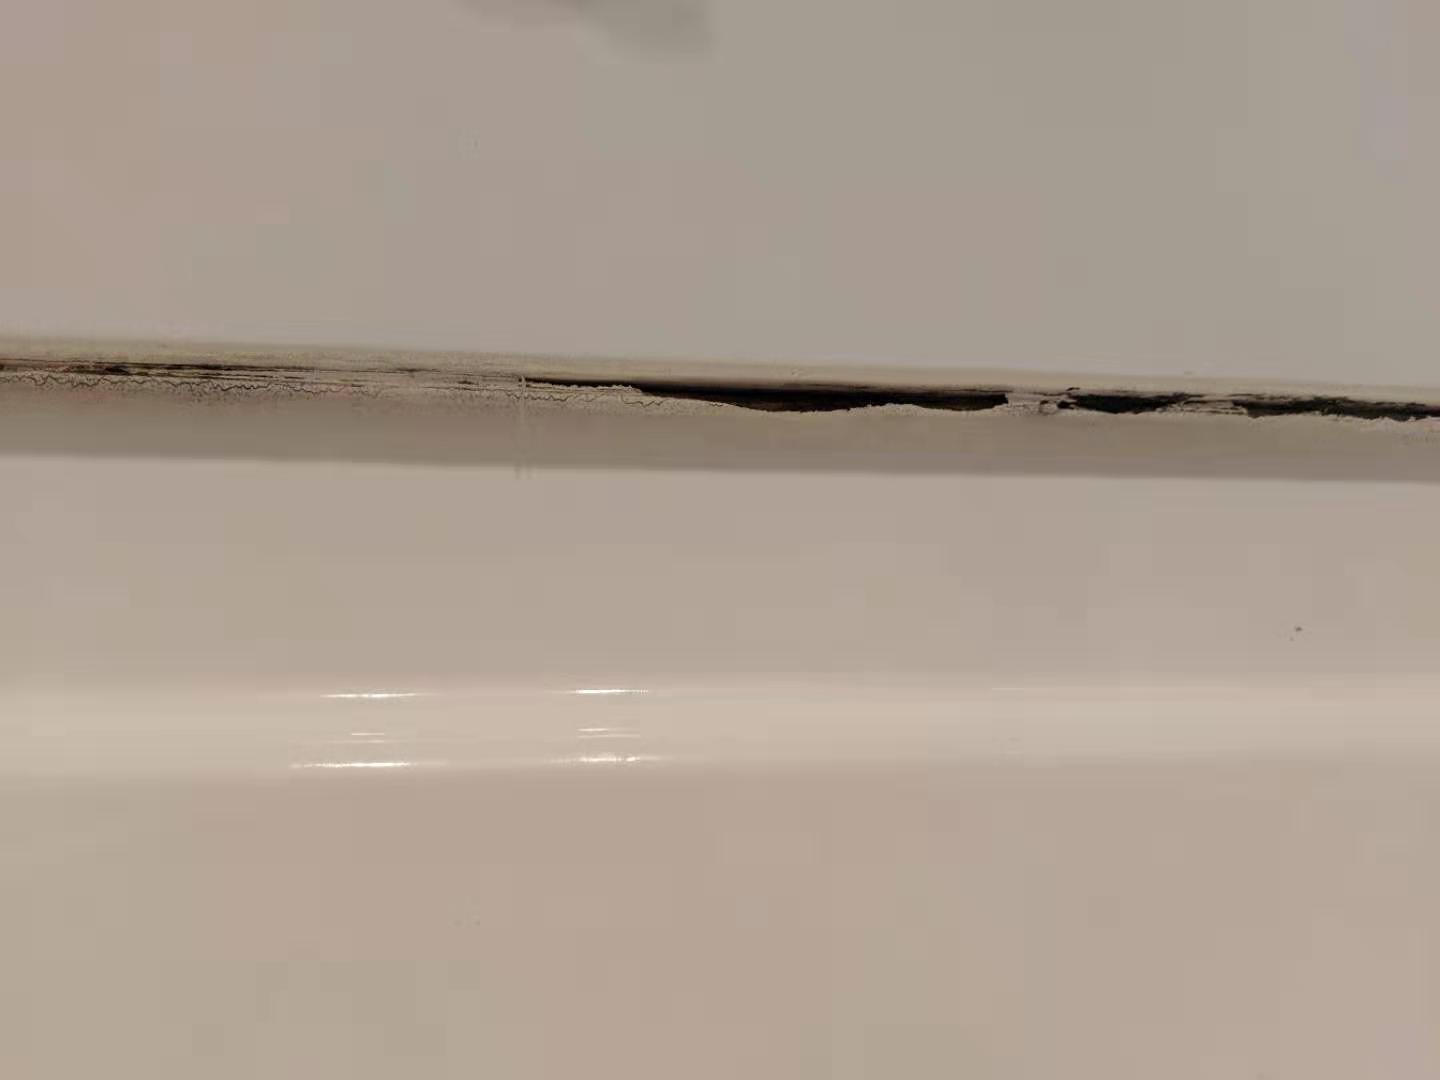
Understanding the Crack: Diagnosis is Key
Before diving into repairs, it’s crucial to assess the severity and nature of the crack. Bathtub cracks typically fall into three categories: hairline, superficial, or deep and structural. Hairline cracks are thin and barely visible, often resulting from temperature changes or minor impacts. Superficial cracks may be slightly wider and more noticeable, usually due to surface wear. Deep or structural cracks, however, indicate significant damage that might extend through the tub’s thickness, requiring a more intensive repair strategy or even professional consultation.
Gathering Your Tools and Materials
Embarking on any DIY repair starts with ensuring you have the right equipment. For bathtub crack fixing, you’ll need sandpaper or a sanding sponge (medium grit), a clean cloth, epoxy or acrylic bathtub repair kit, mixing tray, putty knife or scraper, rubber gloves, safety goggles, and possibly a drill with a small bit for deeper cracks. Ensure your workspace is well-ventilated and that you follow all safety precautions listed on product labels.
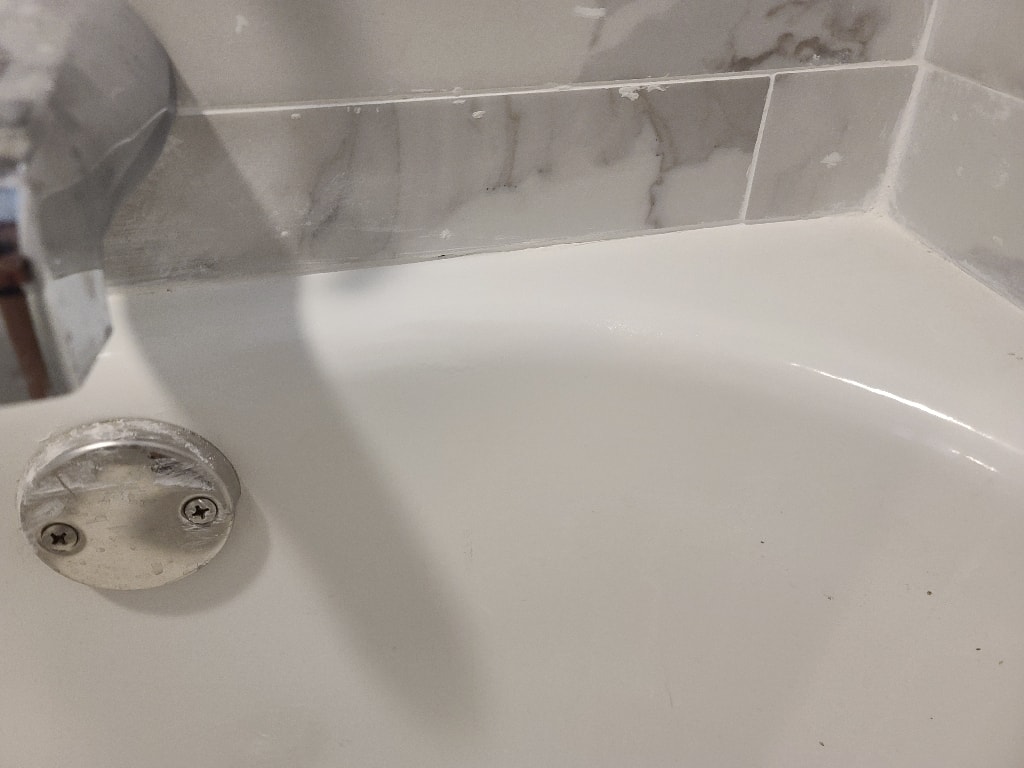
Preparing the Area: A Clean Slate
A successful repair begins with thorough preparation. First, turn off the water supply to the bathtub and thoroughly drain it. Next, clean the area surrounding the crack with a mild detergent and water, removing any soap scum, dirt, or oils. Once dry, use sandpaper to roughen the surface around the crack, creating a texture that will better bond with the repair material. Wipe away dust with a damp cloth and allow it to dry completely. Cover any nearby surfaces with a protective cloth or tape to prevent accidental damage from repair materials.
Selecting the Right Repair Method
The choice of repair method depends largely on the crack’s nature. For hairline cracks, a simple epoxy or acrylic filler is usually sufficient. Deeper cracks may require filling followed by an overlay patch. In extreme cases, where the crack affects the bathtub’s structure, consult a professional as a full replacement might be necessary. Epoxy and acrylic kits are user-friendly and come with detailed instructions; ensure you choose one specifically designed for bathtubs to guarantee compatibility with your tub’s material.
Executing the Repair: Step-by-Step
With everything prepared, don your rubber gloves and safety goggles. Following the manufacturer’s instructions, mix the epoxy or acrylic compound in the provided tray until it achieves a uniform color. Work quickly as these compounds can set rapidly. Using the putty knife, carefully apply the mixture into the crack, ensuring it fully penetrates and slightly overfills the damaged area. Smooth the surface, removing excess material and feathering the edges to blend with the tub’s surface. Allow the repair to cure according to the manufacturer’s recommended time, which can range from a few hours to overnight.
Finishing Touches: Sanding and Sealing
Once the repair compound has cured, inspect the area for any unevenness. Lightly sand the repaired section with fine-grit sandpaper until it’s flush and smooth with the surrounding surface. Wipe away dust and apply a bathtub refinishing paint or sealer, if desired, following the product’s directions. This step not only enhances aesthetics but also provides additional protection against water infiltration and future damage.
Preventing Future Cracks: Maintenance Matters
To prolong the life of your newly restored bathtub and prevent future cracks, implement a few preventive measures. Regularly clean your bathtub using gentle, non-abrasive cleaners to avoid surface degradation. Address any leaks promptly to prevent water from seeping behind the tub and causing stress cracks. Lastly, use a bath mat to cushion the tub’s surface from heavy objects and avoid standing on the edges or using them for support, as this can lead to structural stress.
Insights on Longevity: Understanding Your Bathtub’s Materials
Understanding the composition of your bathtub is crucial in executing effective repairs and maintaining its longevity. Bathtubs are commonly made from materials such as acrylic, fiberglass, enamel-coated cast iron, or porcelain. Each material requires specific care and maintenance routines.
- Acrylic Tubs: Known for their durability and ease of maintenance, acrylic tubs resist scratches and stains well. However, they can become dull over time. Regular cleaning with a mild detergent and soft cloth is sufficient. Avoid abrasive cleaners that can scratch the surface.
- Fiberglass Tubs: Lightweight and affordable, fiberglass tubs are prone to scratches and gel coat erosion. Use a nonabrasive cleaner specifically designed for fiberglass to maintain their finish and consider applying a fiberglass polish periodically to restore shine.
- Enamel-Coated Cast Iron: These tubs offer excellent heat retention and durability but can chip, exposing the metal beneath to rust. Promptly address any chips by touching up with an enamel repair kit. Clean with gentle cleaners to preserve the enamel finish.
- Porcelain Tubs: Similar to enamel-coated cast iron, porcelain tubs require gentle cleaning to avoid damaging the glaze. Harsh chemicals can eat away at the finish, leading to staining and erosion. A solution of baking soda and water or vinegar can effectively clean without harm.
Advanced Techniques for Stubborn Stains and Damage
For more stubborn stains or minor surface damages not requiring a full repair compound, consider the following techniques:
- Baking Soda Paste: Mix baking soda with a small amount of water to form a paste. Apply this to stains or light scratches, let sit for a few hours, then scrub gently with a soft-bristled brush and rinse thoroughly.
- Magic Eraser: These melamine foam sponges can gently remove surface stains without damaging the finish. Wet the sponge and lightly rub over the stained area. Be cautious not to apply too much pressure to avoid scratches.
- Professional Refinishing: In cases where the tub’s surface has extensive wear or discoloration, professional refinishing may be necessary. This process involves applying a new coating over the existing surface, restoring its like-new appearance and providing additional protection.
Conclusion: A Soothing Soak Awaits
Undertaking a DIY bathtub crack repair can seem daunting at first, but with careful planning, the right tools, and patience, it’s an achievable task that rewards you with a rejuvenated bathtub and a sense of accomplishment. Remember, while minor and superficial cracks are manageable DIY projects, always consult a professional for severe or structural damages. Now that your bathtub is restored, enjoy a relaxing soak, knowing you’ve breathed new life into an essential part of your home.