
Introduction: The Challenge of Bathtub Removal
Remove a bathtub can be a daunting task, but with the right approach and preparation, it’s entirely possible to tackle this project without breaking a sweat. Whether you’re renovating your bathroom or replacing an old bathtub, this step-by-step guide will walk you through the process, from initial preparation to final cleanup, ensuring a smooth and successful removal with minimal stress and hassle.
1. Assessing the Situation: Planning and Preparation
Before diving into the bathtub removal process, take some time to assess the situation and plan your approach. Consider factors such as the type of bathtub (alcove, freestanding, etc.), its size and weight, and the surrounding space. Determine whether you’ll need any specialized tools or equipment, such as a reciprocating saw or a pry bar, and gather everything you’ll need before getting started. Additionally, clear the area around the bathtub to provide ample space for maneuvering and working comfortably.
2. Shutting Off Utilities: Ensuring Safety
Before you begin removing the bathtub, it’s essential to shut off the water supply and disconnect any plumbing fixtures to prevent accidents and water damage. Locate the shut-off valves for the hot and cold water lines and turn them clockwise to shut off the water supply. Once the water is turned off, disconnect the water supply lines and drain pipe using a wrench or pliers, taking care to catch any residual water in a bucket or container.
3. Removing Surrounding Fixtures: Clearing the Area
Next, remove any surrounding fixtures or accessories that may obstruct the bathtub removal process, such as faucets, showerheads, and trim kits. Use a wrench or screwdriver to loosen and remove these fixtures, taking care not to damage the surrounding walls or plumbing connections. If necessary, cover exposed pipes and drains with tape or caps to prevent debris from falling into them during the removal process.

4. Disconnecting the Drain: Freeing the Tub
With the surrounding fixtures removed, it’s time to disconnect the bathtub drain to free the tub from its position. Locate the drain assembly beneath the bathtub and use a wrench to loosen and remove the locknut securing the drain flange in place. Once the locknut is removed, carefully pull the drain flange out of the drain hole, taking care not to damage the surrounding plumbing or drainpipe.
5. Detaching the Tub: Loosening and Lifting
Now that the drain is disconnected, it’s time to detach the bathtub from the surrounding walls and floor. Depending on the type of installation, you may need to remove screws or nails securing the bathtub flange to the wall studs, or you may need to cut through caulking or adhesive with a utility knife or putty knife. Once the bathtub is detached from the walls, enlist the help of a friend or family member to lift and carefully maneuver the tub out of its alcove or installation space, taking care not to damage the surrounding fixtures or flooring.
6. Clearing the Debris: Cleaning Up
With the bathtub removed, it’s time to clear away any debris and clean up the area to prepare for the installation of a new tub or alternative fixture. Use a broom or vacuum to sweep up dust and debris, and wipe down the surrounding walls and floor with a damp cloth to remove any residue or adhesive. Dispose of any old caulking, screws, or hardware responsibly, and ensure that the area is clean and free of obstacles before proceeding with the next steps of your bathroom renovation project.
7. Inspecting the Surrounding Area: Assessing Damage
Before installing a new bathtub or alternative fixture, take some time to inspect the surrounding area for any damage or wear and tear that may need to be addressed. Check for signs of water damage, mold, or mildew on the walls and floor, and repair any cracks, holes, or imperfections before proceeding. Additionally, assess the condition of the plumbing connections and fixtures to ensure that everything is in good working order before installing your new bathtub.
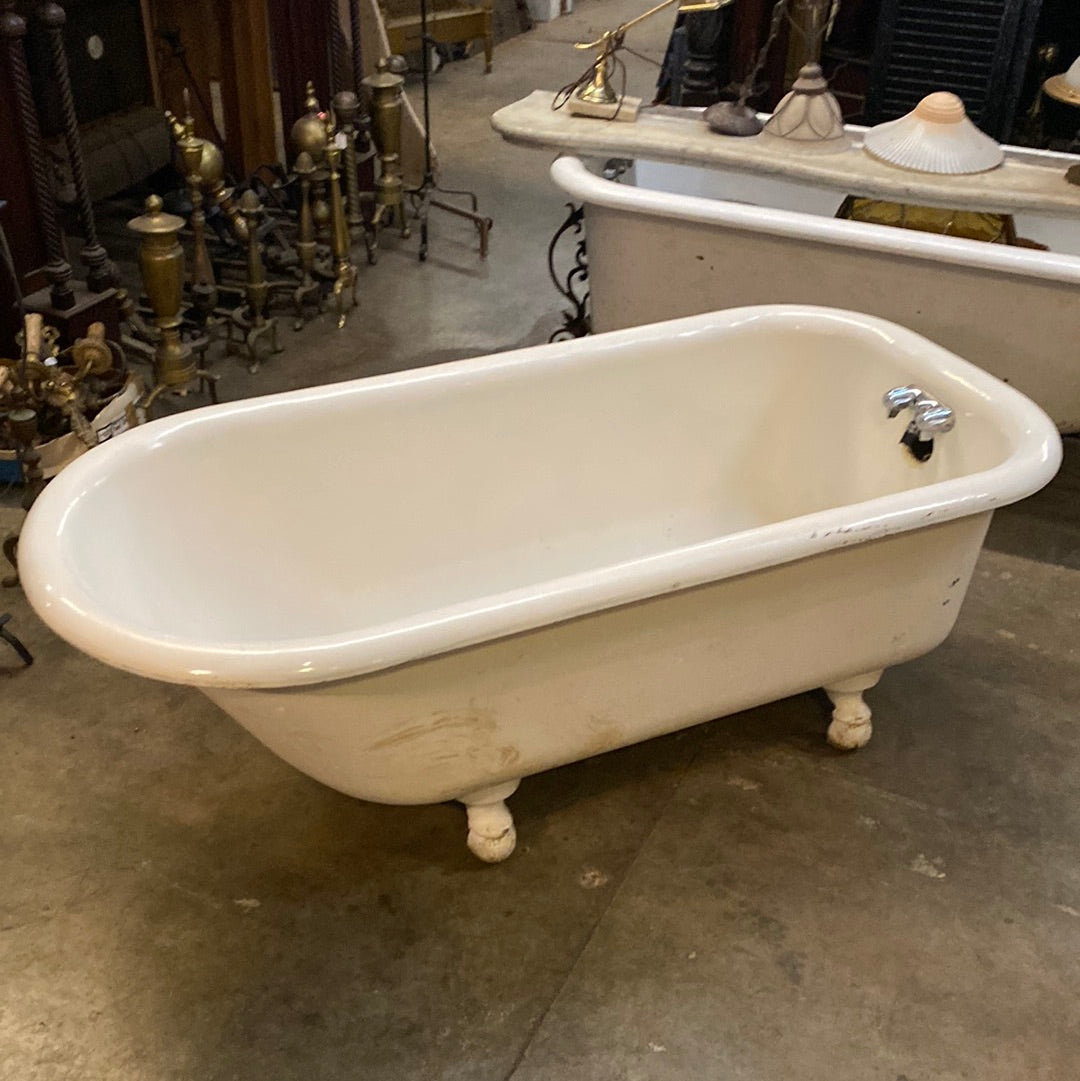
8. Ensuring Proper Disposal: Responsible Waste Management
Once the bathtub has been successfully removed, it’s crucial to dispose of it properly and responsibly. Depending on the material and condition of the bathtub, you may be able to recycle it or donate it to a local charity or salvage yard. Check with your local waste management authorities to determine the best disposal method for your old bathtub, as some materials may require special handling or recycling procedures. Avoid simply dumping the bathtub in a landfill, as this can have negative environmental impacts and may be prohibited by local regulations.
9. Repairing and Preparing the Surrounding Area: Surface Refinishing
Remove a bathtub, now is an excellent time to address any surface imperfections or outdated finishes in the surrounding area. Consider refinishing or repainting the walls and floor to freshen up the space and create a clean canvas for your new bathtub or alternative fixture. Repair any damaged drywall, tile, or flooring as needed, and ensure that the area is properly waterproofed and sealed to prevent future water damage. By investing time and effort into surface refinishing, you can enhance the overall aesthetics and functionality of your bathroom space.

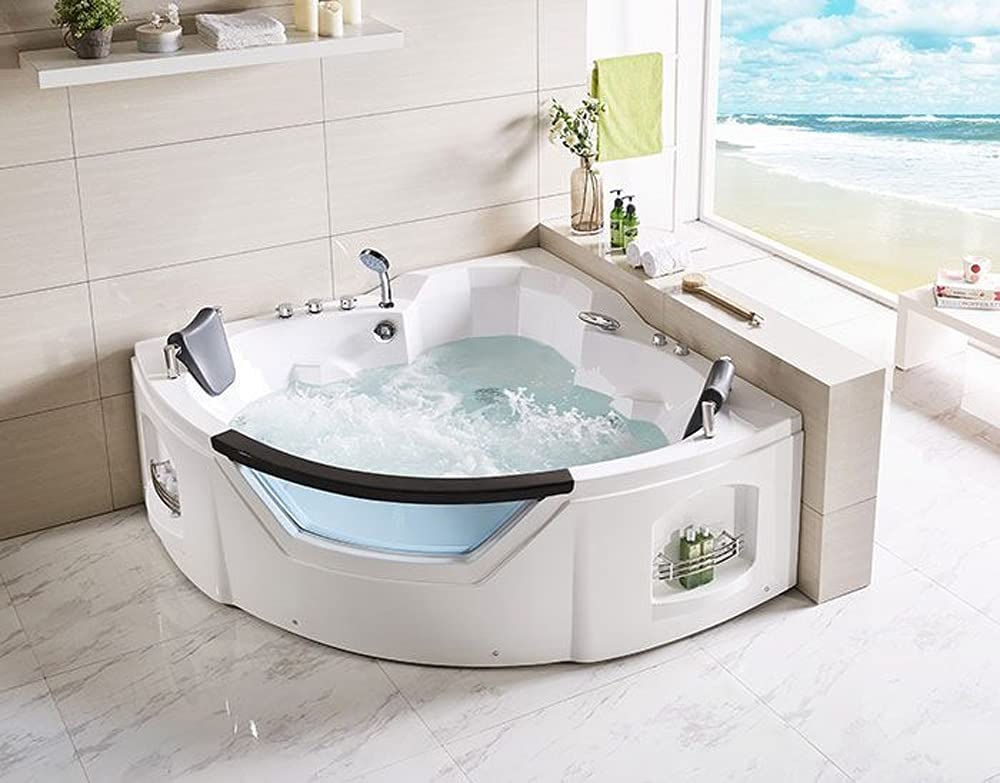
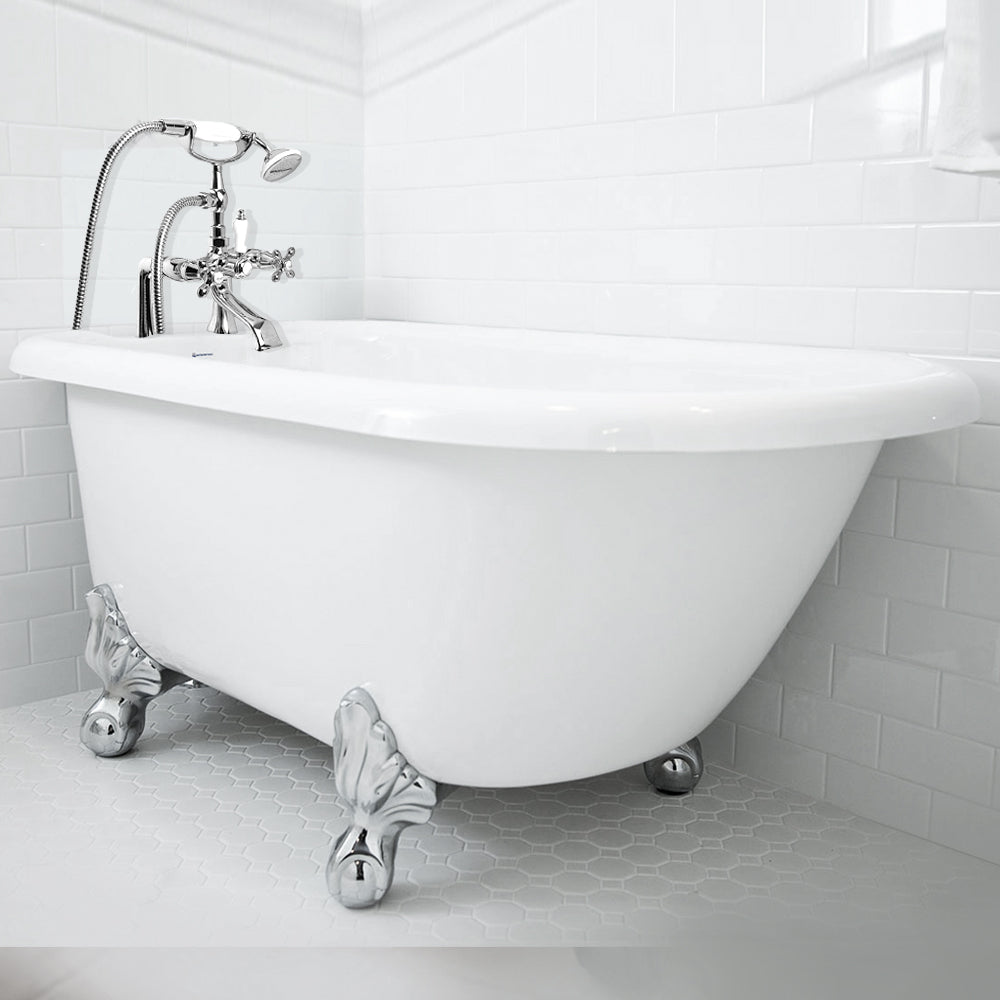
10. Installing the New Fixture: Planning for the Future
Now that the old bathtub has been removed and the surrounding area prepared, it’s time to install the new fixture and bring your bathroom renovation project to completion. Whether you’re installing a sleek freestanding tub, a modern alcove bathtub, or a luxurious whirlpool spa, take the time to carefully follow the manufacturer’s instructions and ensure proper installation. Consider hiring a professional plumber or contractor if you’re unsure about any aspect of the installation process, as improper installation can lead to leaks, water damage, and other costly issues down the line. By investing in quality installation, you can enjoy your new bathtub for years to come and create a beautiful and functional bathroom space that meets your needs and exceeds your expectations.
Conclusion: A Job Well Done
Remove a bathtub may seem like a daunting task, but with the right approach and preparation, it’s entirely manageable for the average homeowner. By following this step-by-step guide and taking the time to plan and prepare properly, you can tackle this project with confidence and efficiency, ensuring a smooth and successful removal process without breaking a sweat. Whether you’re renovating your bathroom or upgrading your fixtures, taking the time to do the job right will pay off in the long run, resulting in a beautiful and functional bathroom space that you can enjoy for years to come.