Changing a bathroom fan can seem like a daunting task, but with the right tools and guidance, it can be a straightforward project that you can tackle yourself. In this comprehensive guide, we’ll walk you through each step of the process, from selecting the right fan to installation and maintenance tips.
Why Change Your Bathroom Fan?
Importance of a Functional Bathroom Fan
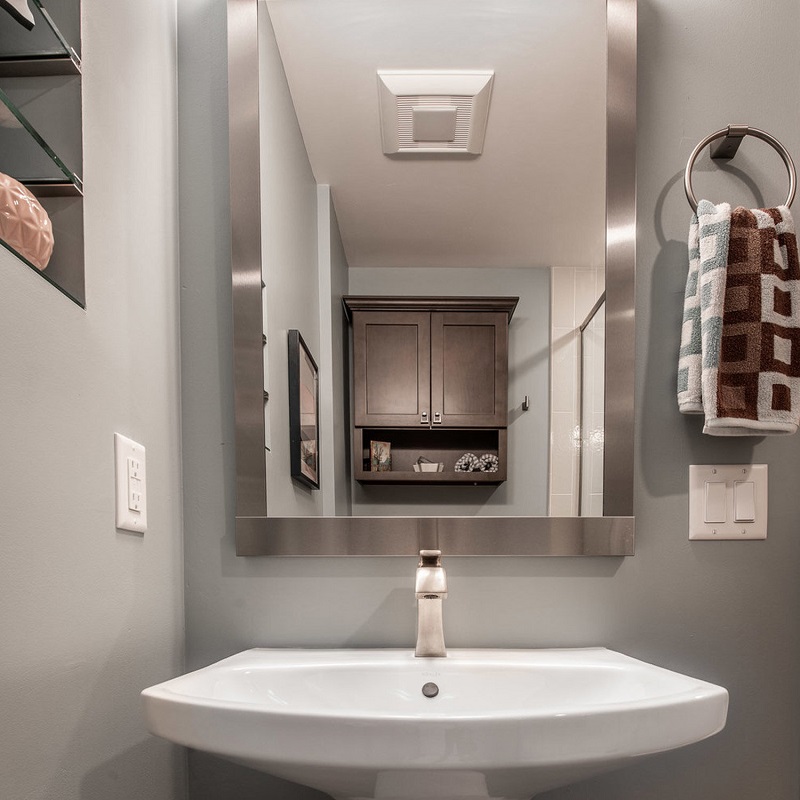
A functioning bathroom fan is essential for maintaining good air quality in your home. It helps to remove excess moisture and humidity, which can prevent mold and mildew growth. Moisture-laden environments can also lead to paint peeling, wood rot, and other damage to your bathroom and home’s infrastructure. Additionally, a well-maintained fan improves air circulation and helps to eliminate unpleasant odors, making your bathroom more pleasant to use.
Signs You Need a New Fan
If your bathroom fan is noisy, ineffective, or simply not working at all, it’s time to consider a replacement. Common signs that your fan needs changing include insufficient ventilation, excessive noise, or visible damage to the unit. In some cases, an old fan may not meet modern efficiency standards, leading to higher energy costs and reduced performance.

Choosing the Right Bathroom Fan
Understanding Fan Types
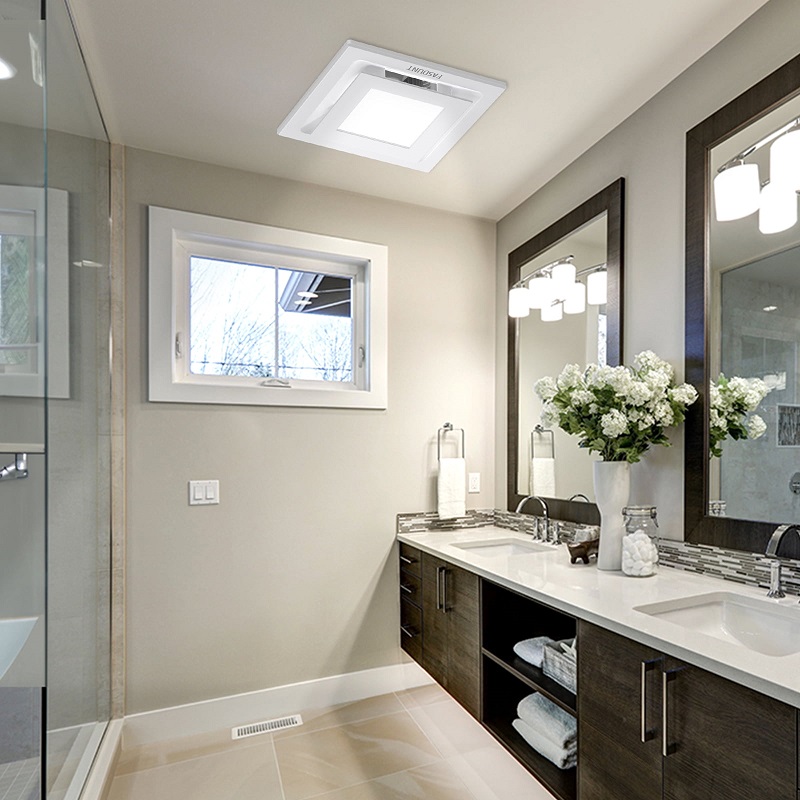
There are several types of bathroom fans available, each with its own features and benefits. Standard fans are basic models that offer simple ventilation. For more advanced options, consider fans with built-in heaters, which can provide additional warmth during the winter months. Another option is a fan with a built-in light, which can save space and add convenience. Choose a fan based on your specific needs and preferences, considering factors like bathroom size, humidity levels, and additional features.
Calculating the Right Size
To ensure effective ventilation, it’s crucial to select a fan with the appropriate size and power for your bathroom. The key measurement to consider is the fan’s cubic feet per minute (CFM) rating. As a rule of thumb, you’ll need about 1 CFM for every square foot of bathroom space. For example, a 100-square-foot bathroom would require a fan with at least a 100 CFM rating. If your bathroom has additional features like a shower or tub, you may need a higher CFM rating to accommodate the increased moisture levels.
Tools and Materials Required
Essential Tools
Before starting the installation process, gather all necessary tools. You will need a drill, screwdriver, utility knife, and measuring tape. A step ladder is also essential for reaching the ceiling. If you are replacing a fan with a new model, make sure to have a power drill and bits for creating new mounting holes if necessary. Additionally, having a flashlight on hand can help you work in dimly lit areas.
Materials and Safety Gear
In addition to tools, you will need materials such as a new bathroom fan, ductwork (if needed), and electrical tape. Make sure to turn off the power to the fan at the circuit breaker before starting the installation. Wear safety gear, including gloves and safety glasses, to protect yourself from dust, debris, and sharp edges during the process.
Removing the Old Bathroom Fan
Safety Precautions
Before beginning the removal process, ensure that the power to the fan is turned off at the circuit breaker. Verify that the power is off by using a voltage tester or by checking if the fan and light are not operational. If you’re unsure about any step, consult with a professional electrician to ensure safety.
Disconnecting the Fan
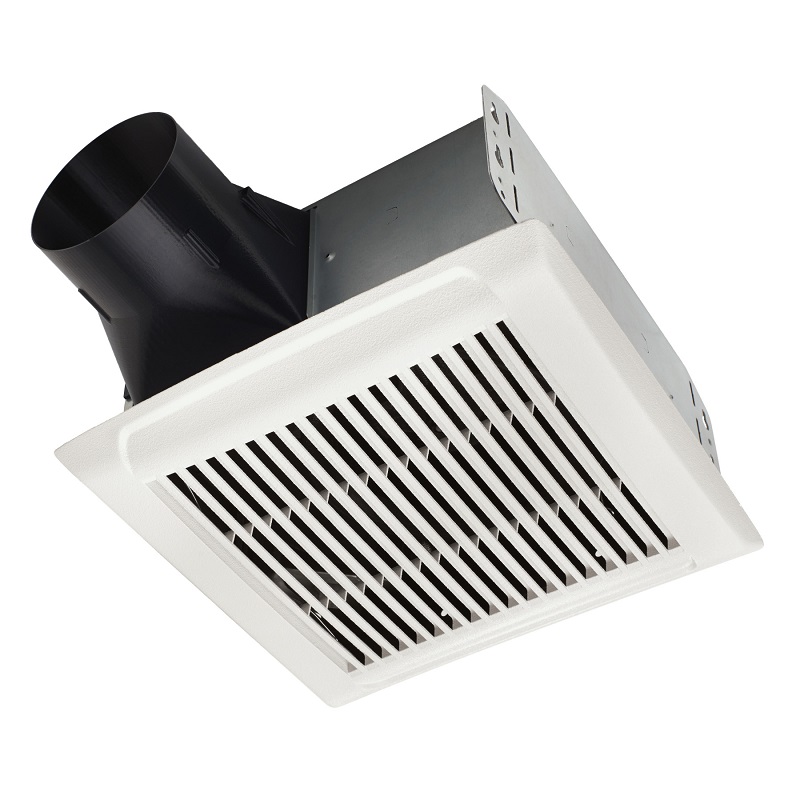
Start by removing the fan’s cover or grille. Most covers are attached with screws or clips, so use a screwdriver or your hands to detach them. Next, remove the fan from its housing by unscrewing the mounting screws or brackets. Carefully disconnect the electrical wiring by unscrewing the wire nuts and separating the wires. If the fan is connected to ductwork, detach the ducting from the fan. Once everything is disconnected, carefully remove the old fan from its position.
Installing the New Bathroom Fan
Preparing the Installation Area
Before installing the new fan, prepare the area by cleaning out any debris from the old fan. Check the mounting space to ensure it is free of obstructions and suitable for the new fan’s dimensions. If the new fan has different mounting requirements or dimensions, you may need to adjust the existing mounting brackets or create new holes.
Wiring and Mounting the New Fan
Follow the manufacturer’s instructions for wiring the new fan. Connect the fan’s electrical wires to the existing wires in the ceiling, using wire nuts to secure the connections. Ensure that the connections are tight and properly insulated. Once wired, position the fan in the mounting area and secure it with screws or brackets as instructed. If the new fan requires ductwork, connect it securely to the fan, ensuring there are no gaps or leaks.
Testing and Final Adjustments
Checking the Fan’s Operation
After installation, turn the power back on at the circuit breaker and test the fan to ensure it operates correctly. Check for proper ventilation by observing if the fan is effectively removing air from the bathroom. Listen for any unusual noises that might indicate improper installation or a malfunction. Verify that the fan’s light (if applicable) and any additional features are functioning as expected.
Making Necessary Adjustments
If the fan isn’t working as well as expected, check for common issues such as loose connections, improper mounting, or obstructions in the ductwork. Adjust the fan’s positioning or make any necessary repairs to ensure optimal performance. Consult the manufacturer’s troubleshooting guide if you encounter any specific problems.
Maintaining Your Bathroom Fan
Routine Maintenance Tips
To keep your bathroom fan in good working condition, perform regular maintenance tasks. Clean the fan’s cover and blades periodically to remove dust and debris. Ensure that the fan’s vents are free of obstructions, and check for any signs of wear or damage. Regularly inspect the fan’s electrical connections and ductwork to ensure they remain secure and functional.
When to Seek Professional Help
If you encounter persistent issues with your bathroom fan or if you are unsure about any aspect of the installation or maintenance process, consider consulting a professional. An electrician or HVAC technician can provide expert advice and service to ensure that your fan operates efficiently and safely.
Upgrading to a More Efficient Fan
Benefits of Energy-Efficient Models
Upgrading to an energy-efficient bathroom fan can significantly reduce your energy consumption and lower your utility bills. Modern fans are designed to provide optimal performance while using less electricity. Look for fans with ENERGY STAR® certification, which indicates that they meet strict energy efficiency guidelines. Additionally, some fans come with variable speed settings, allowing you to adjust the airflow according to your needs, further enhancing energy savings.
Features to Look For
When choosing a new, more efficient fan, consider features such as a built-in humidity sensor that automatically adjusts the fan speed based on moisture levels. This can help maintain a balanced environment and reduce unnecessary energy use. Fans with low noise levels and enhanced airflow efficiency are also worth considering for a more comfortable and quiet bathroom experience.
Conclusion
Changing a bathroom fan can be a rewarding DIY project that enhances the comfort and functionality of your bathroom. By understanding the importance of a good fan, selecting the right model, and following proper installation and maintenance procedures, you can ensure that your bathroom remains well-ventilated and free from moisture-related issues. Whether you are replacing an old fan or upgrading to a more advanced model, this guide provides the information and steps needed to complete the project successfully.