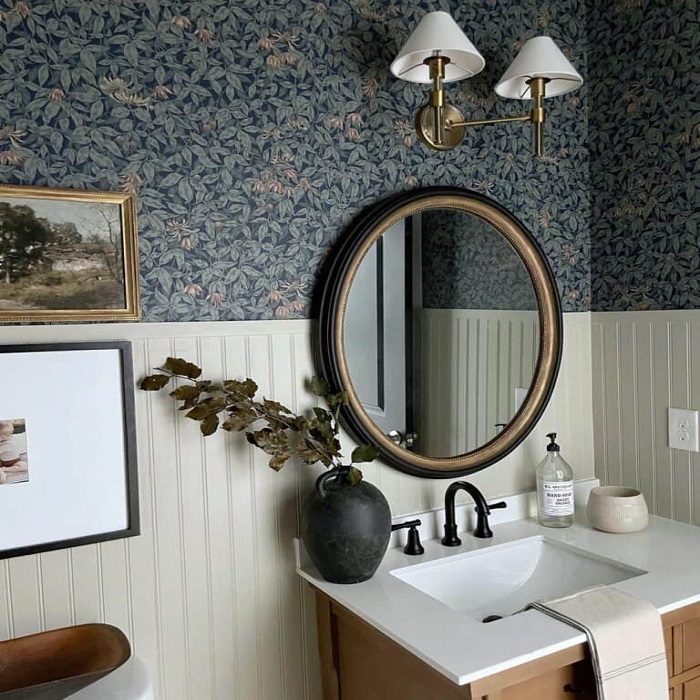
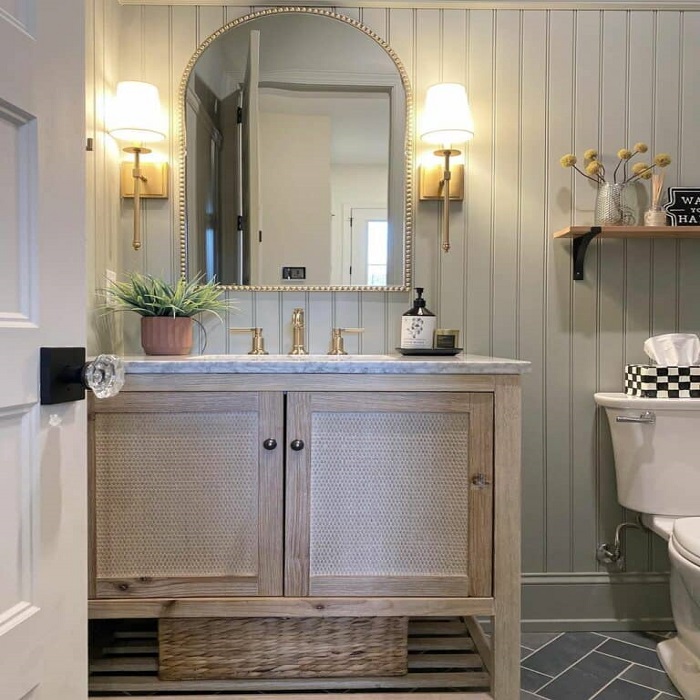
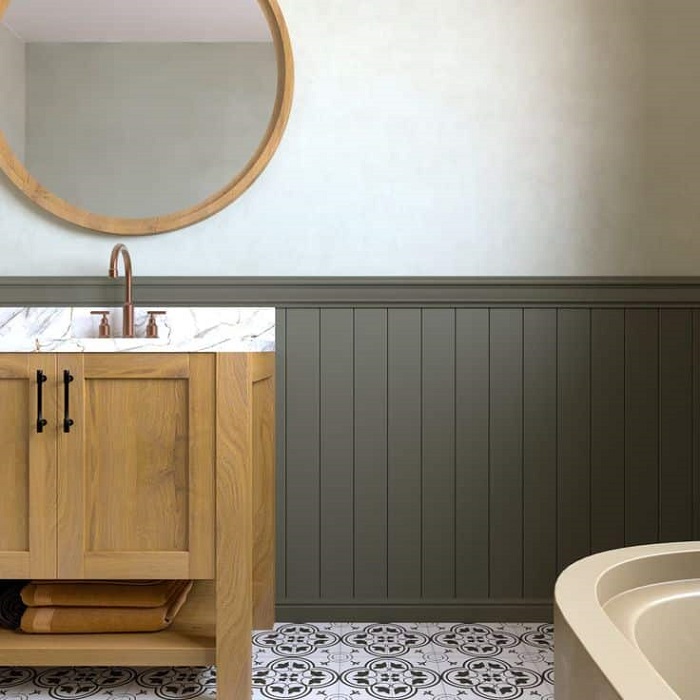
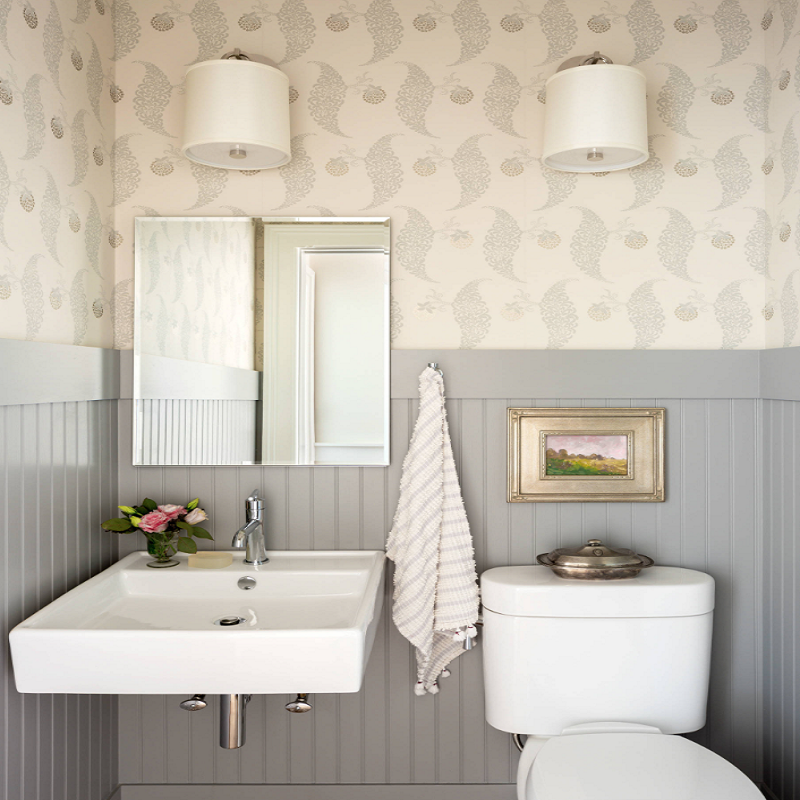
Beadboard is a classic and stylish choice for updating your bathroom, combining durability with timeless appeal. This comprehensive guide will walk you through each step of the installation process, ensuring that you achieve a professional-looking result that enhances the character of your space. From initial planning to final touches, follow these detailed instructions to successfully install beadboard in your bathroom.
Understanding Beadboard
What is Beadboard?
Beadboard is a type of paneling characterized by its vertical grooves or beads, which create a distinctive and charming pattern on walls. Traditionally made from wood, beadboard panels are now also available in materials such as MDF (medium-density fiberboard) and vinyl. This variety allows for different budget and style preferences, making beadboard a versatile choice for many interiors. In bathrooms, beadboard not only adds visual interest but also helps conceal imperfections in walls, contributing to a more polished and cohesive look.
Benefits of Using Beadboard in Bathrooms
One of the primary benefits of beadboard is its durability, particularly when properly sealed. Bathrooms are high-moisture environments, and beadboard’s ability to withstand steam and humidity makes it an ideal choice. Additionally, beadboard can be painted or stained to match any color scheme, offering flexibility in design. It can also serve as a protective barrier for lower walls, shielding them from water damage and wear. This blend of practicality and aesthetics makes beadboard a popular option for bathroom renovations.

Planning Your Installation
Measuring Your Bathroom
Accurate measurements are crucial for a successful beadboard installation. Begin by measuring the height and width of the walls where you plan to install the beadboard. Pay attention to any features such as windows, doors, and electrical outlets, as these will affect how the beadboard panels are cut and fitted. Use a tape measure to record the dimensions of each section of the wall, and make a detailed sketch to guide your cutting and installation process. Proper measurements ensure that you purchase the correct amount of material and minimize the need for adjustments during installation.
Selecting the Right Beadboard Material
Choosing the right material for your beadboard is essential for both appearance and durability. Wood beadboard offers a traditional look and can be stained or painted to achieve a desired finish. However, it may require additional sealing to prevent moisture damage. MDF beadboard is a cost-effective option that is easy to work with and paint, but it also needs to be properly sealed to avoid moisture issues. Vinyl beadboard is highly resistant to water and easy to clean, making it a practical choice for high-moisture areas like bathrooms. Consider your budget, style preferences, and the bathroom’s conditions when selecting your beadboard material.
Preparing the Walls
Removing Existing Fixtures
Before you begin installing beadboard, it’s important to remove any existing fixtures from the walls. This includes towel bars, toilet paper holders, light switches, and any other hardware. Carefully unscrew and detach these items, and store them in a safe place for reinstallation later. Removing fixtures ensures that the beadboard installation will be smooth and uninterrupted, and it allows for a more professional finish around the edges where the fixtures were previously located.
Repairing and Preparing the Wall Surface
Inspect the walls for any imperfections such as holes, cracks, or uneven areas. Fill small holes and cracks with spackle or joint compound, and allow it to dry completely before sanding it smooth. For larger repairs or particularly uneven surfaces, you may need to use a leveling compound to create a flat base for the beadboard. Ensure that the wall surface is clean, dry, and smooth before beginning the installation. Proper wall preparation is key to achieving a seamless and professional-looking beadboard application.

Cutting and Fitting the Panels
Measuring and Cutting Beadboard Panels
Once your walls are prepared, you need to measure and cut the beadboard panels to fit your space. Measure the height and width of each wall section where the beadboard will be installed. Use a pencil and straight edge to mark your measurements on the panels. For straight cuts, use a circular saw or table saw, and for curved or notched areas, a jigsaw may be necessary. Always double-check your measurements and make test cuts if needed to ensure a precise fit. Accurate cutting is crucial for a clean and professional finish.
Fitting the Panels into Place
With the panels cut to size, you can begin fitting them into place. Apply a construction adhesive to the back of each panel and position it against the wall. Use a level to ensure that the panel is straight, and press it firmly into place. Secure the panel with finishing nails or a nail gun, making sure to drive the nails into the studs behind the wall. It’s important to ensure that each panel is level and aligned with adjacent panels to create a uniform appearance. If needed, use a nail set to countersink the nails and fill any holes with wood filler.
Installing Trim and Molding
Adding Baseboards and Chair Rails
To complete the look of your beadboard installation, add trim and molding. Start by installing baseboards along the bottom edge of the beadboard to cover the gap between the paneling and the floor. Measure and cut the baseboards to fit, then attach them with finishing nails or a nail gun. Next, install a chair rail or molding along the top edge of the beadboard. This trim adds a polished look and helps to transition from the beadboard to the rest of the wall. Ensure that all trim pieces are level and securely attached, and fill any gaps or nail holes with wood filler.
Installing Crown Molding
Crown molding can be added to further enhance the visual appeal of your beadboard installation. Measure and cut the molding to fit around the perimeter of the room, taking care to make precise corner cuts for a seamless fit. Attach the crown molding with finishing nails or a nail gun, and fill any gaps or nail holes with wood filler. Sand the filled areas smooth and paint or stain the molding to match the beadboard. Crown molding adds a touch of elegance and completes the look of your beadboard installation.
Painting or Staining the Beadboard
Preparing the Beadboard for Painting or Staining
Before painting or staining your beadboard, it’s important to prepare the surface. If you’re painting, apply a primer to the beadboard to ensure better paint adhesion and coverage. For staining, apply a wood conditioner to the beadboard to promote an even stain application. Allow the primer or conditioner to dry completely before proceeding with your chosen paint or stain. Proper preparation ensures that the final finish will be smooth and consistent.
Applying Paint or Stain
Once the preparation is complete, you can apply your paint or stain. For painting, use a high-quality paintbrush or roller to apply a coat of paint, following the manufacturer’s instructions for drying times between coats. For staining, apply the stain with a clean cloth or brush, and wipe off any excess to achieve the desired color intensity. Allow the paint or stain to dry completely, and apply additional coats if necessary to achieve full coverage. Finish with a protective topcoat if desired, to enhance durability and longevity.

Reinstalling Fixtures and Final Touches
Reattaching Wall Fixtures
With the beadboard installed and finished, it’s time to reattach any fixtures that were removed earlier. Carefully position and screw the fixtures back into place, ensuring that they are securely anchored. If necessary, adjust the positioning to accommodate the new beadboard installation. Take care to align fixtures properly and check that they are level and functioning correctly.
Performing a Final Inspection
After reinstalling fixtures, conduct a final inspection of your beadboard installation. Check that all panels are securely attached, the trim is properly aligned, and the paint or stain is evenly applied. Address any issues such as gaps, uneven areas, or touch-ups needed. Make any final adjustments to ensure that the beadboard looks polished and professionally finished.
Conclusion
Enjoying Your Updated Bathroom
With your beadboard installation complete, take a moment to enjoy the transformation of your bathroom. The classic charm and durability of beadboard add a timeless touch to your space, enhancing both its aesthetic appeal and functionality. Celebrate the successful completion of your project and take pride in the beautiful update to your bathroom. The effort you put into planning, installing, and finishing the beadboard will be reflected in the enhanced look and feel of your space.
