Introduction to Painting Bathroom Wall Tile
Why Paint Wall Tile?
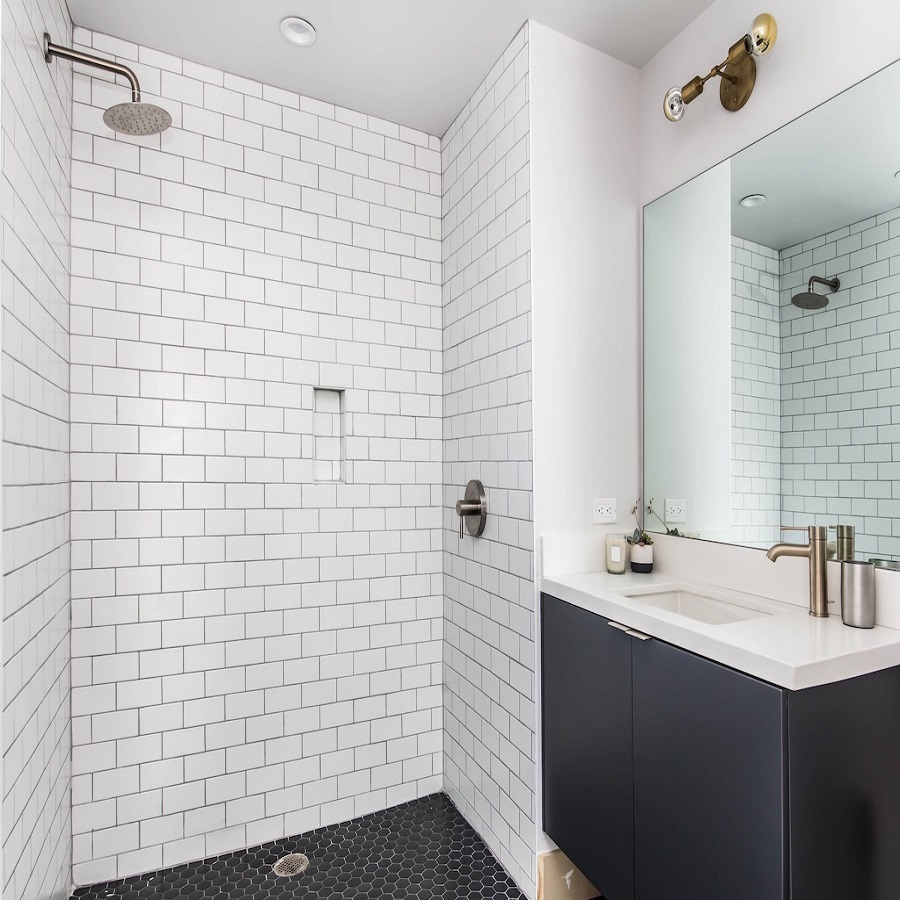
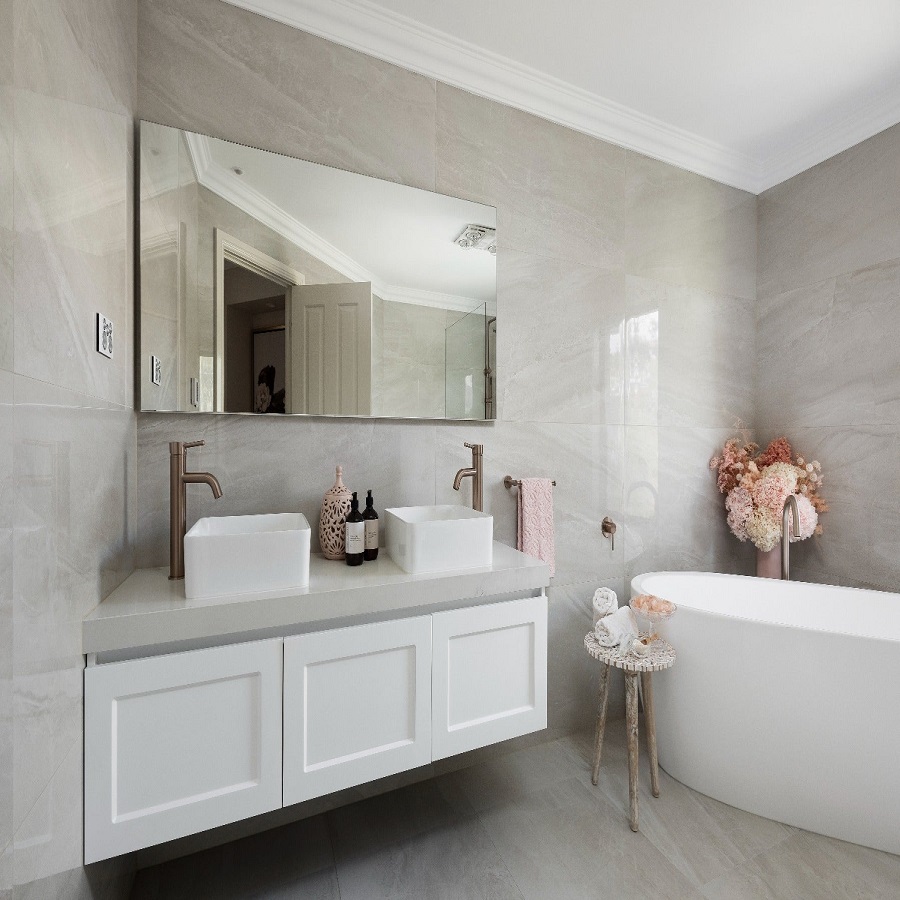
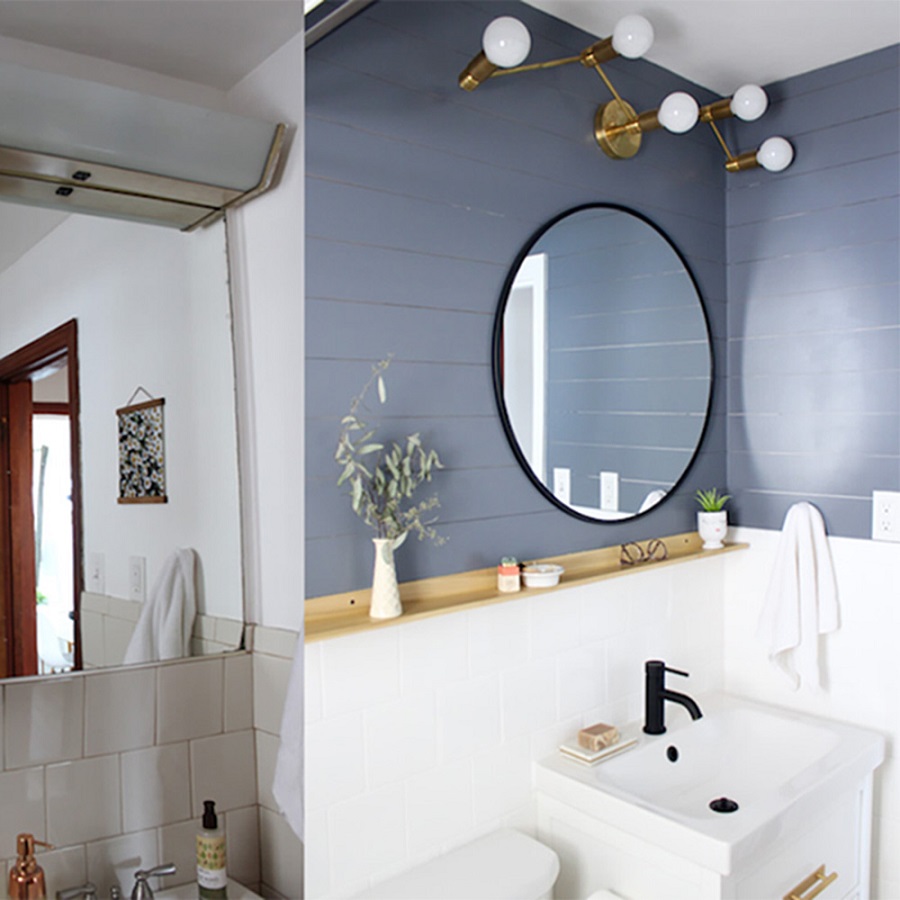
Painting bathroom wall tiles can be a practical and cost-effective solution to update your bathroom’s look without the expense and hassle of replacing the tiles. Over time, tiles can become outdated or damaged, and painting them provides an opportunity to refresh their appearance. This process can also be a great way to change the color scheme of your bathroom to better suit your tastes or to match new decor. With the right preparation and materials, painting tile can yield impressive results that significantly enhance the overall look of your space.
What to Consider Before Painting
Before you start painting your bathroom tiles, it’s crucial to assess several factors to ensure a successful project. The condition of the tiles, the type of paint required, and the preparation process all play significant roles in achieving a high-quality finish. Additionally, you should consider the type of tile you are working with, as different tiles (such as ceramic, porcelain, or glass) may require different techniques and products. By taking these factors into account, you can better plan and execute your tile painting project.
Preparing Your Bathroom Tile for Painting
Cleaning and Repairing the Tiles
The first step in preparing your bathroom tiles for painting is thorough cleaning. Tiles and grout must be completely free of dirt, soap scum, and oils to ensure proper adhesion of the paint. Use a mild detergent and a scrub brush to clean the surface, and consider using a tile and grout cleaner for more stubborn stains. After cleaning, inspect the tiles for any cracks or chips. Repair any damage with a tile repair kit or filler, ensuring the surface is smooth and even before painting.
Sanding and Priming the Tiles
Sanding the tiles is essential for creating a rough surface that allows the primer and paint to adhere properly. Use a fine-grit sandpaper or a sanding block to lightly sand the tile surfaces. Be sure to remove all dust with a damp cloth or sponge before proceeding. Once the tiles are clean and dry, apply a high-quality bonding primer designed for tile surfaces. Priming is crucial as it helps the paint stick better and improves the overall durability of the finished result. Allow the primer to dry completely before applying the paint.
Choosing the Right Paint for Tiles
Types of Paint Suitable for Tiles
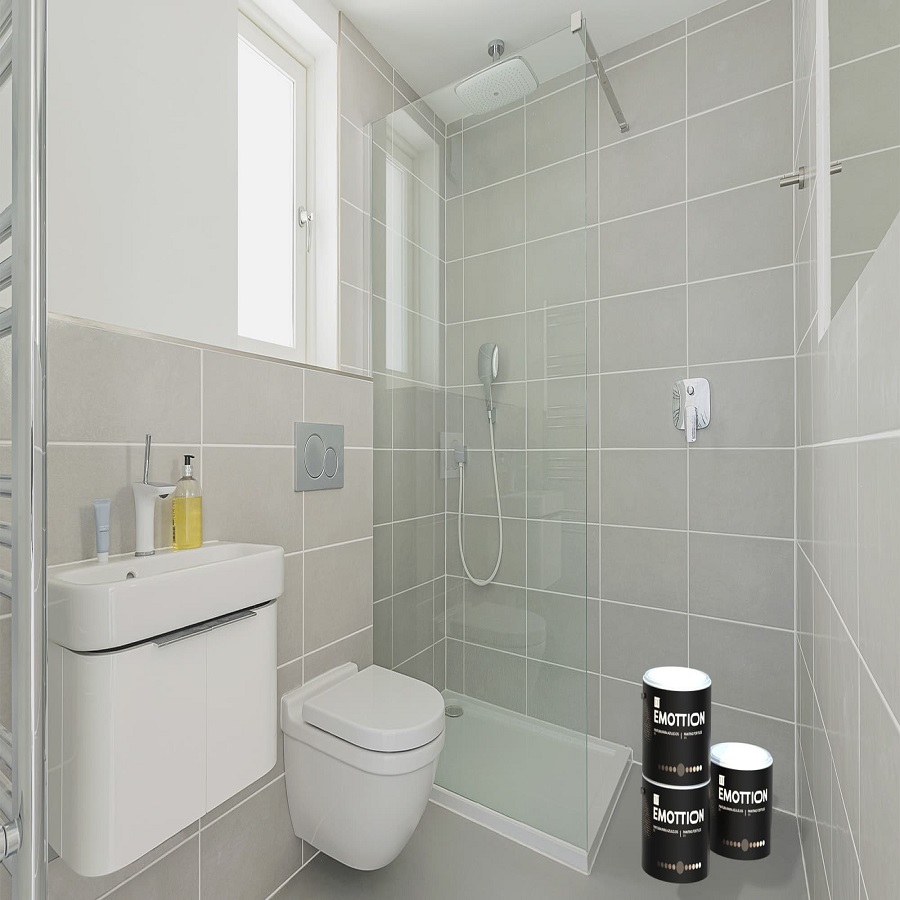
Not all paints are suitable for tile surfaces, so it’s important to choose the right type for the job. For bathroom tiles, epoxy or acrylic enamel paints are commonly recommended due to their durability and water resistance. Epoxy paints are especially well-suited for high-moisture areas as they form a hard, durable coating that can withstand frequent exposure to water. Acrylic enamel paints offer good coverage and flexibility, making them another viable option for tile painting projects.
Selecting the Right Color and Finish
When selecting paint color and finish, consider the overall design of your bathroom and how the new tile color will fit with other elements in the room. Light colors can make a small bathroom appear larger and more open, while darker shades can create a dramatic and cozy atmosphere. For the finish, choose between matte, semi-gloss, or high-gloss. Semi-gloss and high-gloss finishes are often preferred for bathroom tiles as they are easier to clean and more resistant to moisture and stains.
Applying Paint to Bathroom Tiles
Techniques for a Smooth Application
To achieve a professional-looking finish, use the right application techniques. Start by cutting in around the edges of the tiles with a high-quality angled brush, ensuring you get into the grout lines and corners. For the main tile surfaces, use a small roller or a sponge applicator to apply the paint in even strokes. Be sure to apply thin coats rather than one thick coat to avoid drips and uneven coverage. Allow each coat to dry completely before applying additional layers. Typically, two to three coats are necessary for complete coverage and a smooth finish.
Handling Common Challenges
During the painting process, you may encounter common challenges such as paint drips, brush marks, or uneven coverage. To handle these issues, work carefully and methodically, and keep a wet cloth or sponge handy for quick clean-ups. If you notice drips or runs, gently smooth them out while the paint is still wet. For brush marks or roller lines, use a light touch to blend them in with the surrounding area. Patience and attention to detail are key to overcoming these challenges and achieving a flawless finish.
Curing and Maintaining Painted Tiles
Drying and Curing Time
After painting, allow the tiles to dry thoroughly before using the bathroom. Drying time can vary depending on the type of paint and environmental conditions. Generally, it’s recommended to let the paint dry for at least 24 hours before touching or using the surface. Full curing, where the paint reaches its maximum hardness and durability, may take up to several weeks. Avoid placing any heavy objects or scrubbing the tiles during this curing period to prevent damage to the newly painted surface.
Cleaning and Maintenance Tips
Proper maintenance is essential to prolong the life of your painted tiles. Clean the surface regularly with mild, non-abrasive cleaners to prevent the buildup of grime and soap scum. Avoid using harsh chemicals or abrasive cleaning tools, as these can damage the paint. For minor touch-ups, keep some of the original paint on hand to address any chips or scratches that may occur. Regular maintenance will help keep your painted tiles looking fresh and vibrant for years to come.
Enhancing Your Tile Painting Project
Adding Patterns and Designs
For a unique touch, consider incorporating patterns or designs into your tile painting project. Stencils can be used to create intricate patterns, adding visual interest and personalization to your bathroom tiles. You can also experiment with different painting techniques, such as sponging or rag rolling, to achieve textured effects. Be sure to use painter’s tape to mask off areas you want to keep paint-free and to ensure clean, crisp lines. Adding patterns or designs requires careful planning and precision, but the results can make your painted tiles stand out and add a distinctive flair to your bathroom.
Using Tile Decals for Added Flair
If painting seems like too much of a commitment, tile decals offer an alternative way to refresh your tiles without the need for extensive preparation and painting. Tile decals are self-adhesive and come in a variety of designs, patterns, and colors. They can be applied directly over existing tiles and are removable, making them a flexible option for renters or those who want to update their bathroom decor periodically. Ensure that the tiles are clean and dry before applying decals to prevent peeling and ensure a smooth application.
Conclusion
Summary of Key Points
Painting bathroom wall tiles is a viable and effective way to update your bathroom’s look without undergoing a full renovation. Proper preparation, including cleaning, sanding, and priming, is crucial to ensure paint adhesion and durability. Selecting the right paint and applying it with care will result in a professional finish that enhances the appearance of your tiles. Post-painting, allowing adequate drying and curing time, along with regular maintenance, will help keep your newly painted tiles in excellent condition.
Final Recommendations
Before starting your tile painting project, carefully consider the type of tiles you have, the paint that will work best, and the necessary preparation steps. With the right approach and attention to detail, painting your bathroom tiles can be a rewarding DIY project that revitalizes your space. By following these tips and techniques, you can achieve a beautiful and long-lasting finish that transforms your bathroom without the need for costly renovations.