Introduction to Bathroom Sink Stoppers
Bathroom sink stoppers are essential for controlling the flow of water and preventing clogs. They come in various types, including pop-up stoppers, lift-and-turn stoppers, and toggle stoppers. Each type operates differently, but their primary function is to seal the sink drain when needed. Over time, stoppers can become damaged or clogged, affecting their performance. Learning how to remove and replace a bathroom sink stopper can save you money on plumbing services and ensure your sink functions properly.
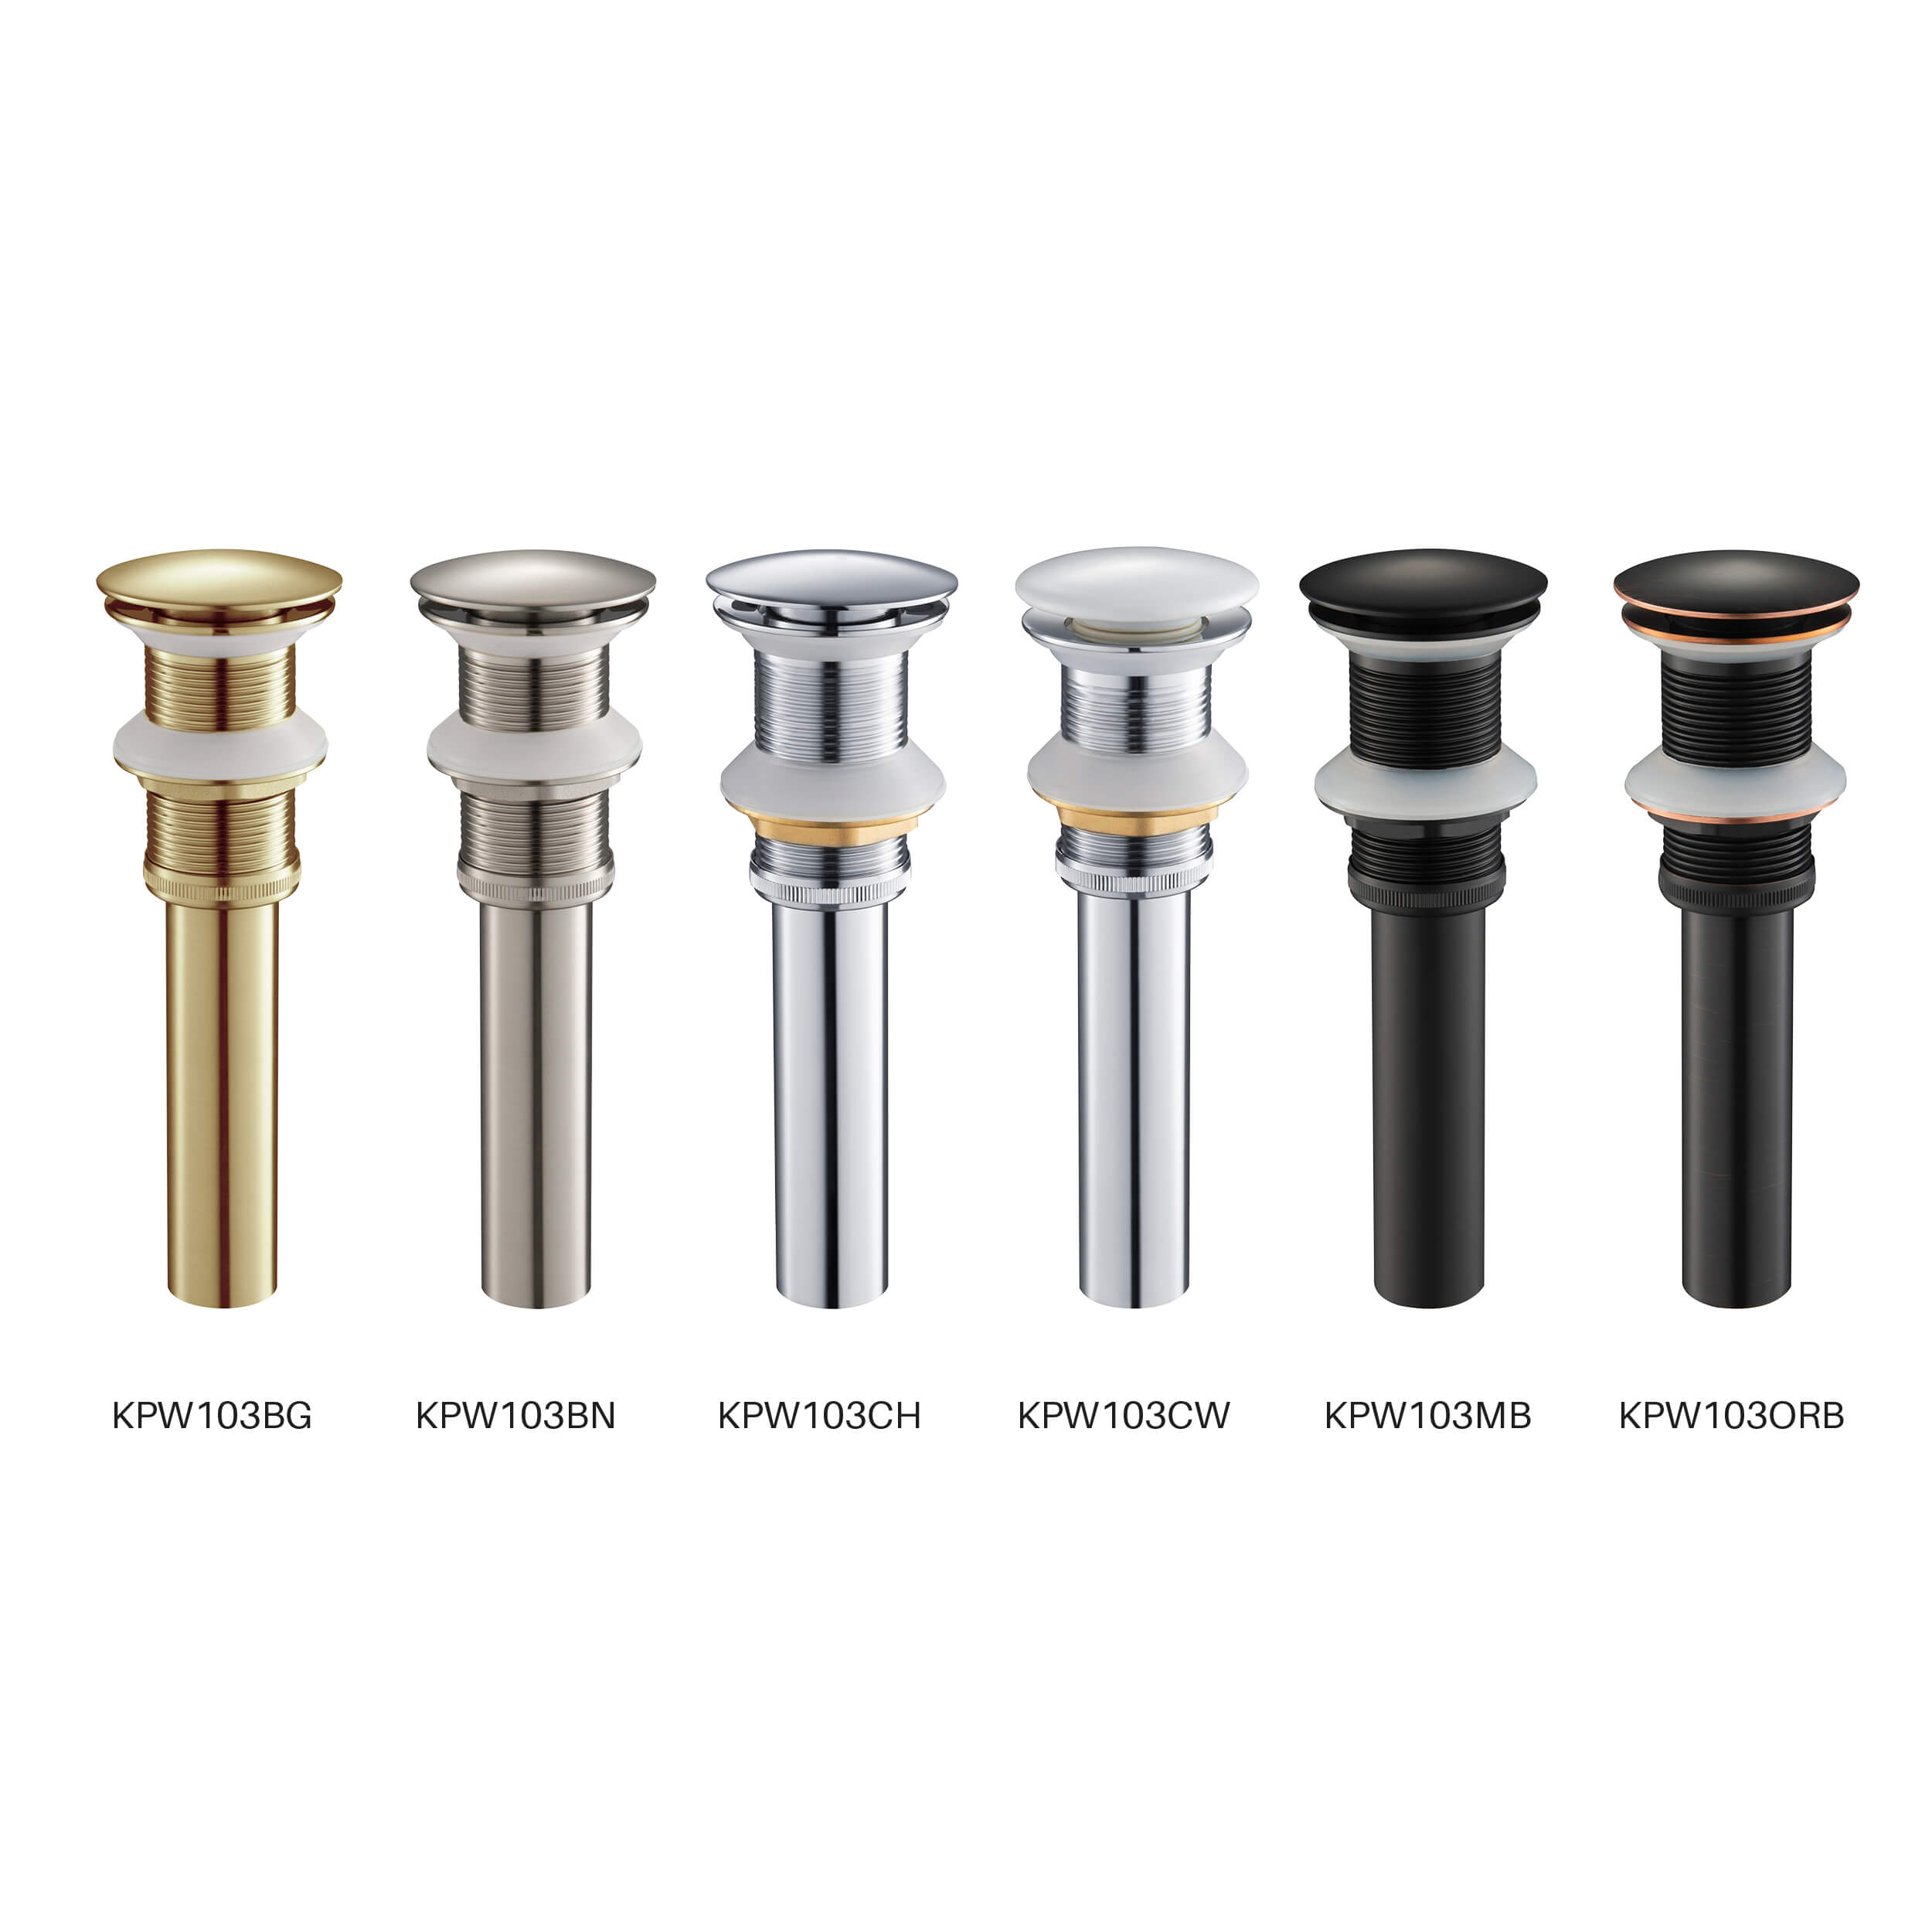
Identifying Your Sink Stopper Type
Pop-Up Stoppers
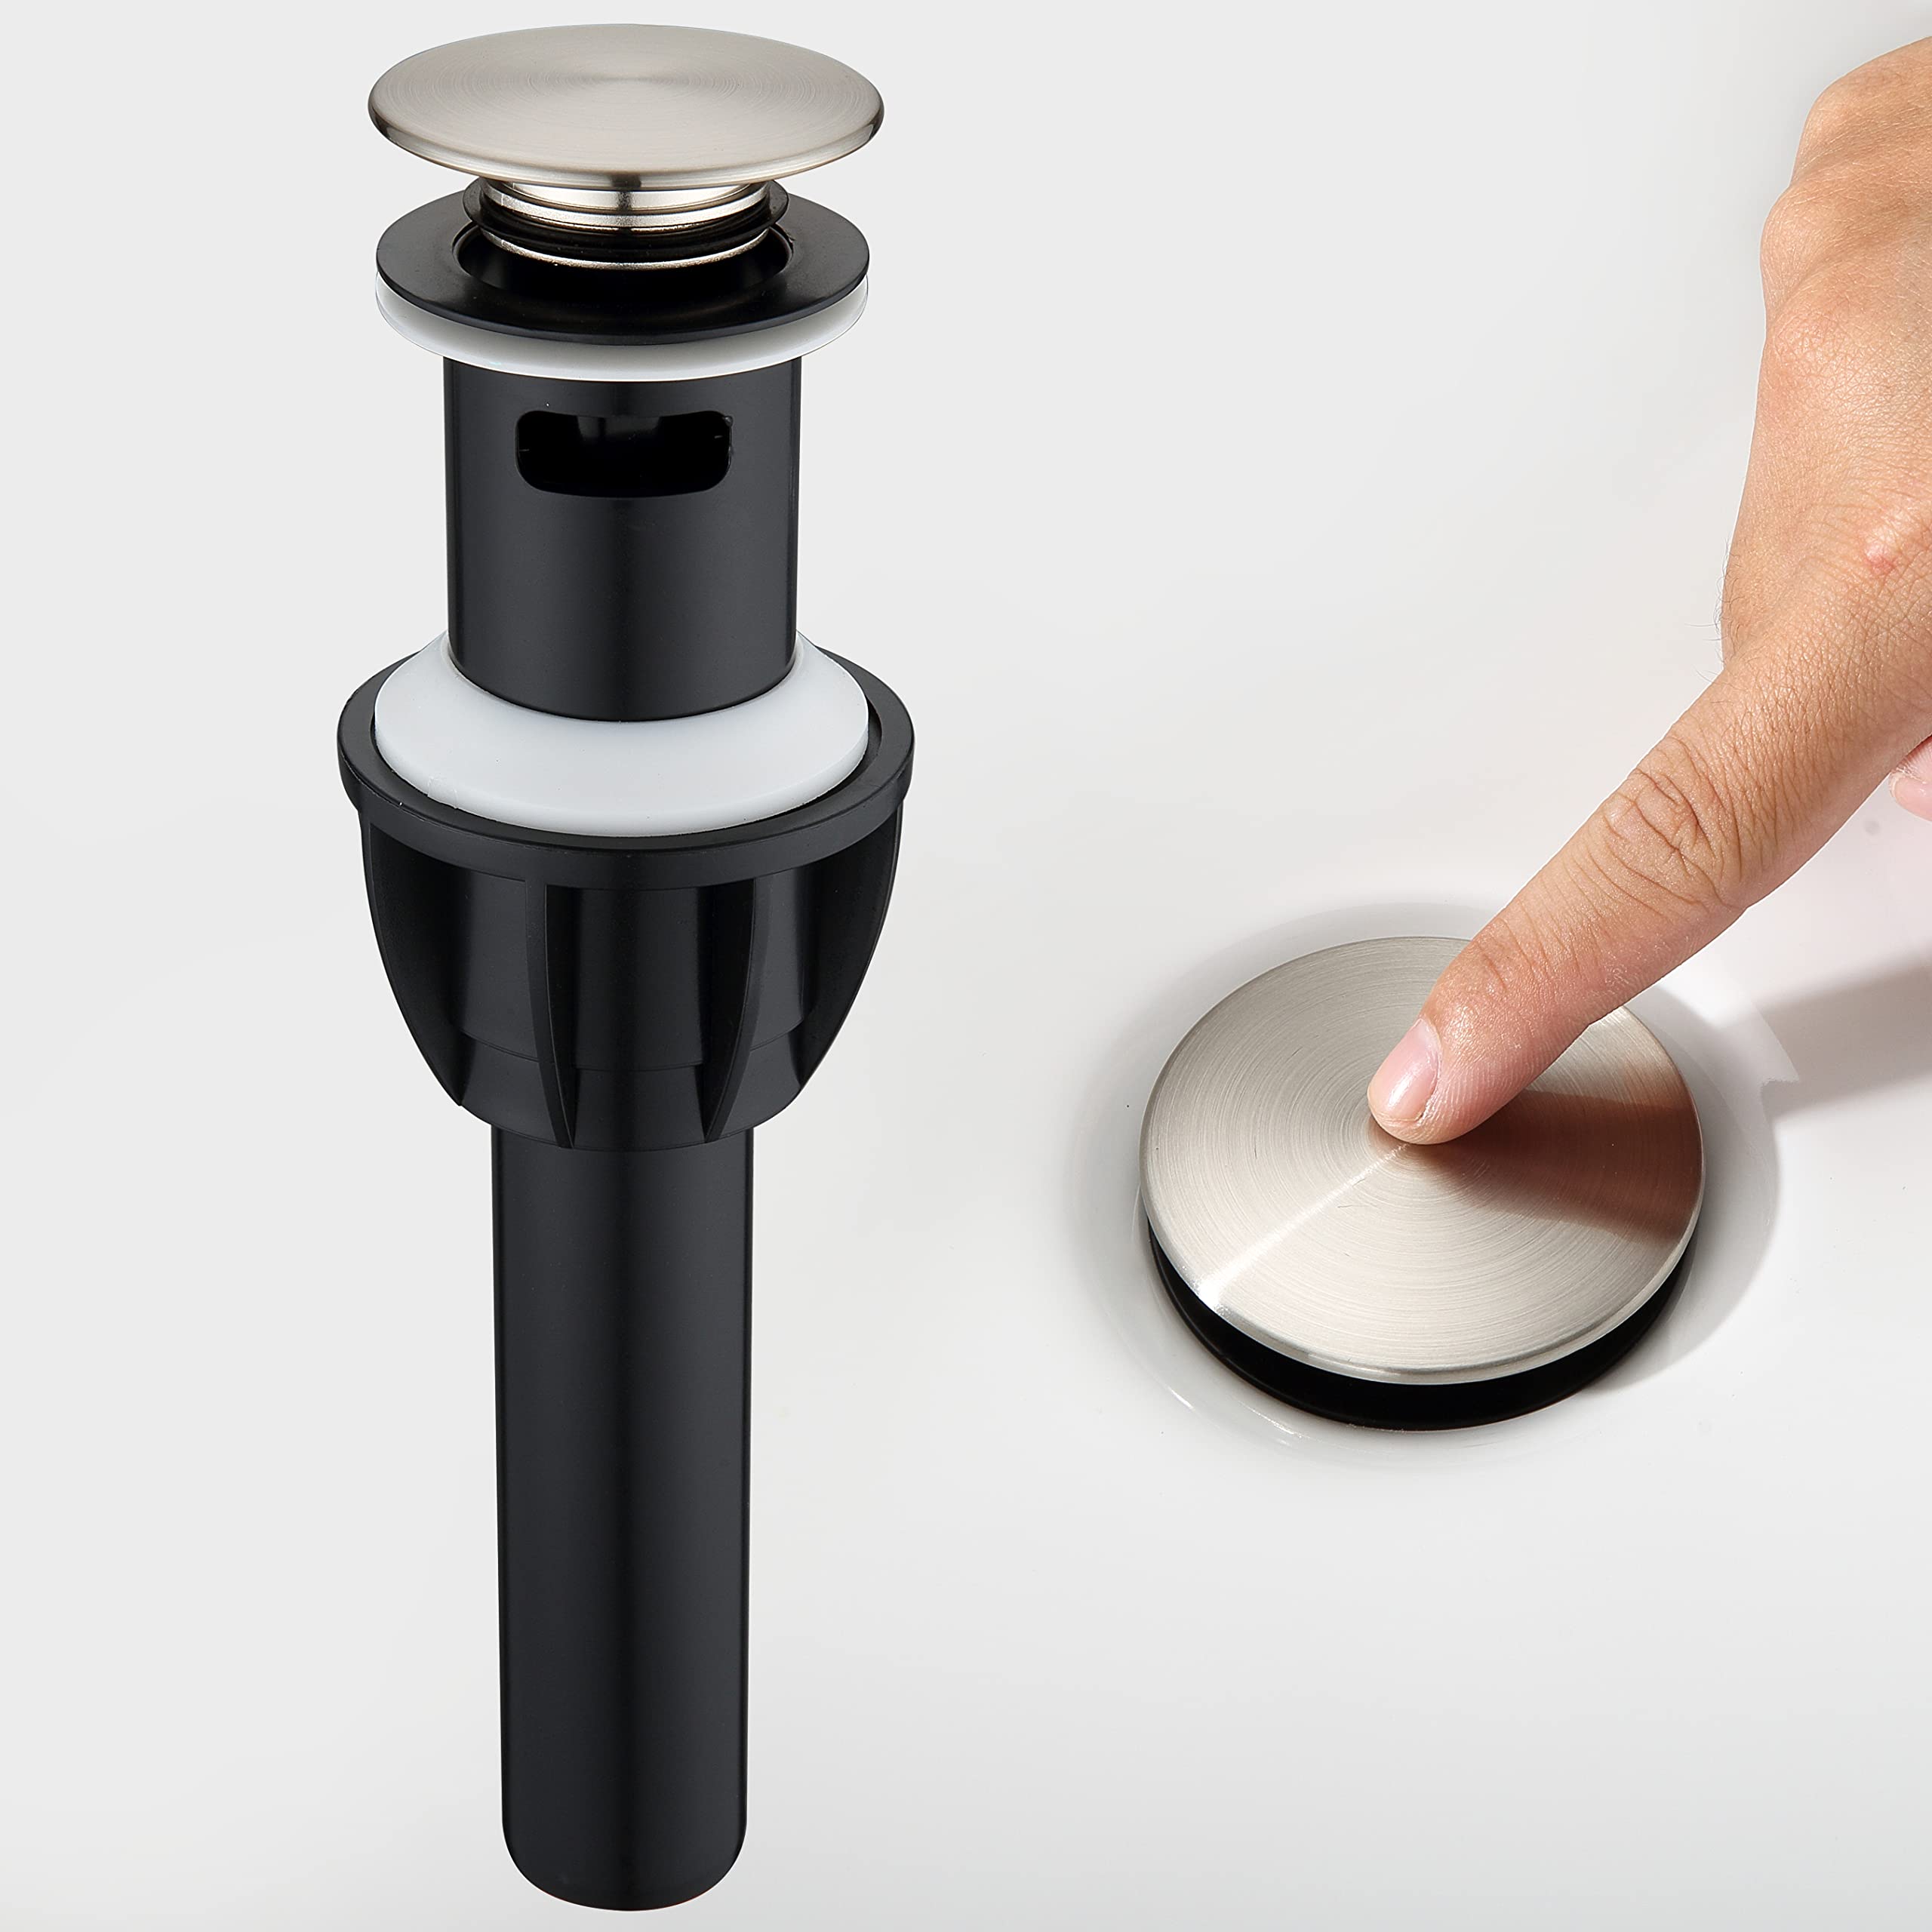
Pop-up stoppers are the most common in modern sinks. They operate with a lever mechanism that raises and lowers the stopper. This type typically includes a metal rod and a lift rod connected to the stopper. If your sink has a lever or knob on the back, it likely has a pop-up stopper.
Lift-and-Turn Stoppers
Lift-and-turn stoppers are simpler in design. They consist of a stopper that you lift to open and turn to close. This type usually features a knob on top that you twist to engage or disengage the stopper. If your stopper has a single knob, it’s probably a lift-and-turn model.
Toggle Stoppers
Toggle stoppers are less common and use a lever that you push to seal the drain. They often have a more industrial look and are operated by a toggle mechanism rather than a knob or lever.
Tools and Materials Needed
Basic Tools
To remove and replace a bathroom sink stopper, you’ll need some basic tools: a pair of pliers, a screwdriver, and a wrench. These tools help you access and detach the stopper components.
Replacement Parts
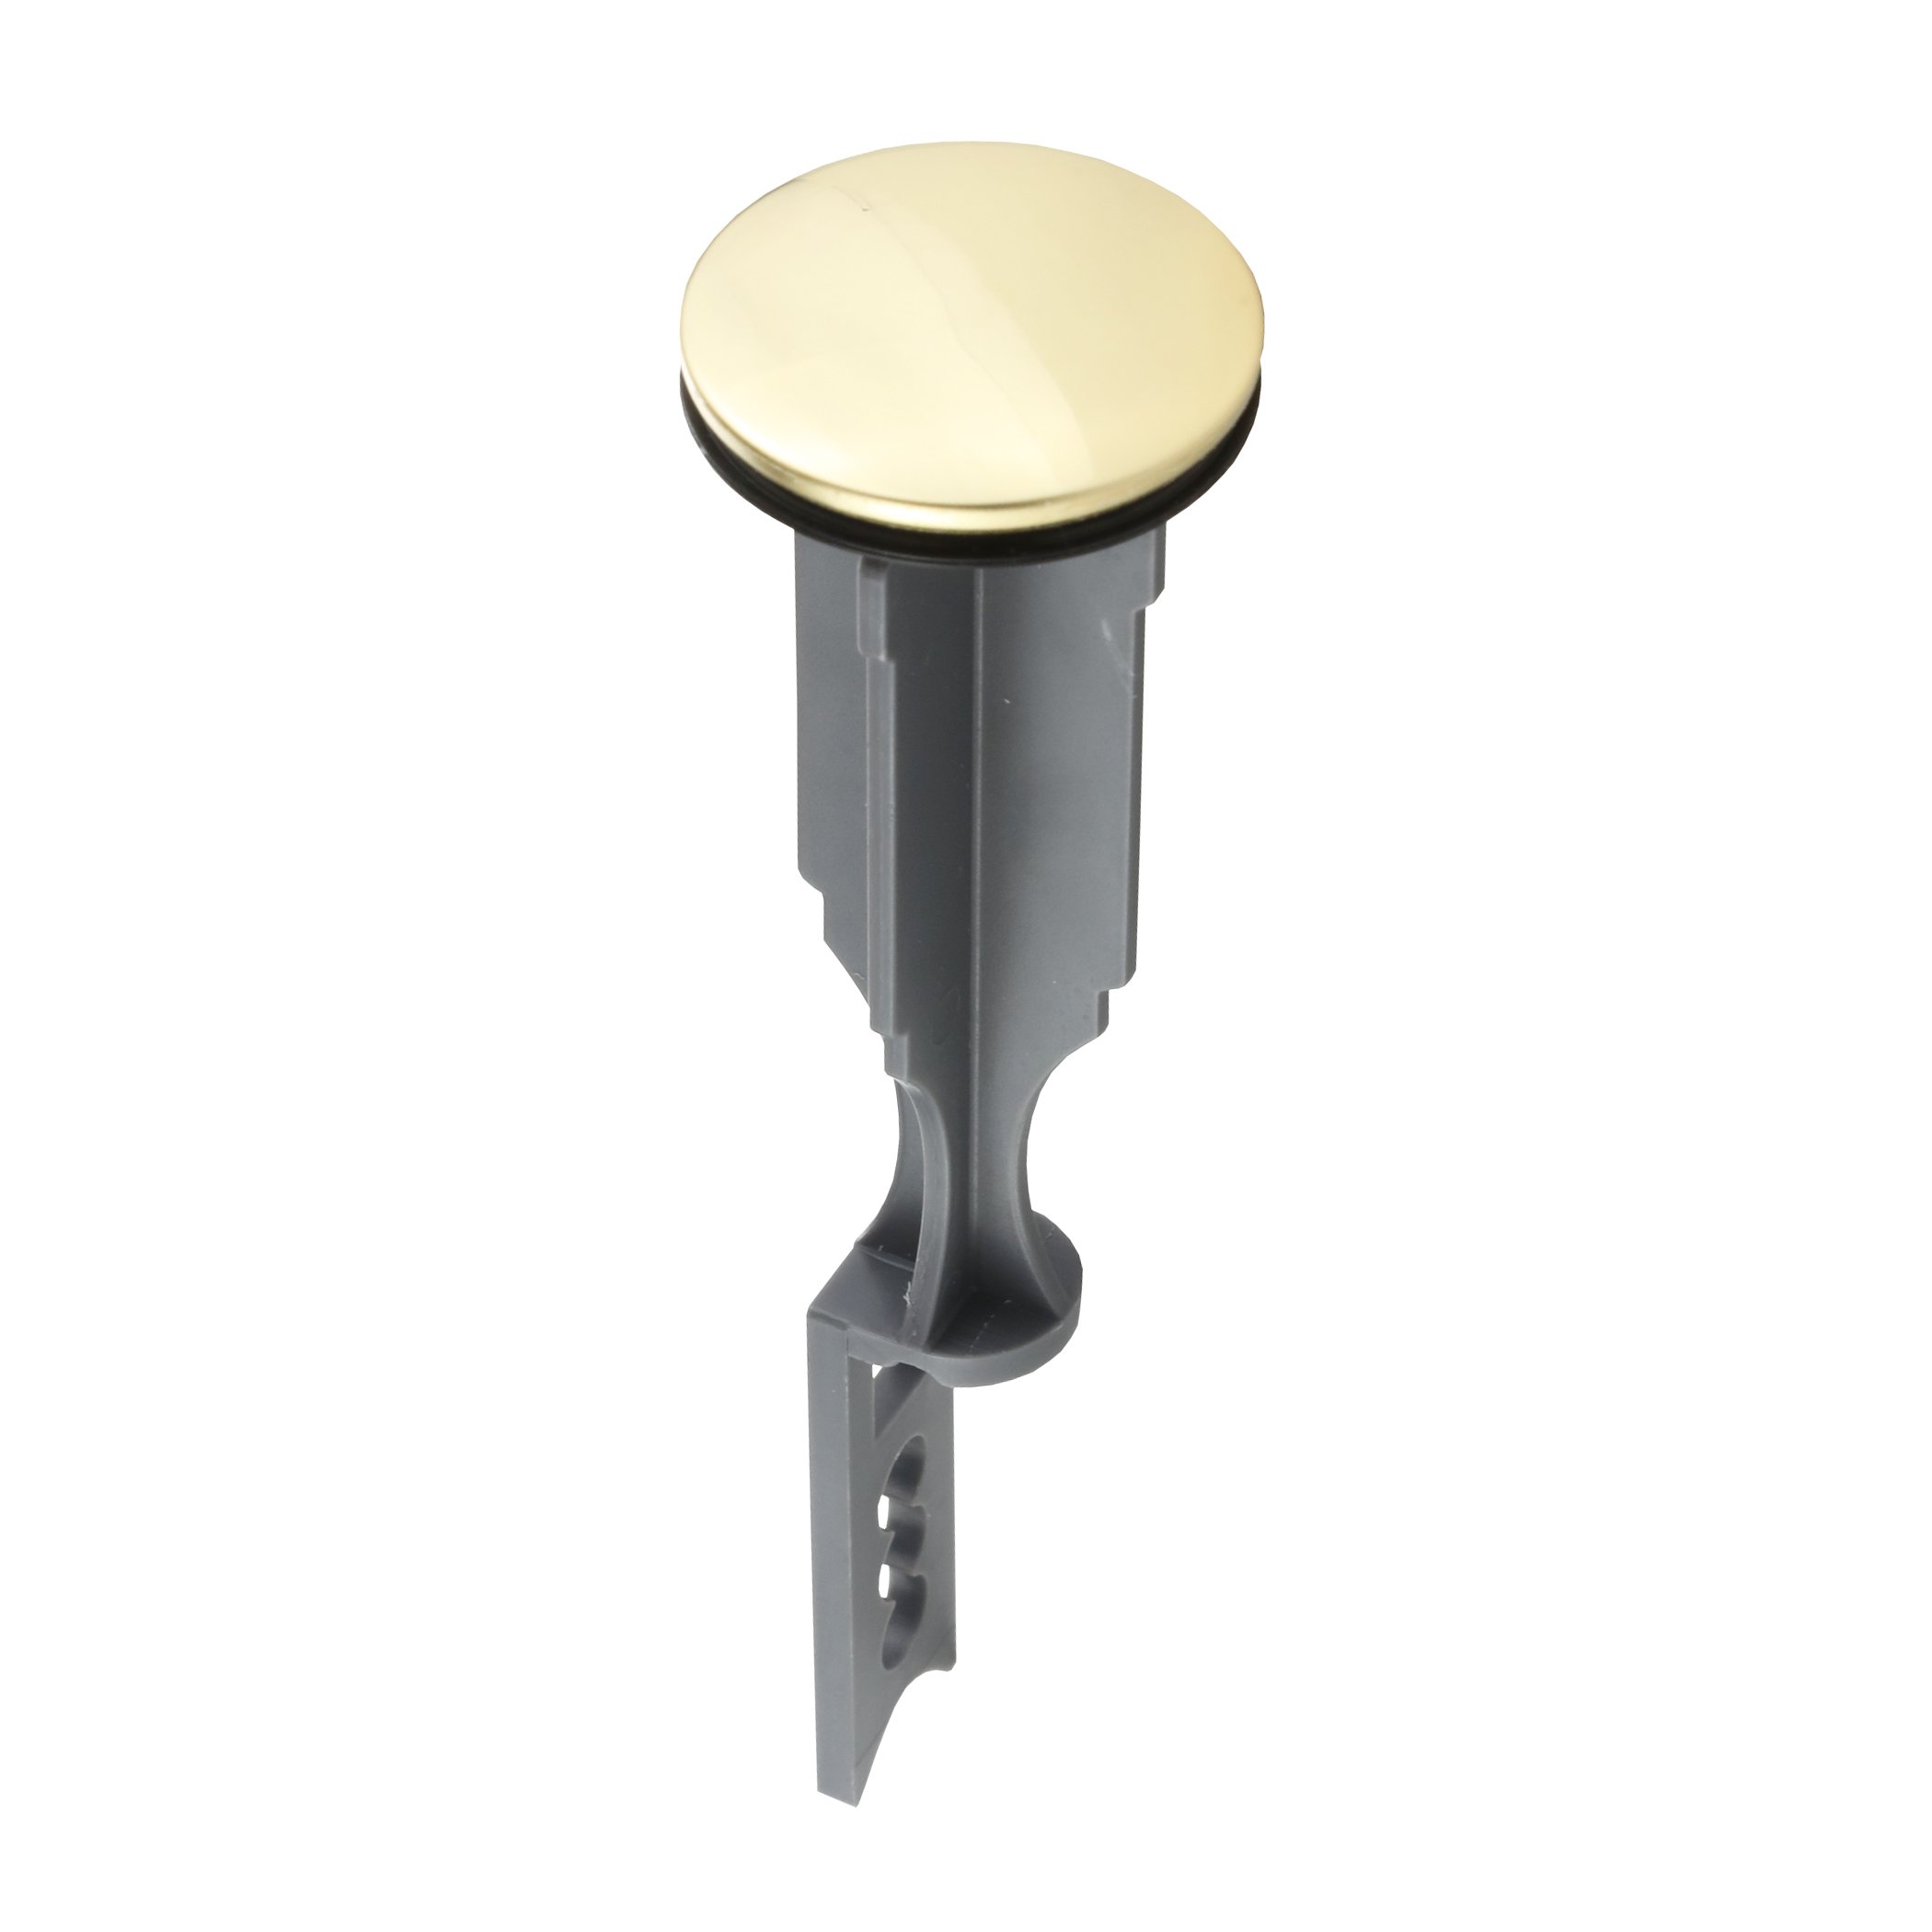
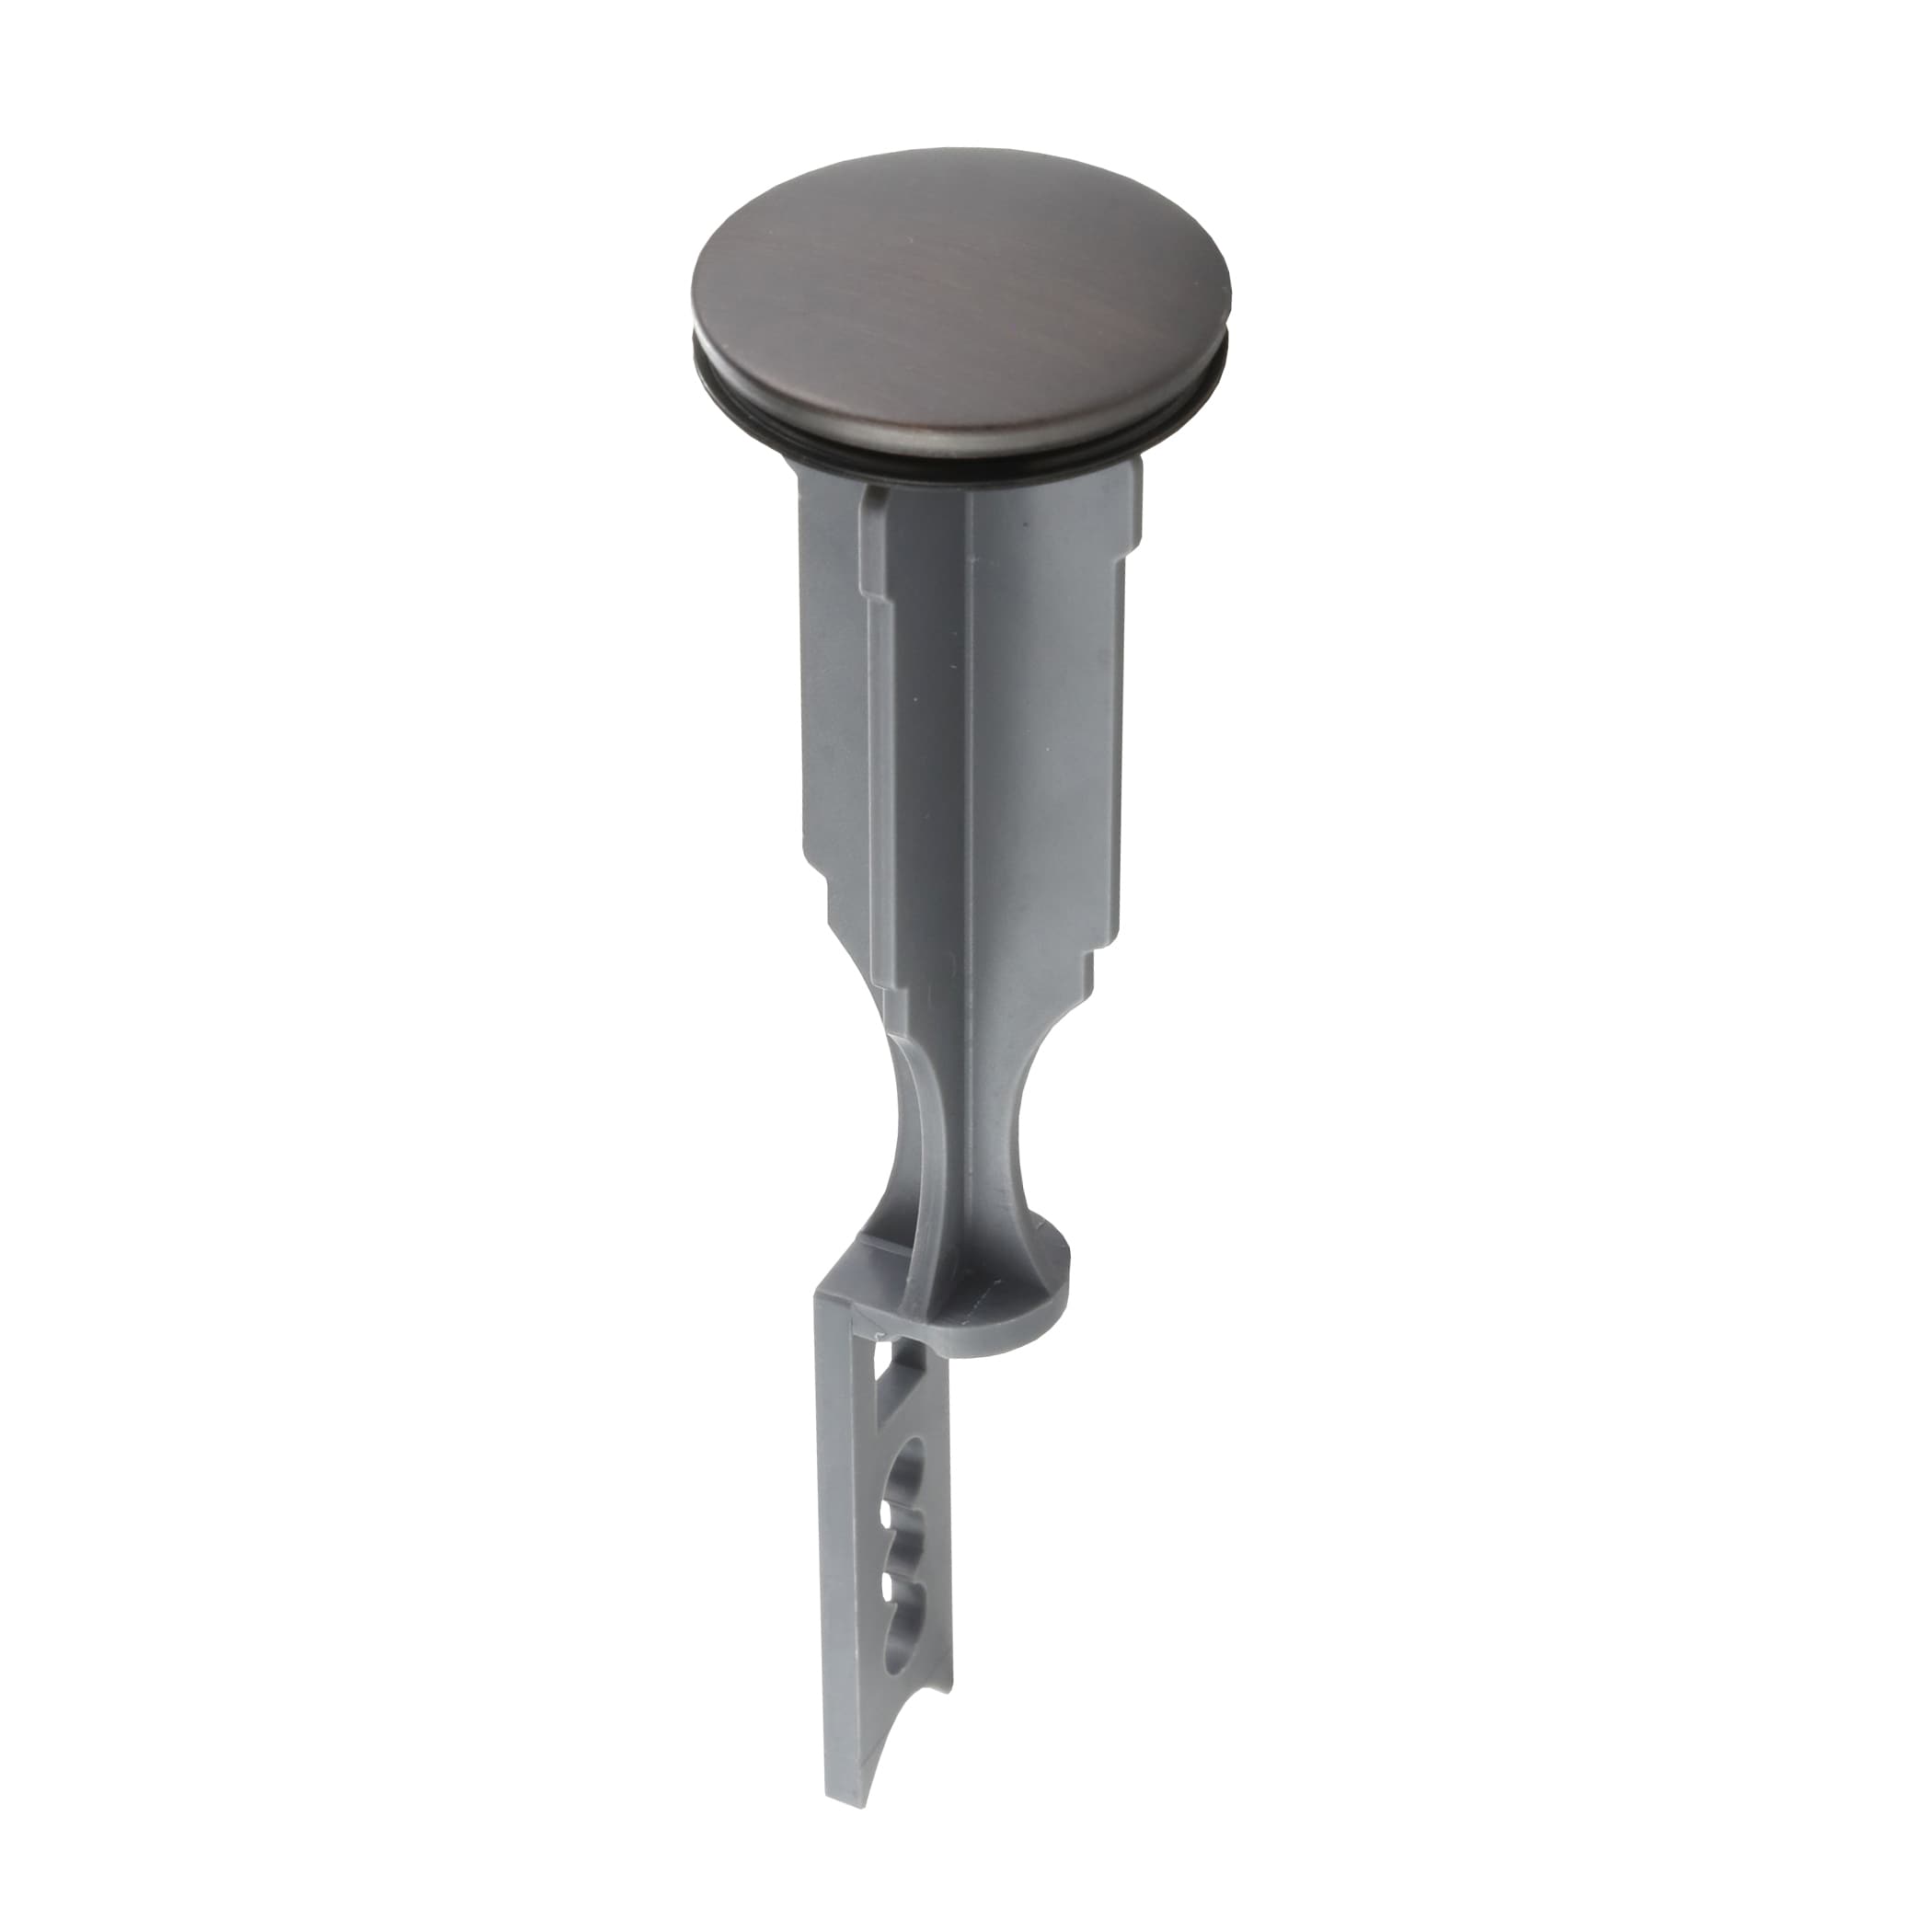
You’ll also need a replacement stopper compatible with your sink type. You can purchase these at a hardware store or online. Ensure the replacement matches your existing stopper’s design to avoid compatibility issues.
Preparing for Removal
Turning Off the Water Supply
Before starting any plumbing work, turn off the water supply to your sink. This step prevents any accidental water flow that could cause a mess. The shut-off valves are typically located under the sink.
Placing a Bucket
Place a bucket or basin under the sink’s drain to catch any water that may spill during the process. This precaution helps keep your workspace clean and dry.
Removing a Pop-Up Stopper
Detaching the Lift Rod
Start by locating the lift rod behind the sink. This rod is connected to the stopper and is usually secured with a nut. Use a wrench to loosen and remove the nut, then detach the rod from the stopper mechanism.
Removing the Stopper Assembly
Once the lift rod is detached, you can remove the bathroom stopper assembly. Pull the stopper out of the drain hole. If it’s stuck, gently twist or wiggle it to loosen it.
Removing a Lift-and-Turn Stopper
Unscrewing the Stopper
For a lift-and-turn stopper, grasp the knob on top and turn it counterclockwise. This action will unscrew the stopper from the drain. Some models may have a set screw that needs to be loosened first.
Taking Out the Stopper
Once unscrewed, lift the stopper out of the drain hole. Clean the area around the drain to remove any debris or buildup that might have accumulated.
Removing a Toggle Stopper
Locating the Toggle Mechanism
Toggle stoppers have a lever or button that you need to locate. This mechanism is typically found inside the drain assembly.
Detaching the Lever
Use a screwdriver or wrench to remove the toggle mechanism. Once detached, pull out the stopper from the drain. Check for any obstructions or buildup that might have caused the stopper to malfunction.
Cleaning the Drain Area
Removing Debris
Before installing the new stopper, clean the drain area thoroughly. Remove any debris or buildup that may have accumulated. This cleaning ensures a proper seal and prevents future clogs.
Checking for Leaks
Inspect the drain for any signs of leaks or damage. If you notice any issues, address them before installing the new stopper. Leaky or damaged parts can affect the performance of your new stopper.
Installing a New Pop-Up Stopper
Inserting the New Stopper
Insert the new pop-up stopper into the drain hole. Ensure it fits snugly and aligns with the lift rod mechanism.
Reattaching the Lift Rod
Reattach the lift rod to the stopper mechanism. Tighten the nut with a wrench to secure the rod in place. Test the stopper by operating the lift rod to ensure it functions correctly.
Installing a New Lift-and-Turn Stopper
Placing the New Stopper
Insert the new lift-and-turn stopper into the drain hole. Align it properly and make sure it fits securely.
Securing the Stopper
Screw the stopper into place by turning the knob clockwise. If your model has a set screw, tighten it to secure the stopper. Test the stopper by lifting and turning it to ensure it operates smoothly.
Installing a New Toggle Stopper
Positioning the Toggle Mechanism
Place the new toggle stopper into the drain hole. Align the toggle mechanism with the drain assembly.
Attaching the Lever
Reattach the lever or button to the toggle mechanism. Ensure it is securely fastened and operates correctly. Test the stopper by toggling the mechanism to verify its functionality.
Testing the New Stopper
Checking for Proper Function
Turn on the water supply and test the new stopper. Check for any leaks around the drain area and ensure the stopper opens and closes properly.
Ensuring a Good Seal
Make sure the stopper creates a good seal when closed. This seal is essential for preventing water from leaking out and for proper sink operation.
Troubleshooting Common Issues
Leaks Around the Drain
If you notice leaks, double-check that all connections are tight and secure. Ensure the stopper is correctly aligned and seated in the drain hole.
Sticking or Malfunctioning Stopper
If the stopper sticks or doesn’t operate smoothly, check for any obstructions or debris around the mechanism. Lubricate moving parts if necessary to improve performance.
Maintenance Tips for Sink Stoppers
Regular Cleaning
Clean your bathroom sink stopper regularly to prevent buildup and clogs. Use a mild cleaner and a soft brush to keep the stopper in good condition.
Inspecting for Wear
Periodically inspect the stopper and its components for signs of wear or damage. Replace any worn parts promptly to maintain optimal performance.
Advanced Troubleshooting for Sink Stoppers
Addressing Persistent Clogs
If you’re experiencing persistent clogs even after replacing the stopper, the issue might not solely be with the stopper itself. Persistent clogs could indicate a deeper issue in the plumbing system. In such cases, using a drain snake or plumber’s auger can help clear out the blockage. If the clog remains unresolved, consider consulting a professional plumber to inspect and address any underlying issues.
Dealing with Rust and Corrosion
Over time, metal components of sink stoppers can rust or corrode, especially in high-moisture environments. If you notice rust or corrosion on your stopper, it’s crucial to address it promptly. Clean rusted parts with a mixture of baking soda and water, or use a rust remover specifically designed for plumbing fixtures. If corrosion is severe, replacing the affected parts is the best option to ensure proper functioning and prevent further damage.
Choosing the Right Replacement Stopper
Material Considerations
When selecting a replacement stopper, consider the material to ensure durability and compatibility with your sink. Common materials include chrome-plated brass, stainless steel, and plastic. Chrome-plated brass is durable and resistant to corrosion but can be more expensive. Stainless steel offers a sleek look and is highly resistant to rust, while plastic options are cost-effective but may not be as durable.
Size and Compatibility
Ensure the replacement bathroom stopper matches the size and style of your existing stopper. Measure the diameter of the drain opening and compare it with bathroom sink stopper e specifications of the replacement stopper. Additionally, check that the new stopper type (pop-up, lift-and-turn, or toggle) matches your sink’s mechanism to avoid compatibility issues.
Conclusion
Removing and replacing a may seem challenging, but with the right tools and instructions, it’s a manageable DIY task. Understanding your stopper type and following the proper steps ensures a successful replacement and helps maintain your sink’s functionality. Regular maintenance and prompt attention to any issues can keep your sink in top shape for years to come.