
Introduction: Transform Your Tub on a Budget
The allure of a spa-like bathroom is undeniable, promising a private oasis where one can unwind after a long day. However, the cost of a full renovation often deters homeowners from pursuing this dream. A common misconception is that a bathtub replacement is necessary to achieve that luxurious feel, but refinishing your existing tub can be just as transformative – and far more economical. With a bit of elbow grease and some DIY know-how, you can revitalize your bathtub, turning it from worn-out to wow-worthy.
Understanding Bathtub Refinishing Basics
Bathtub refinishing, also known as reglazing or resurfacing, involves restoring the surface of an old bathtub to a like-new condition without the hassle and expense of removal and replacement. The process typically includes cleaning, repairing chips or cracks, sanding to smooth the surface, applying a primer, and finally, a topcoat of durable enamel or epoxy finish. This not only enhances aesthetics but also extends the bathtub’s functional lifespan.
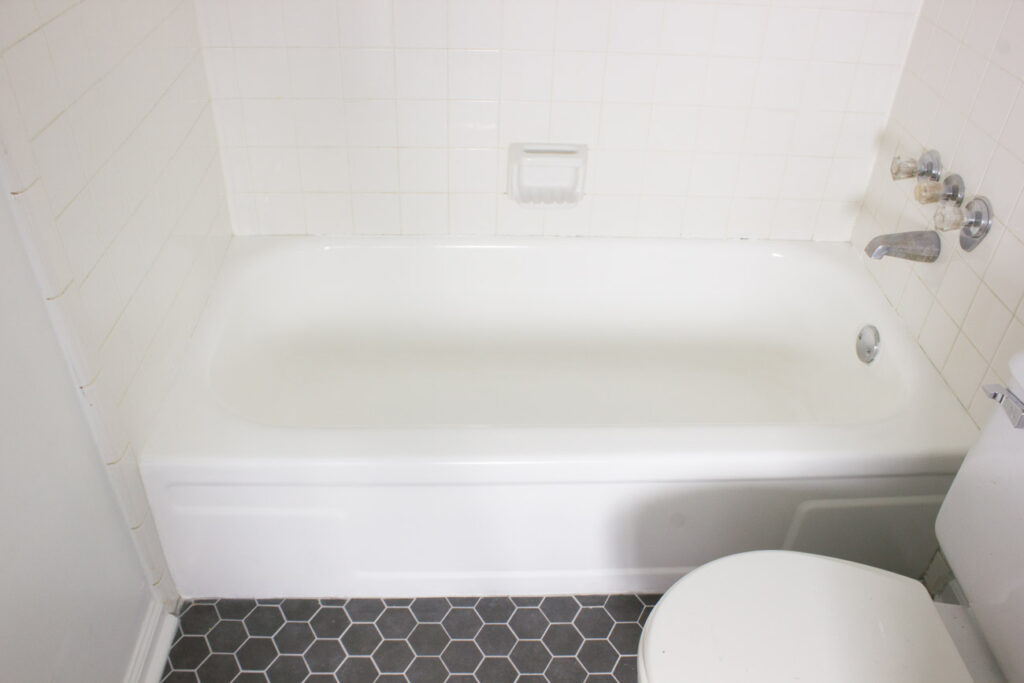
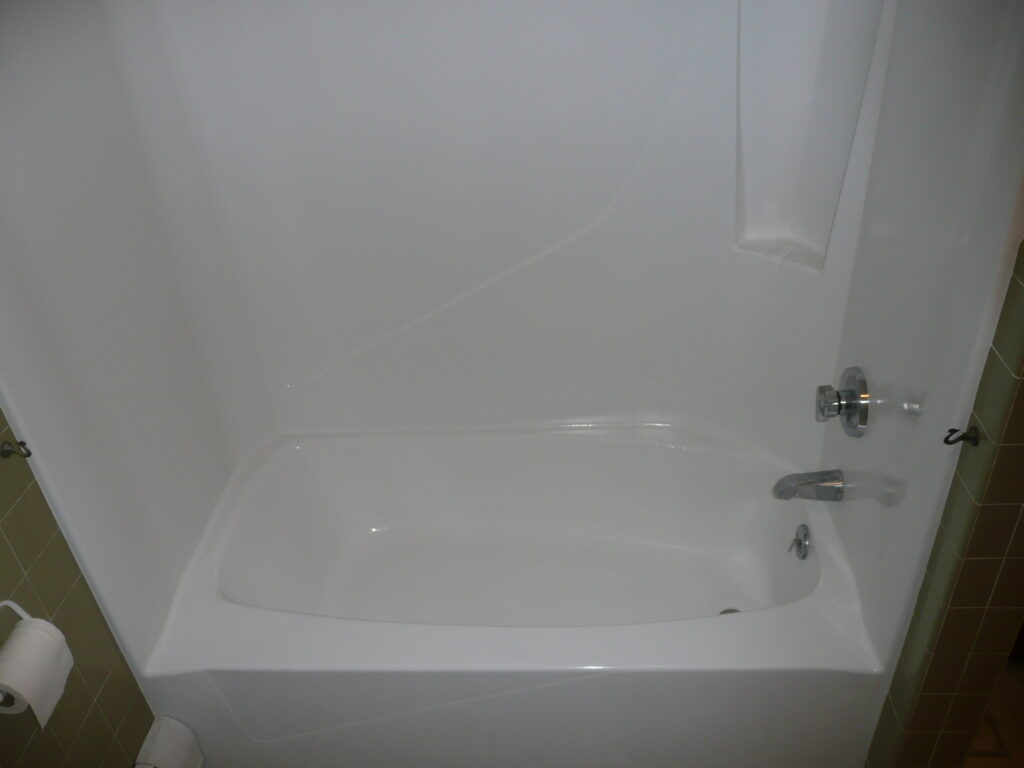
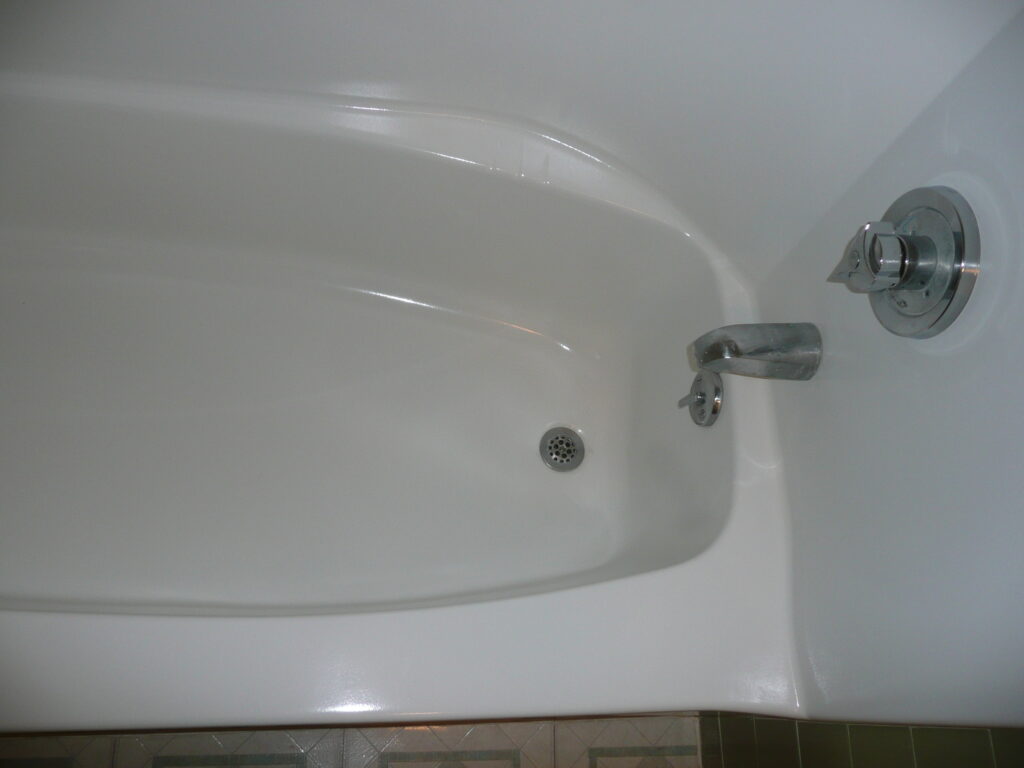
Assessing Your Tub’s Condition
Before embarking on any refinishing project, it’s crucial to evaluate the state of your bathtub. Cracks, deep scratches, and severe rust damage might require professional intervention. However, surface stains, minor chips, and discoloration are all candidates for DIY refinishing. Ensure that your tub is structurally sound and made of a refinishing-friendly material like porcelain, fiberglass, or acrylic.
Gathering Tools and Materials
To get started, gather the necessary tools and materials. You’ll need safety gear (goggles, respirator mask, gloves), heavy-duty cleaner, sandpaper or a sanding sponge (various grits), an epoxy repair kit for filling chips, a bonding primer, and a refinishing kit that matches your bathtub’s material. Quality refinishing kits typically include detailed instructions and all required coatings.
Preparation: The Key to a Successful Refinish
Proper preparation is vital to achieving a professional-looking finish. Begin by removing any caulk or sealant around the edges of the tub with a utility knife or caulk remover. Next, thoroughly clean the tub using a heavy-duty cleaner designed for pre-refinishing. This step removes soap scum, oils, and other contaminants that could interfere with adhesion. Rinse well and allow to dry completely.
Repairing Chips and Scratches
With the tub clean and dry, tackle any minor damage. Using an epoxy repair kit, fill in chips and scratches according to the manufacturer’s instructions. Sand the repaired areas smooth once the epoxy has cured, blending them seamlessly with the surrounding surface. This attention to detail ensures a flawless base for the refinishing layers.
Sanding for Adhesion
Before applying the primer, sand the entire tub surface with progressively finer grits of sandpaper, starting with medium and finishing with fine. This process roughens the surface slightly, promoting better adhesion for the new coating. Be thorough but gentle to avoid damaging the tub’s substrate. Vacuum or wipe away all dust with a tack cloth to prevent debris from being sealed under the new finish.
Applying the Primer and Finish Coat
Now comes the transformative stage. In a well-ventilated area, apply the bonding primer evenly following the product instructions. Allow it to dry completely; this may take several hours or overnight depending on the product. Once the primer is set, apply the refinishing coating using a roller or spray gun for an even layer. Multiple thin coats are better than one thick coat to prevent drips and ensure a smooth finish. Follow the recommended drying times between coats.
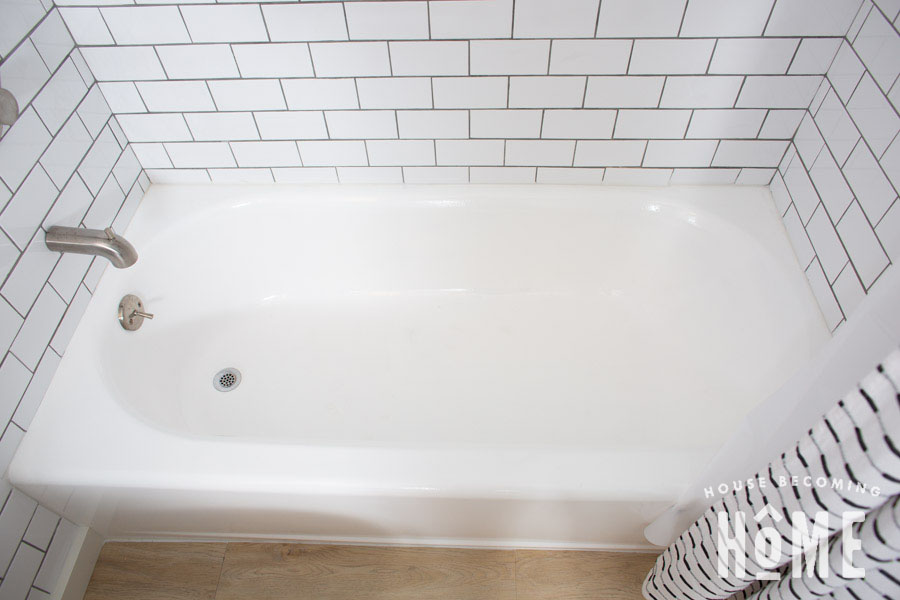
Curing and Post-Refinishing Care
After the final coat, allow for ample curing time – typically 24 to 48 hours – before using the bathtub. During this period, avoid exposing the new finish to water, soap, or any abrasive materials. Once fully cured, reapply caulk around the edges to seal the tub and give it a polished look. It’s crucial to follow the manufacturer’s post-refinishing care instructions carefully to ensure the longevity of the new finish.
Cost Savings and Environmental Benefits
DIY bathtub refinishing not only saves a substantial sum compared to replacement costs but also contributes to environmental sustainability. By breathing new life into your existing bathtub, you’re reducing waste and conserving resources that would otherwise be expended in manufacturing and disposing of a new tub. Moreover, modern refinishing products are increasingly eco-friendly, minimizing VOC emissions.
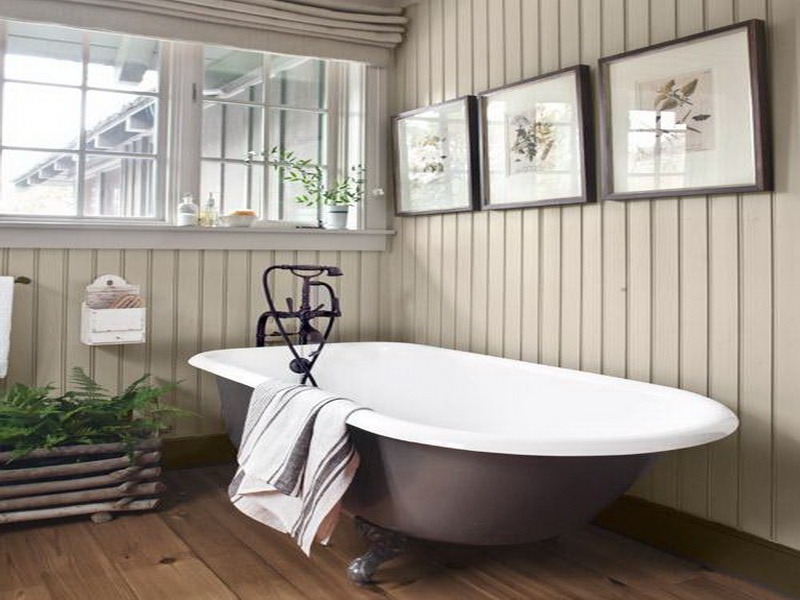
Enhancing Aesthetics and Home Value
Refinishing your bathtub not only restores its functionality but also enhances the aesthetic appeal of your bathroom. With a wide range of colors and finishes available, you can customize the look to match your updated decor, creating a fresh, modern feel without undergoing a complete renovation. This improvement can significantly boost the resale value of your home, as buyers often appreciate updated bathrooms that look clean, stylish, and well-maintained.
Durability and Longevity
When done correctly, a professionally applied or DIY bathtub refinishing job can last up to 10-15 years, depending on usage and maintenance. High-quality refinishing products are designed to withstand daily wear and tear, resisting chipping, peeling, and fading. To maximize the lifespan of the refinished surface, it’s essential to use mild, non-abrasive cleaners and avoid harsh chemicals that could compromise the finish.
Health and Safety Considerations
Using eco-friendly and low-VOC (volatile organic compounds) refinishing products is not only beneficial for the environment but also promotes healthier indoor air quality. Traditional refinishing products can emit strong odors and potentially harmful fumes, which is why proper ventilation during application and adequate curing time are critical. Wearing personal protective equipment (PPE), such as gloves, a respirator mask, and eye protection, is imperative to safeguard your health during the refinishing process.
Conclusion: Transforming Your Space with Confidence
A DIY bathtub refinishing project can seem daunting at first, but with careful planning, patience, and attention to detail, it’s an achievable task that yields significant rewards. Not only does it elevate the aesthetic appeal of your bathroom, mimicking a luxurious spa ambiance, but it also adds value to your home without breaking the bank. Embrace the challenge, and soon enough, you’ll be soaking in a rejuvenated bathtub that feels brand new. Remember, the key to success lies in meticulous preparation and following instructions closely. Happy refinishing!